How to take great photos of the stars, the moon and the night sky
- Share via
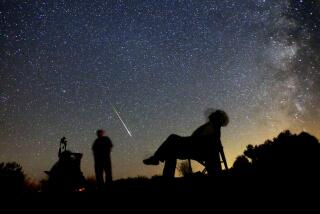
When life events knock you down, looking to the stars may give you a new perspective. It reminds you how small we are and how easy it is to find a diversion with your old friend, the camera.
It doesn’t take a lot of expensive equipment to take good photos of the heavens. Astrophotography can involve equipment as simple as a DSLR (digital single-lens reflex) camera with an ISO (International Organization for Standardization) rating of at least 1600 (the higher the number, the more sensitive to light it is).
Besides the camera, your equipment should include a sturdy tripod and a lens with an aperture (f-stop) opening of f/2.8 or higher.. The lower the f-stop the more light flows into the camera.
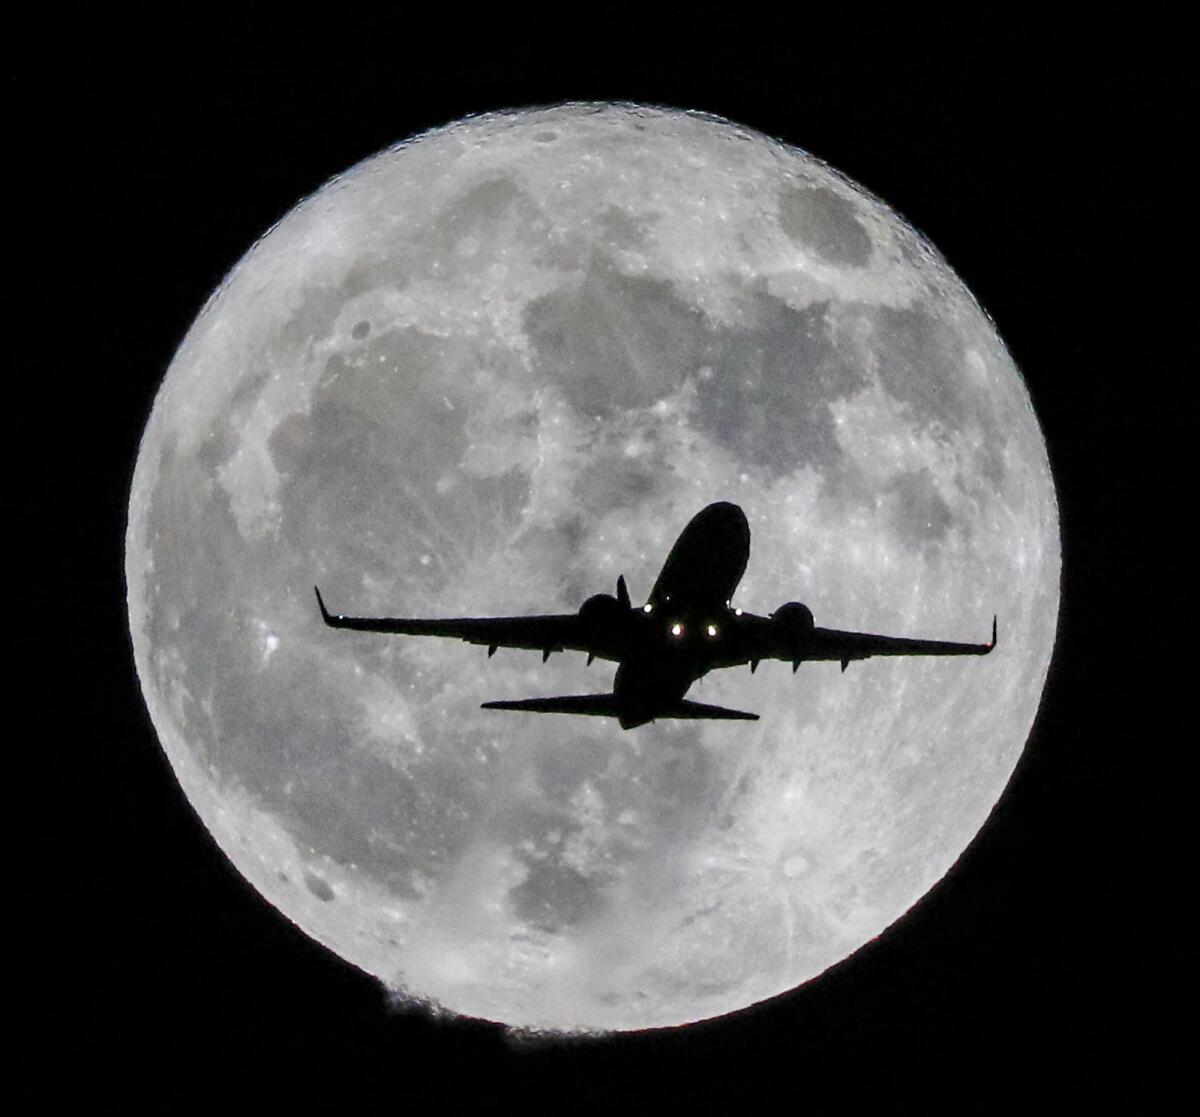
The size of the lens is also important. If you want a wide view with lots of foreground and more sky you should choose a 14 mm, 16 mm, 20 mm or 35 mm lens. If you want to take pictures of the moon, you will need a lens in the range of 200 mm to 600 mm.
Now find your location and attach your camera to the tripod. Switch off your automatic settings and find either the bulb or manual setting, which allows you to leave open the shutter for long exposures. The manual setting on most cameras will allow exposures of up to 30 seconds. Adjust your aperture to the maximum opening (the smaller numbers). Also, turn off the autofocus feature.
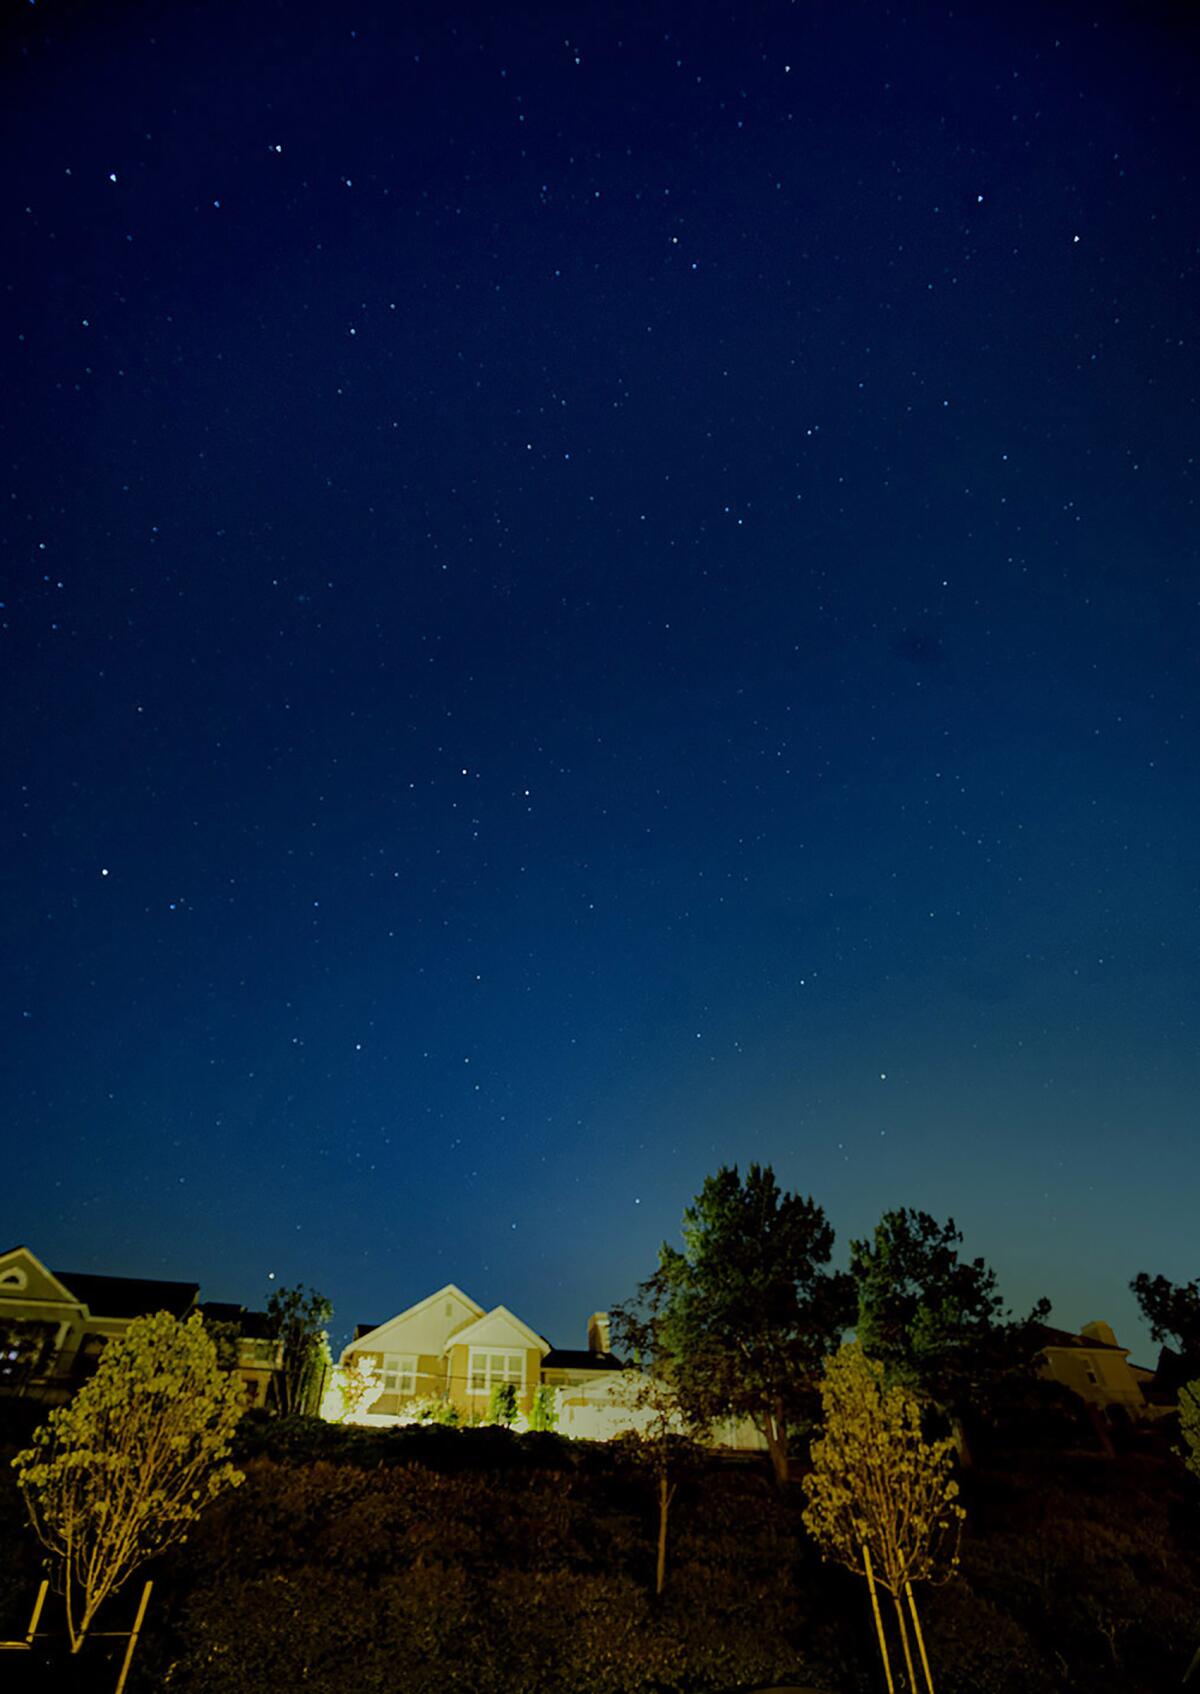
Your training wheels are gone now that you’ve turned off the automatic settings, and you can begin to experiment with your camera’s manual adjustments. Start by manually focusing your lens to infinity and setting the ISO to 1600.
If your camera allows, adjust your shutter speed for an exposure of 15 to 30 seconds. Remember that Earth is rotating, so stars can appear to be “streaking” with exposures of 30 seconds.
Adjust your camera’s image quality setting to RAW mode, which enables the highest-quality picture. Processing the pictures in RAW mode — using Adobe Photoshop, Adobe Lightroom or other post-production tools — provides better color and contrast control.
There are apps for everything, including astrophotography. Raul Roa, an avid astrophotographer, suggests the Planets app, which gives precise locations and times for viewing Polaris, the Milky Way and other celestial objects. Roa also uses the Sun Surveyor app, which shows where and when the Milky Way will rise, which is useful in planning your trips or locations.
Stan Honda, another former news photographer-turned-astrophotographer, offers his favorite apps: SkySafari, PhotoPills and Stellarium, all of which give you an idea of what you can see right now.
Before heading out to photograph the night sky, check the Weather page in the Times or online for the phases of the moon. Look for when the moon will be full, when it rises and when it sets.
Roa likes chasing the moon, he said, “because it is something primordial. I look up and just think of what or who might be out there. Most of us will never get a chance to step off the Earth, so looking up and dreaming is the next best thing for me.”
More to Read
Sign up for The Wild
We’ll help you find the best places to hike, bike and run, as well as the perfect silent spots for meditation and yoga.
You may occasionally receive promotional content from the Los Angeles Times.
