As an avid gardener and (very) amateur cook, learning how to grow edible mushrooms at home seemed like a no-brainer.
Little did I know how little I knew.
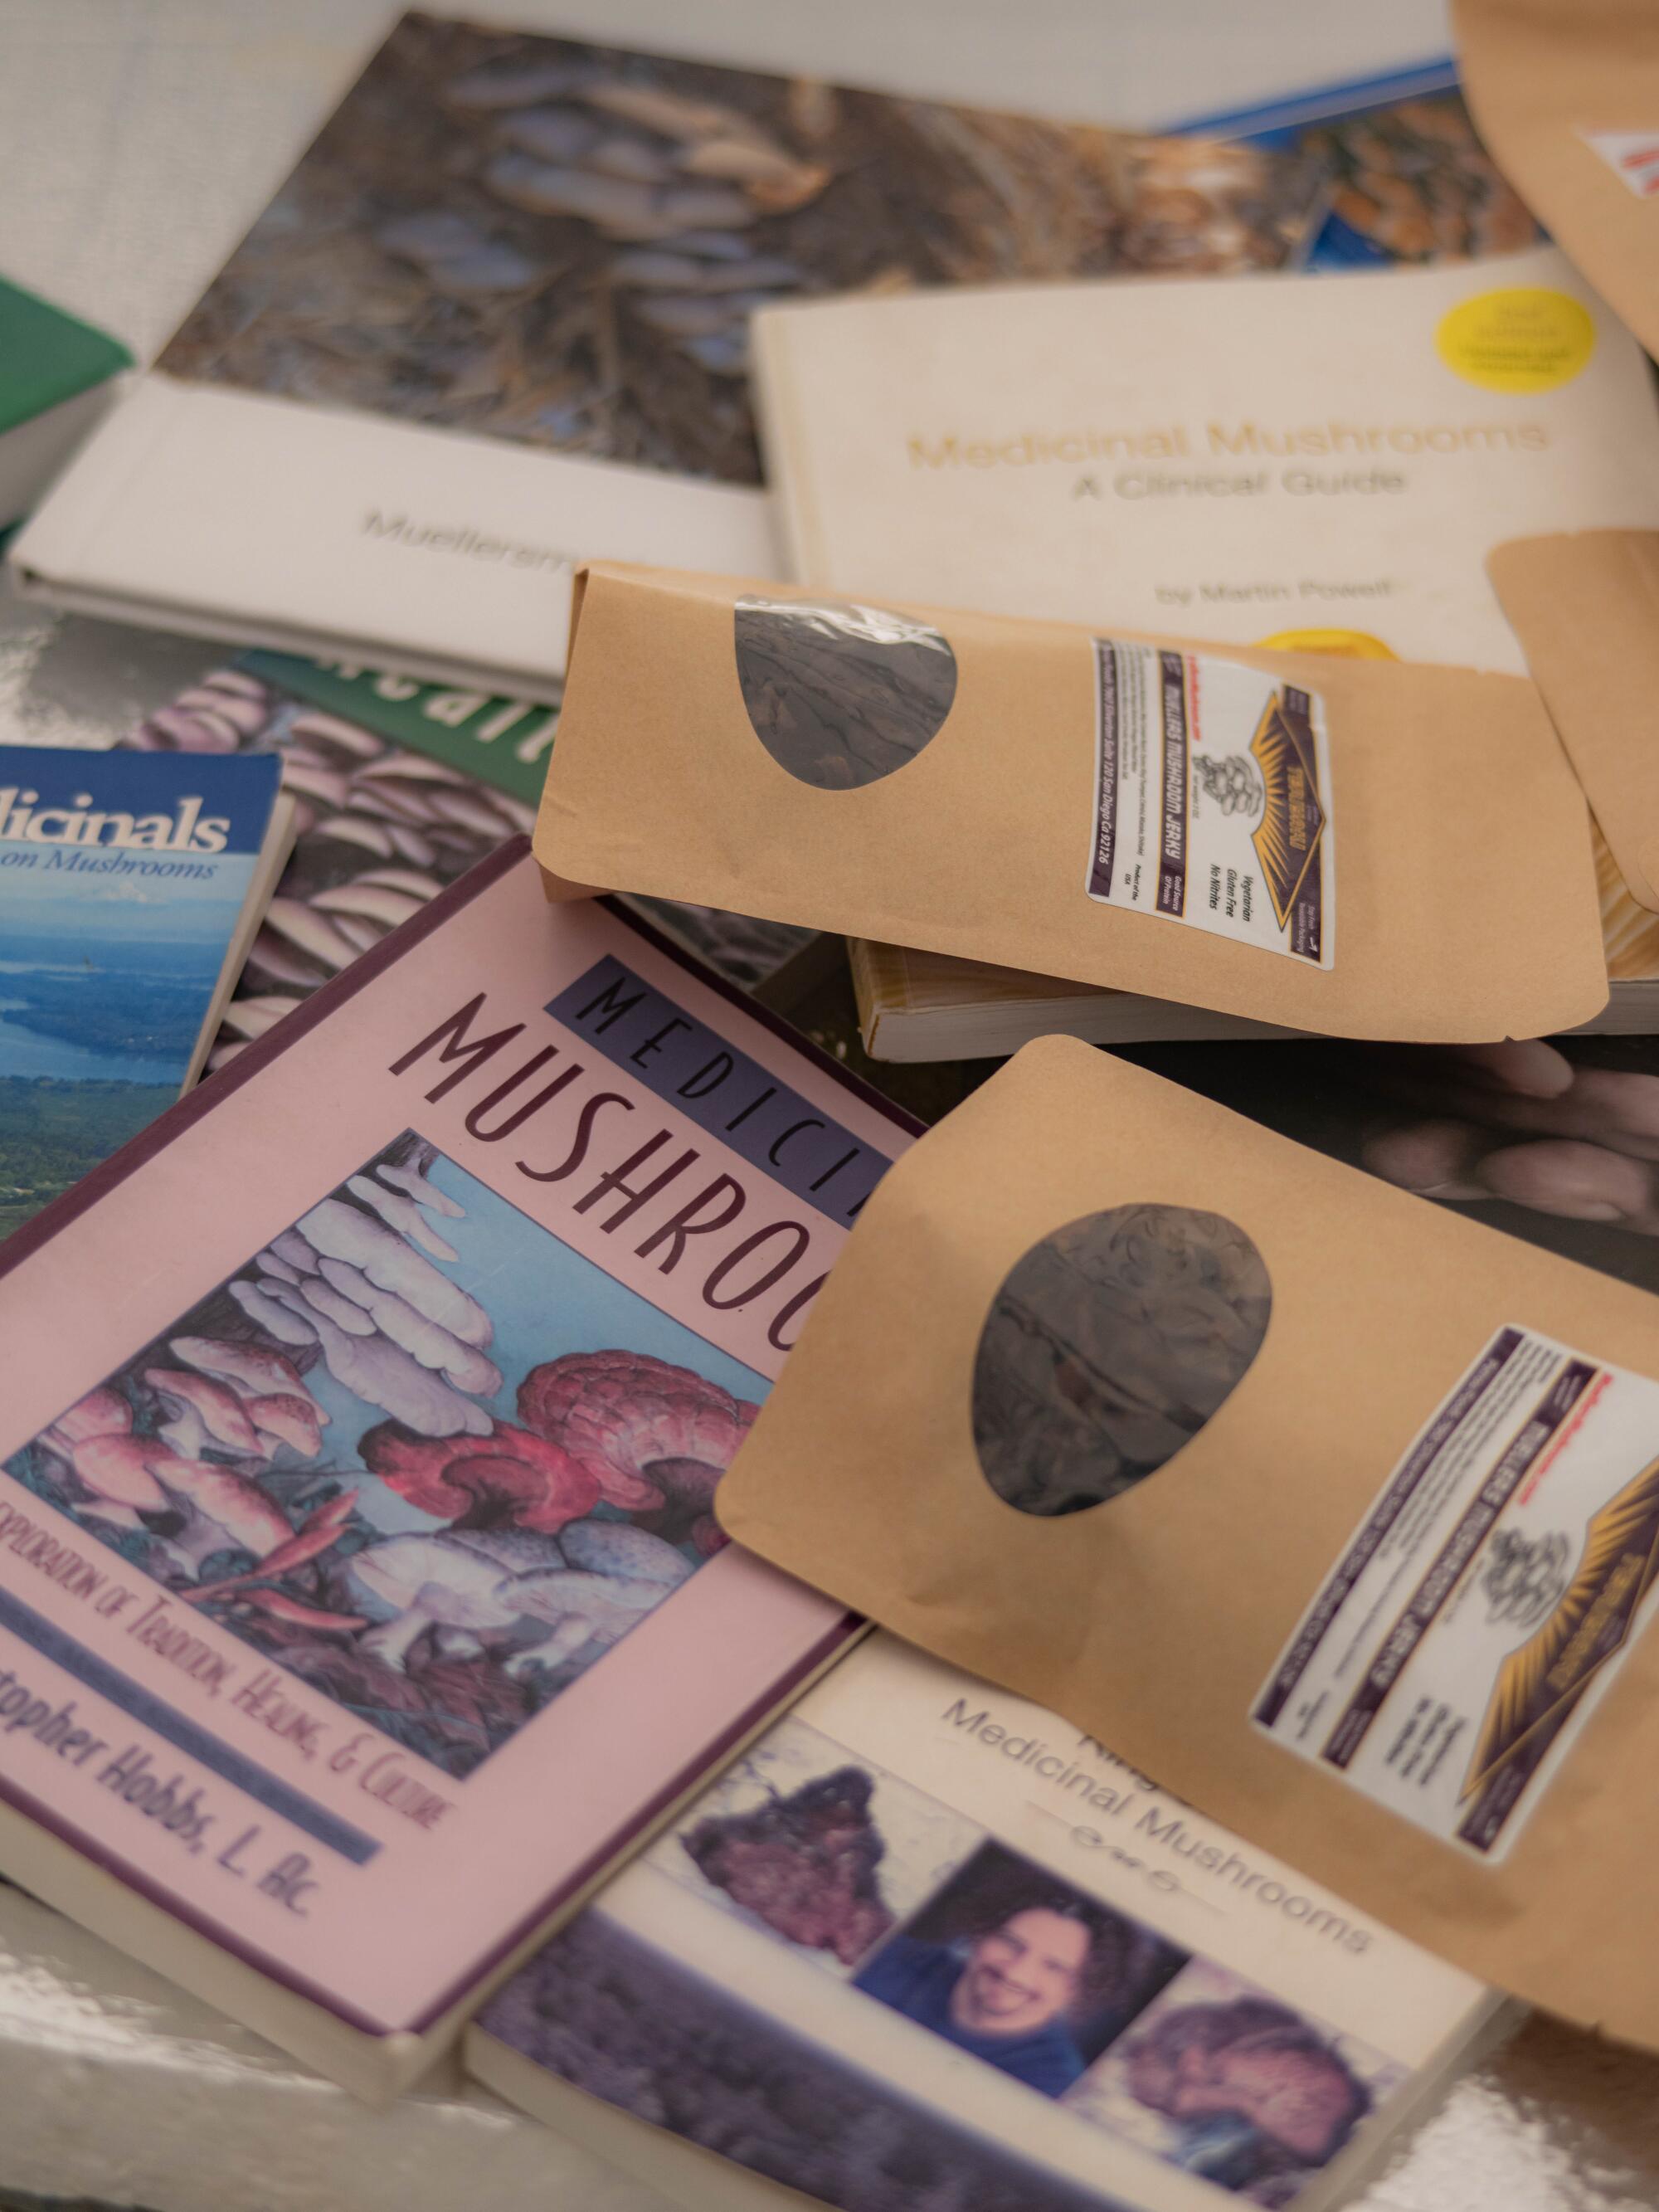
I ordered fungi guru Paul Stametsâ definitive book, âGrowing Gourmet and Medicinal Mushrooms,â expecting a slim volume with lots of photos and tips. Instead, I received a tome as thick and detailed as a biology textbook.
And there I learned my first mind-blowing truth â mushrooms arenât plants at all. They are actually more like a fruit or flower â the reproductive part of a root-like branching organism known as mycelium.
So thatâs the plant, right? Wrong again.
Mycelium, like yeast, molds and toadstools, are neither animals nor plants. Back in the 1960s, scientists decided that mycelium and their fruits are actually part of a separate kingdom â the fungi kingdom â in large part because of the way they eat, said environmental biologist Rudy Diaz, resident mycologist for the Los Angeles Mycological Society.
âAnimals acquire nutrition through ingesting other organic and sometimes inorganic materials, and plants acquire nutrition through photosynthesis â they basically produce their own food,â Diaz said. âBut fungi are unique in that they use an absorptive mode of nutrition.â
Just like plants and animals, fungi require oxygen, water and light to live. But they eat by secreting enzymes and acids that break down organic matter so they can absorb the nutrients they need, making them the planetâs âpremier recyclers,â Stamets writes in his foreword.
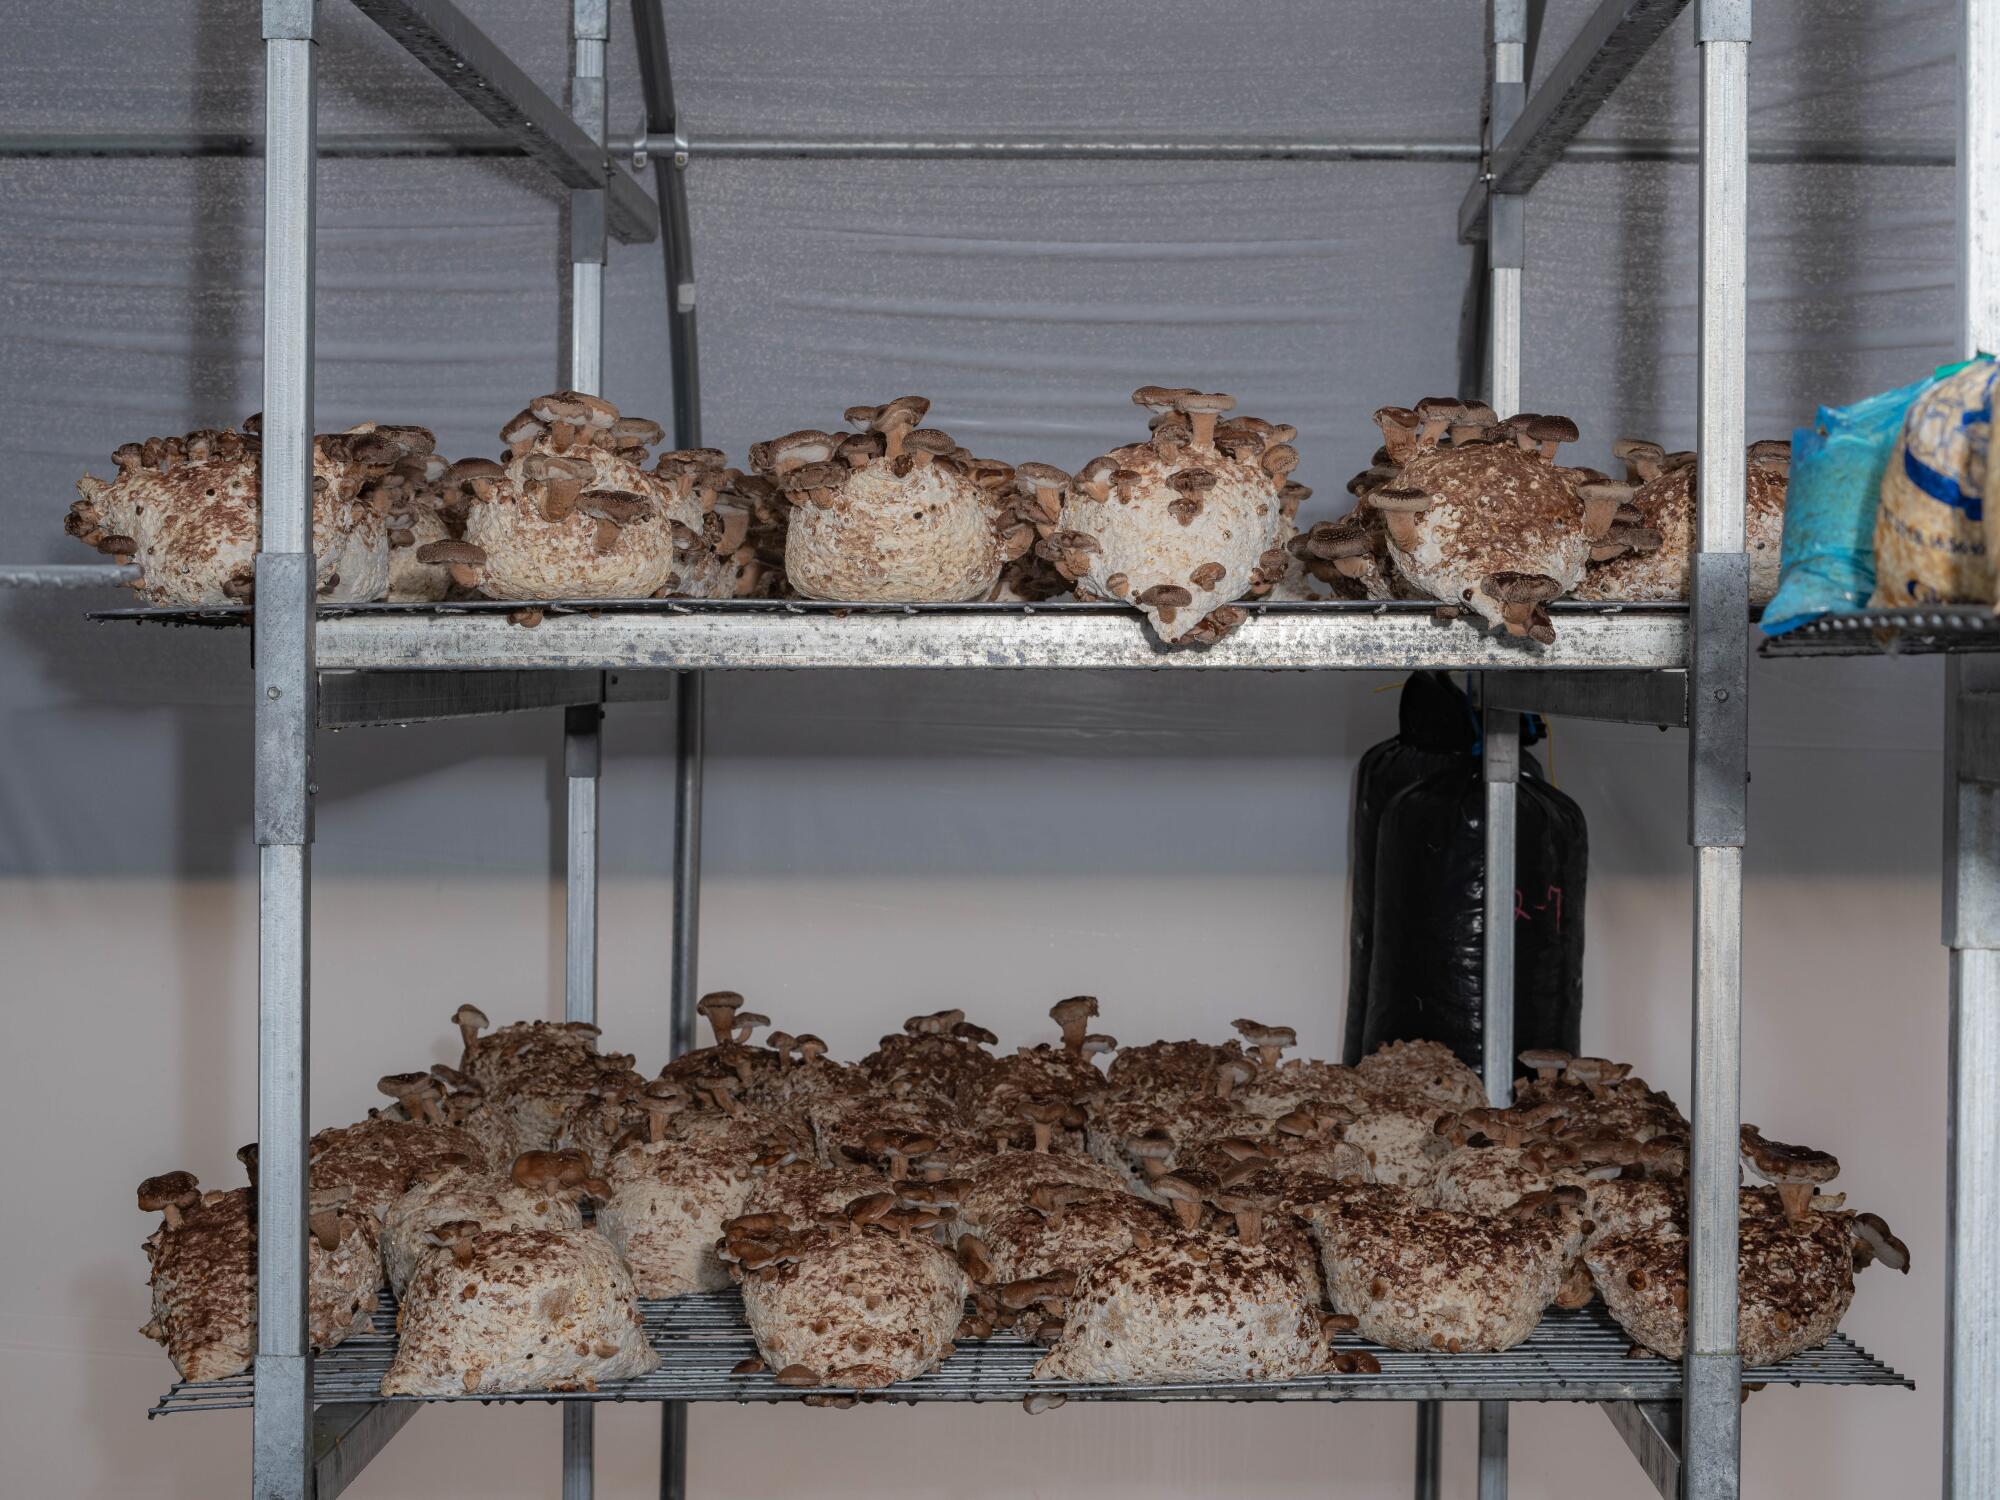
âFungi are essential to recycling organic wastes and the efficient return of nutrients back into the ecosystem,â Stamets writes. âNot only are they recognized for their importance within the environment but also for their effect on human evolution and health. Yet to date, the inherent biological power embodied within the mycelial network of mushrooms largely remains a vast, untapped resource.â
In fact, some researchers say fungi are actually more closely related to animals than to plants, but before you start embracing your inner mycelium, know that this familial connection split many millions of years ago, when both fungi and animals were single-cell creatures, said Diaz.
âPeople have taken this information and gone running in the wrong direction,â said Diaz, âsaying things like, âWe are from mushrooms,â when âweâ (humans and other animals) didnât even exist yet.â
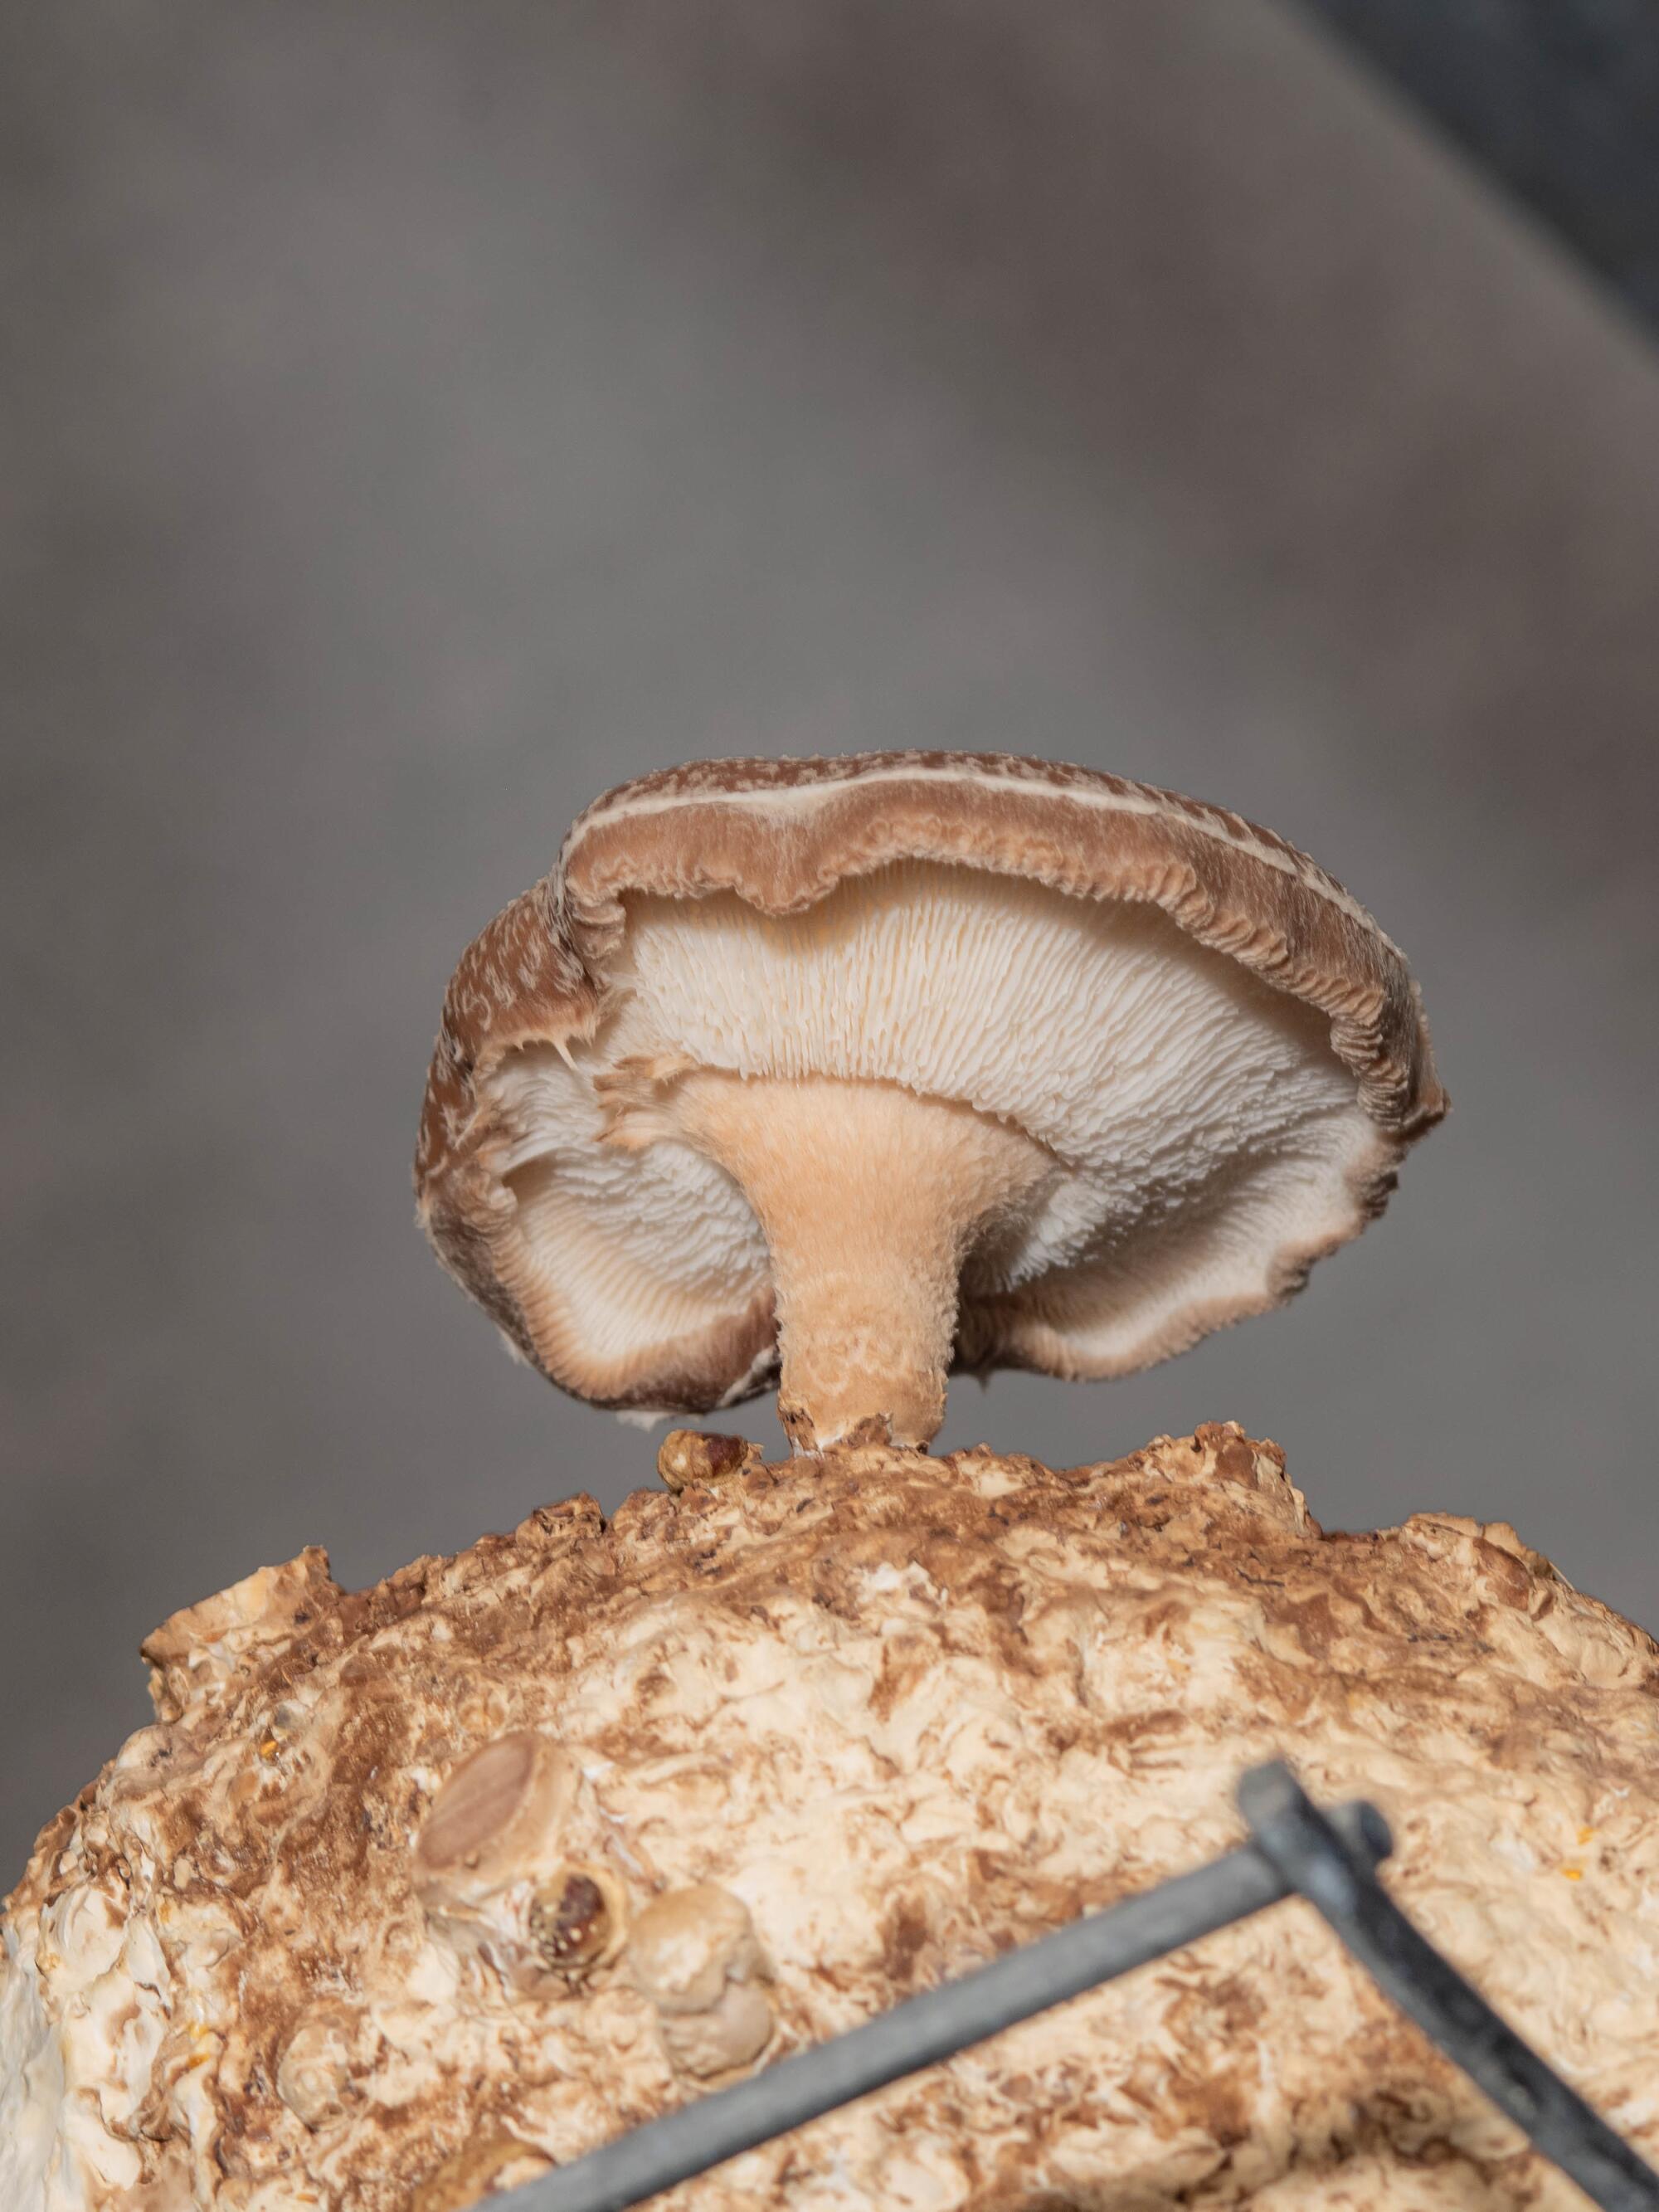
But thatâs part of the passionate, almost religious zeal around mushrooms these days. It surged during the pandemic, fueled by new research (and claims) about the culinary, medicinal and psychological benefits of some mushrooms â and the ability of other fungi to clean and rebuild depleted and/or toxic soils.
Diaz, 25, said membership in L.A.âs Mycological Society has more than doubled to around 600 people since he joined the group in 2017. âIn the last two or three years thereâs been an explosion of interest,â he said.
âThe âShroom Boomâ is real,â said Sam Shoemaker, an L.A. artist and Los Angeles Mycological Society (LAMS) member who grows and preserves a variety of sculptural mushrooms to use in his unusual art.
The best tips and tricks for identifying and responsibly gathering fungi in the wild.
âI got interested in mushrooms in 2015 because it was an excuse to not be around art people all the time,â Shoemaker said. âEight years later, itâs become my entire life. ... When you go to an art opening, you donât hear people talk about art the way people talk about mushrooms at the Mycological Society meetings.â
Shoemaker, 31, used to sell mushrooms, but he now focuses on his art and workshops in mushroom cultivation that are currently sold out (although he will be offering a few classes during the Mycological Societyâs 39th Wild Mushroom Fair at South Coast Botanic Garden on Feb. 5). He also makes and sells tinctures from lionâs mane, a shaggy, brain-shaped mushroom, and reishi mushrooms, which grow like colorful half-plates off logs or like antlers with suction cups. These two are purported by many mushroom proponents to boost immunity and reduce inflammation (in the case of reishi) and tackle depression and even dementia (in the case of lionâs mane).
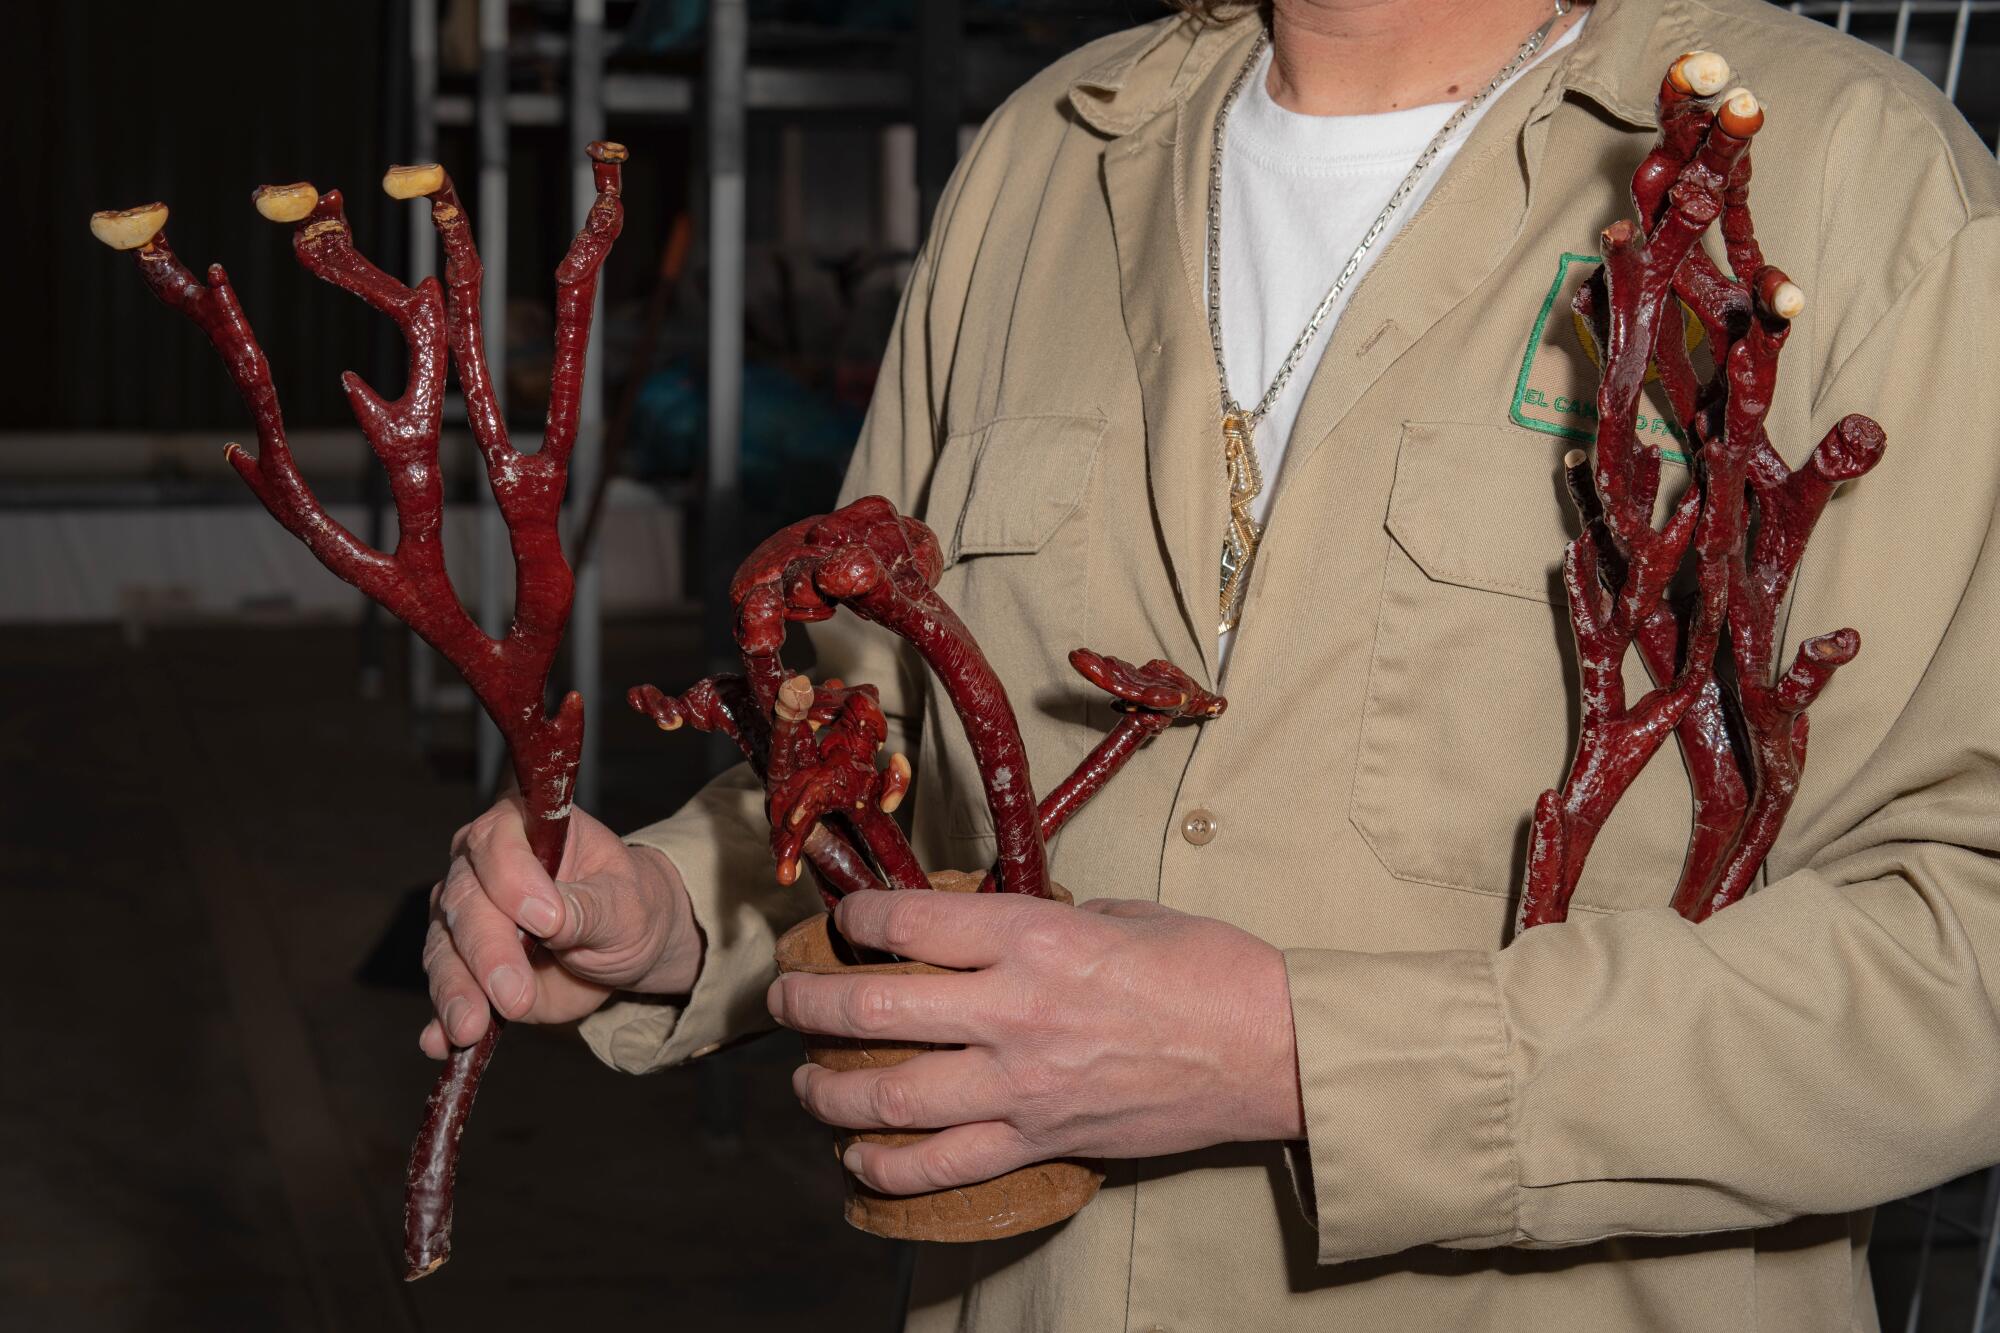
Shoemaker doesnât dwell on these claims, however, saying thereâs still much more research to be done. Heâs more excited about research using mushrooms to break down diesel-soaked soils and restore habitat (âItâs very, very new territoryâ) and finding ways to sustainably grow nutritious edible mushrooms in Los Angeles, because there are very few local producers in the region. Mushroom kits come in heavy blocks, he says, so the farther away you buy, the higher your shipping fees.
If youâre eager to grow mushrooms in L.A., this is where things get tricky. Experts canât even seem to agree on how many species of mushrooms exist in the world, with numbers ranging from at least 10,000 to several million. Suffice to say, mushrooms come in many shapes, colors and digestibility levels, and they require different media or substrate in which to grow. Itâs not like you can buy a bag of potting soil and a packet of seeds. Some varieties prefer to grow in manure, others like living trees and still others flourish on decaying hardwoods like oak logs.
You can go into the woods and find good edible mushrooms, collect their spores and try growing mycelium at home, but this requires at least a minimal laboratory with sterile conditions and a pasteurized substrate to remove contaminants like bacteria that would compete with mushroom growth.
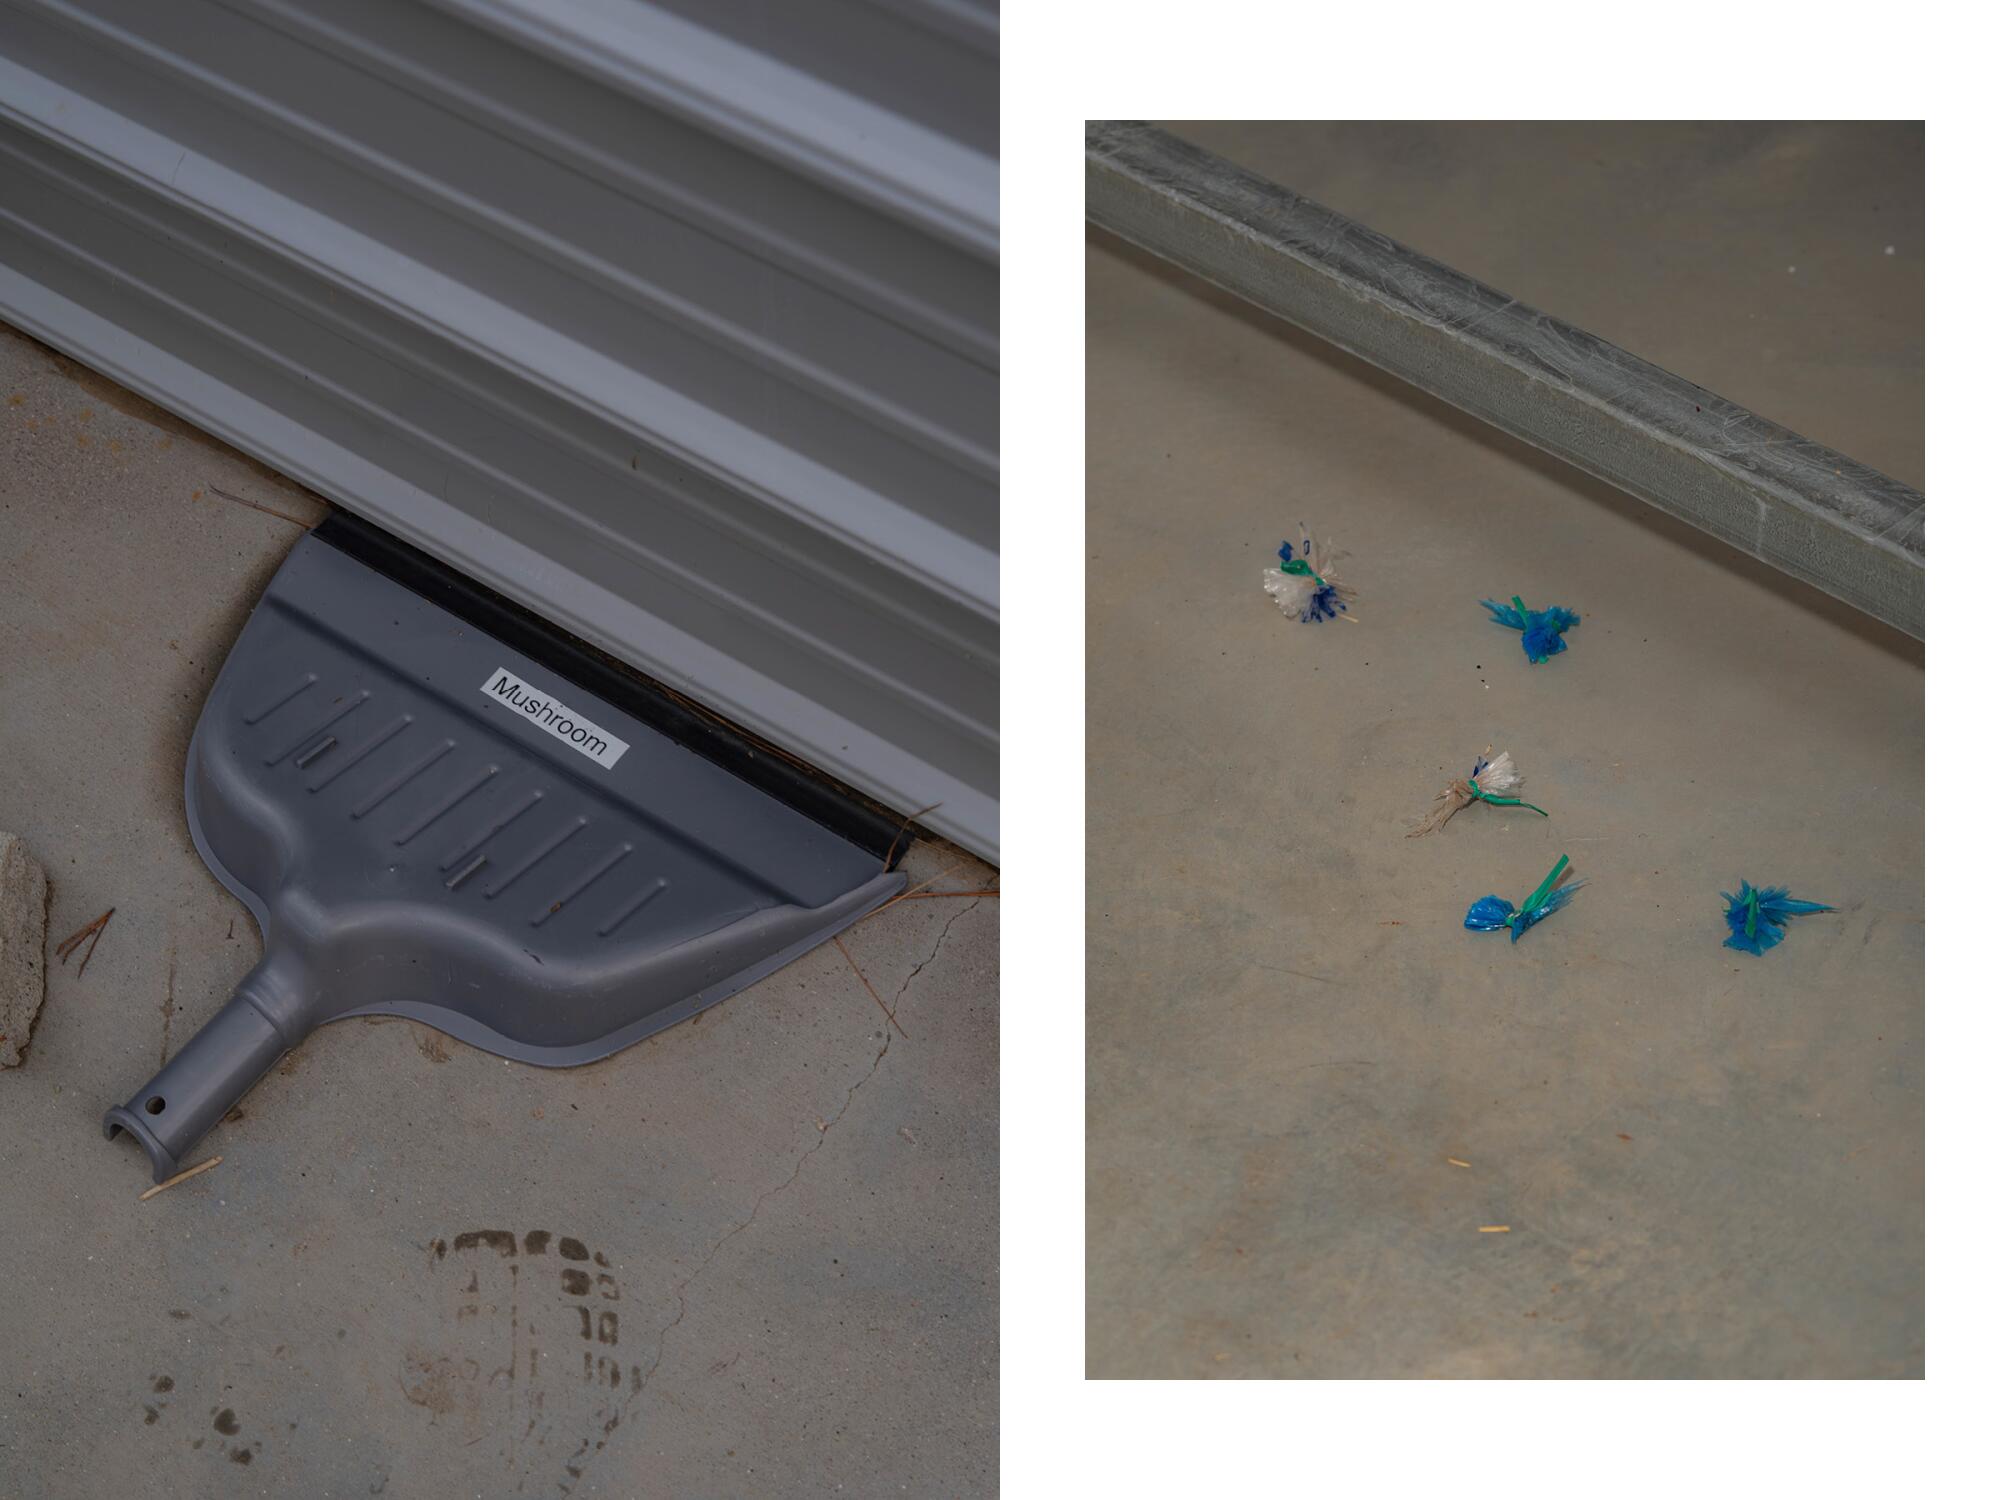
Or you can forget the lab and purchase a mushroom âkit,â usually a mycelium-infused substrate like shredded straw or wood pellets packed into a plastic bag.
Some kits grow just as they come â all you need to do is open the box, add a few holes in the bags and keep misting until the mushrooms pop out a few weeks later.
Or you can take the kit and mix it with a pasteurized substrate to create multiple kits, a relatively simple way to get the biggest bang for your buck, said Eric Mueller, a mushroom cultivator in central San Diego County who has been growing and selling mushrooms for more than 20 years.
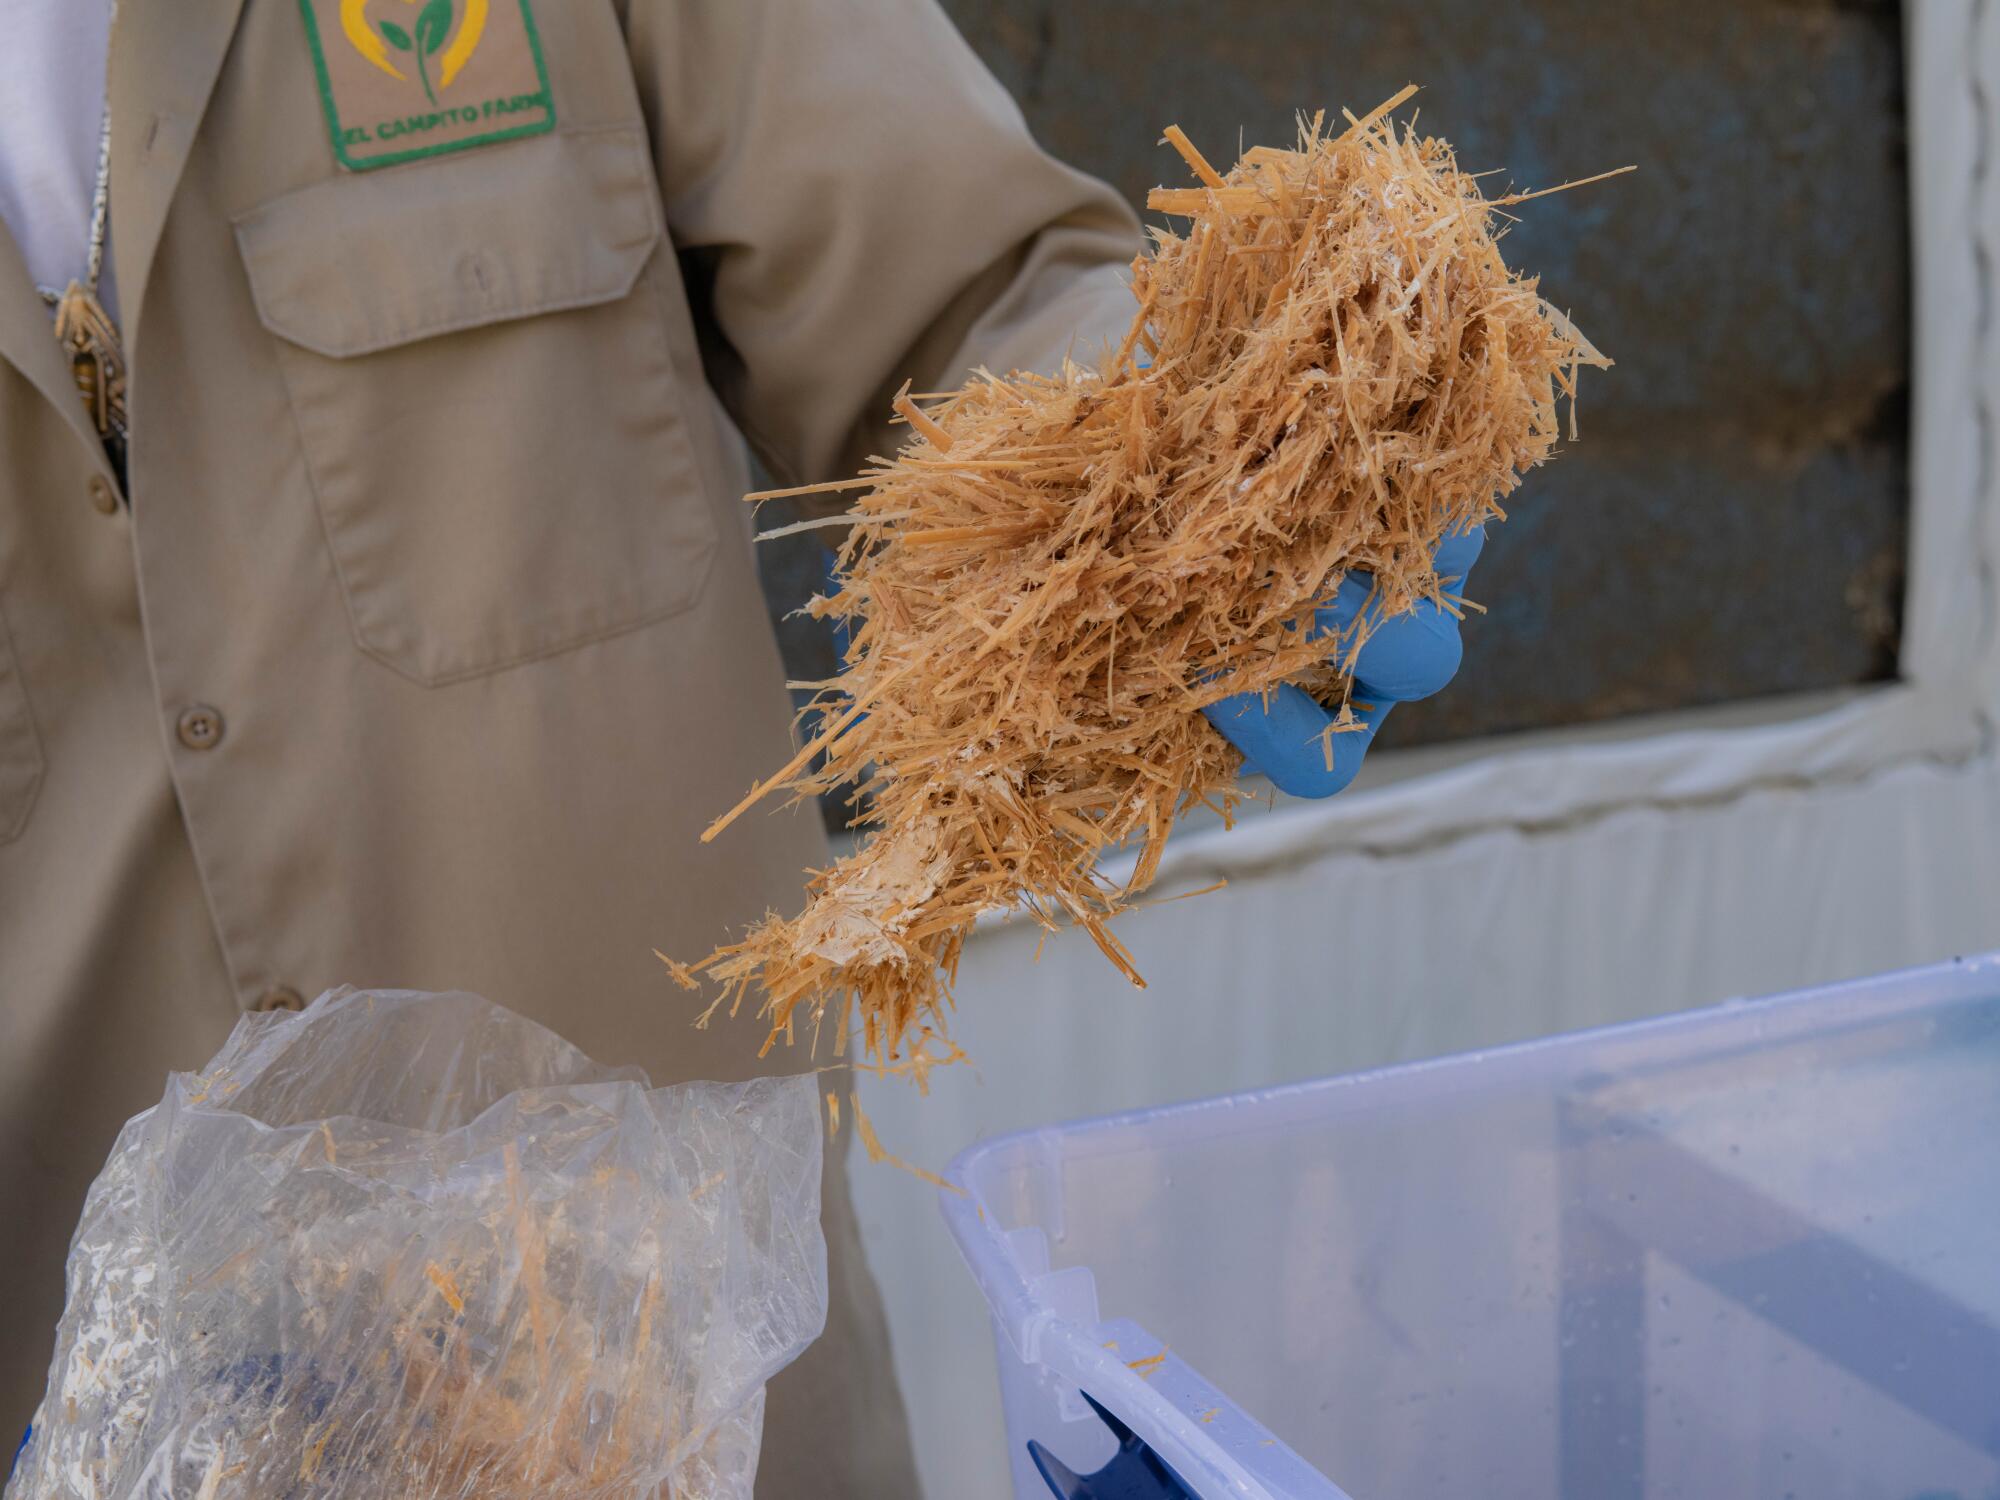
Muellerâs Mushrooms is one of just a few Southern California businesses that sell mushroom kits. Others include Long Beach Mushrooms, Fungi Valley in Los Angeles and Smallhold, a New York-based company that expanded to Los Angeles in 2022. Other California-based companies include Mushroom Adventures, in Marysville, north of Sacramento; Far West Fungi, in the San Francisco area; Forest Origins, in Windsor, north of San Francisco; Gourmet Mushroom Products in Sonoma County; and Fungaia Farm in Eureka.
Wherever you decide to buy, Mueller recommends that beginners start with blue oyster mushrooms because:
- Theyâre delicious but hard to find in stores because theyâre fragile and wilt with too much handling.
- They cost about $4 to $5 per pound at farmers markets.
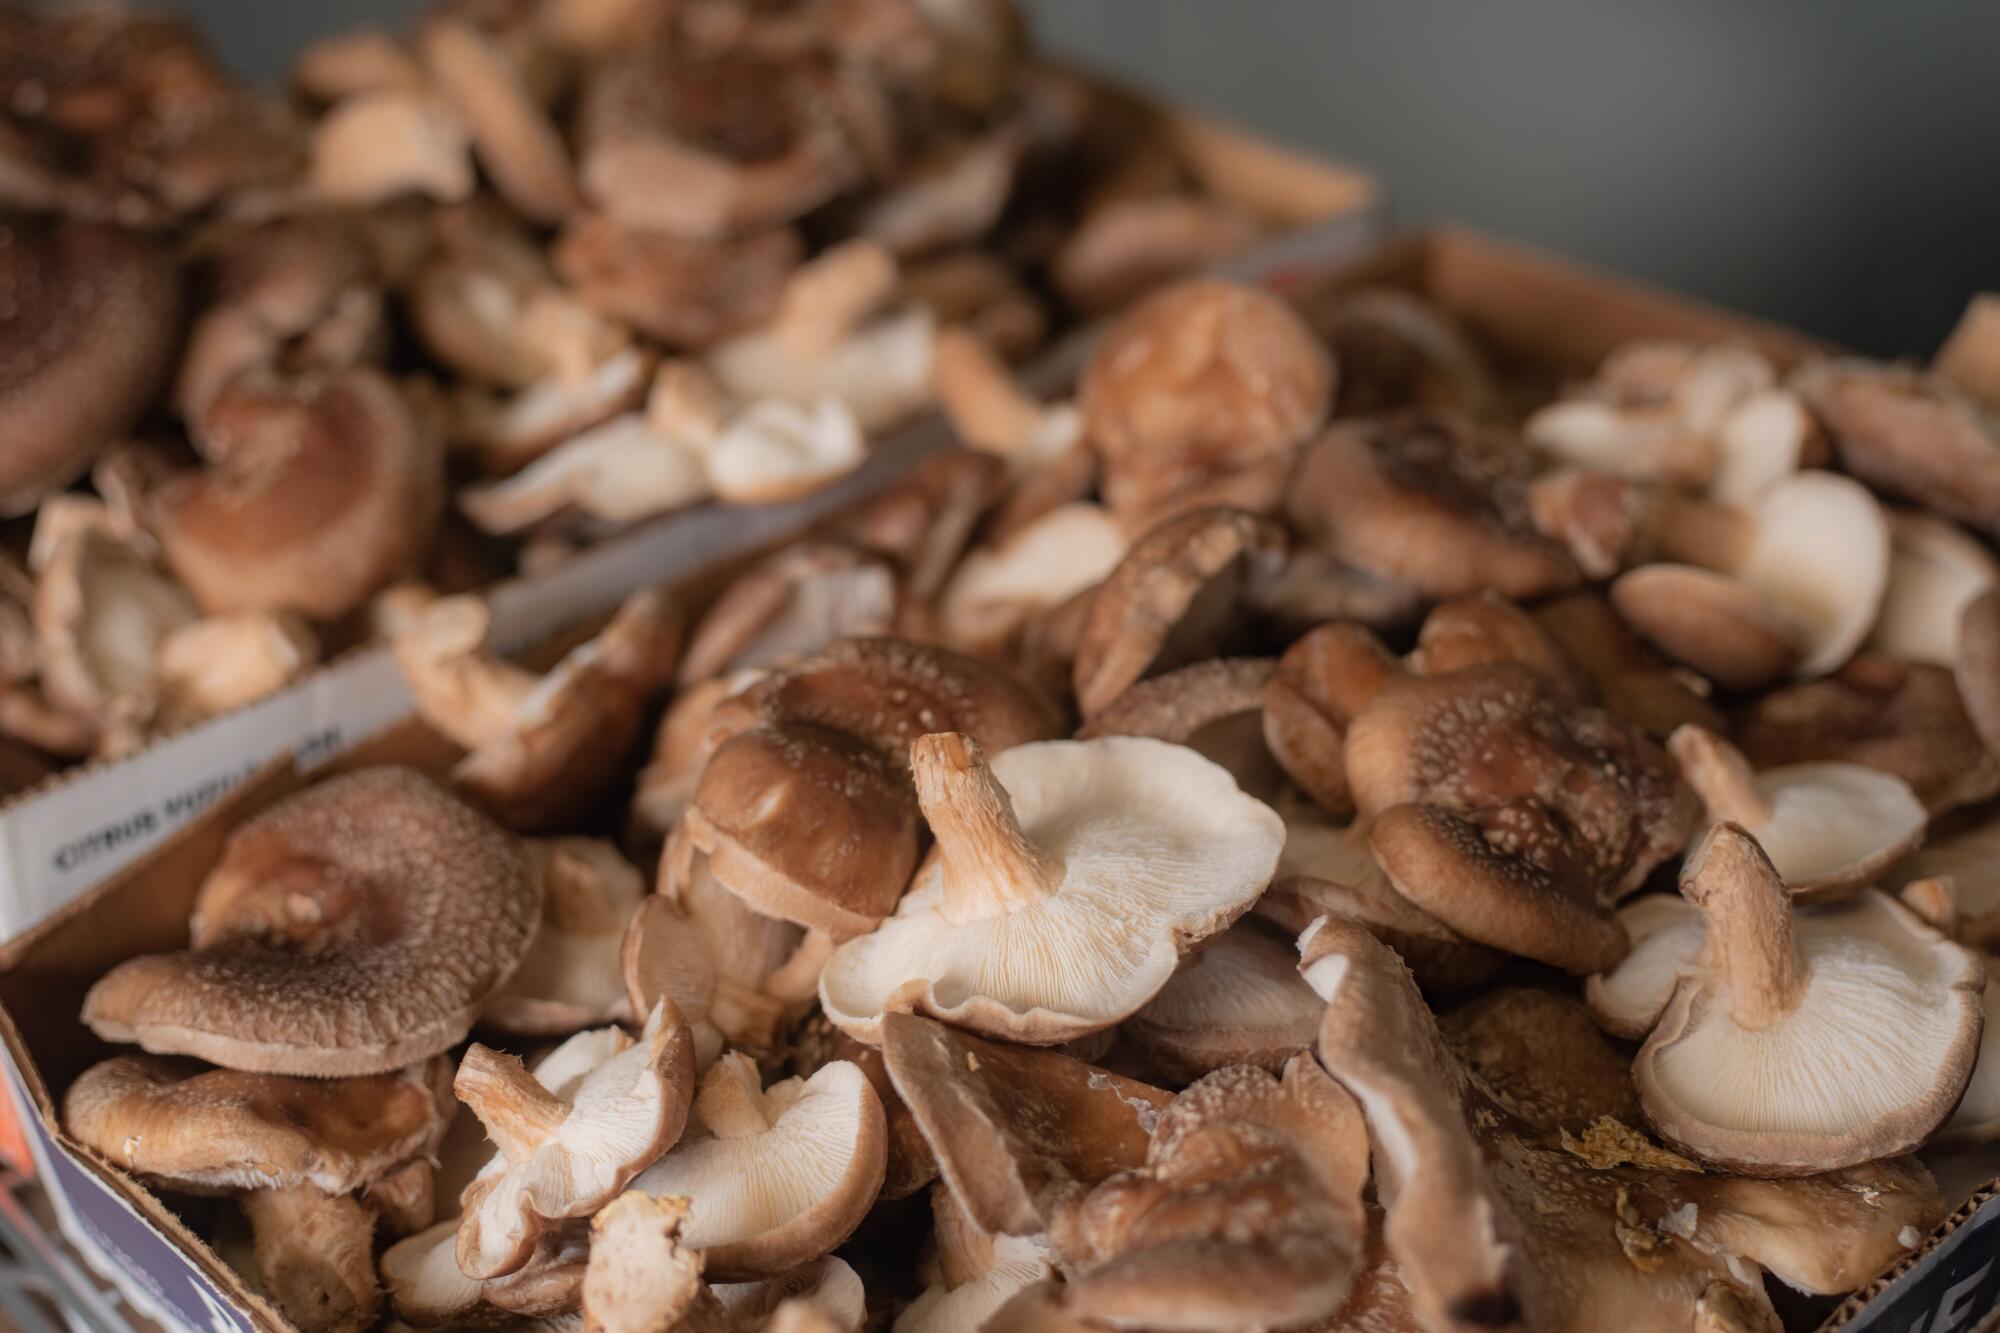
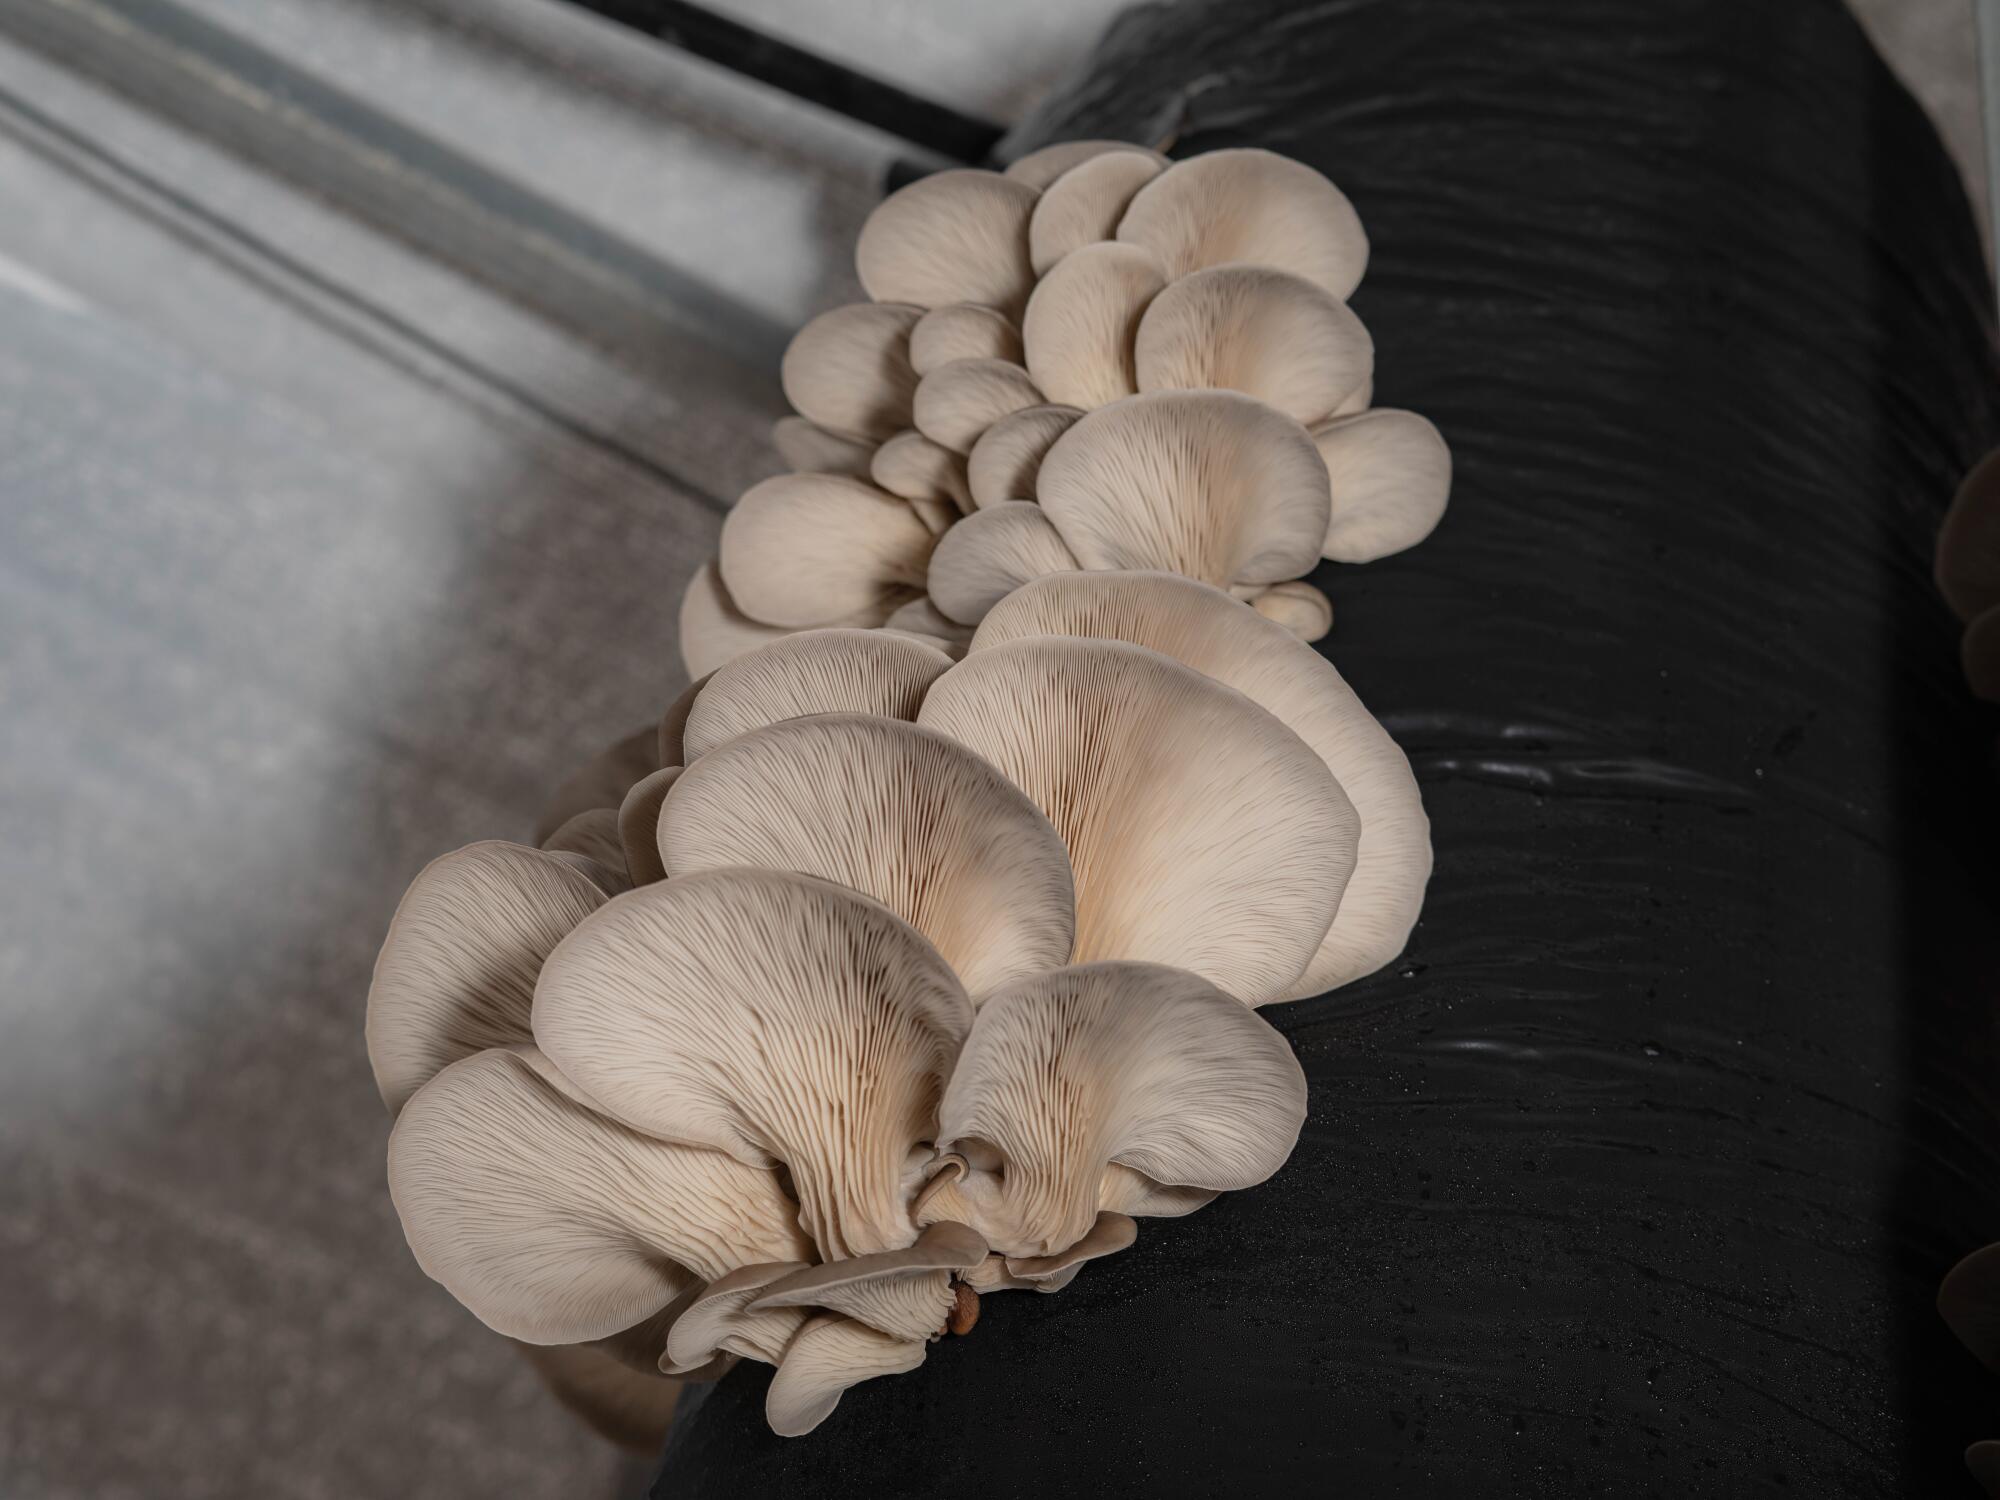
- They grow more quickly than other varieties. Shiitake, for instance, another yummy mushroom, takes many months to âflushâ (i.e., produce a crop), whereas you should get a flush of oyster mushrooms within two to three weeks, and at least one or two subsequent flushes after that.
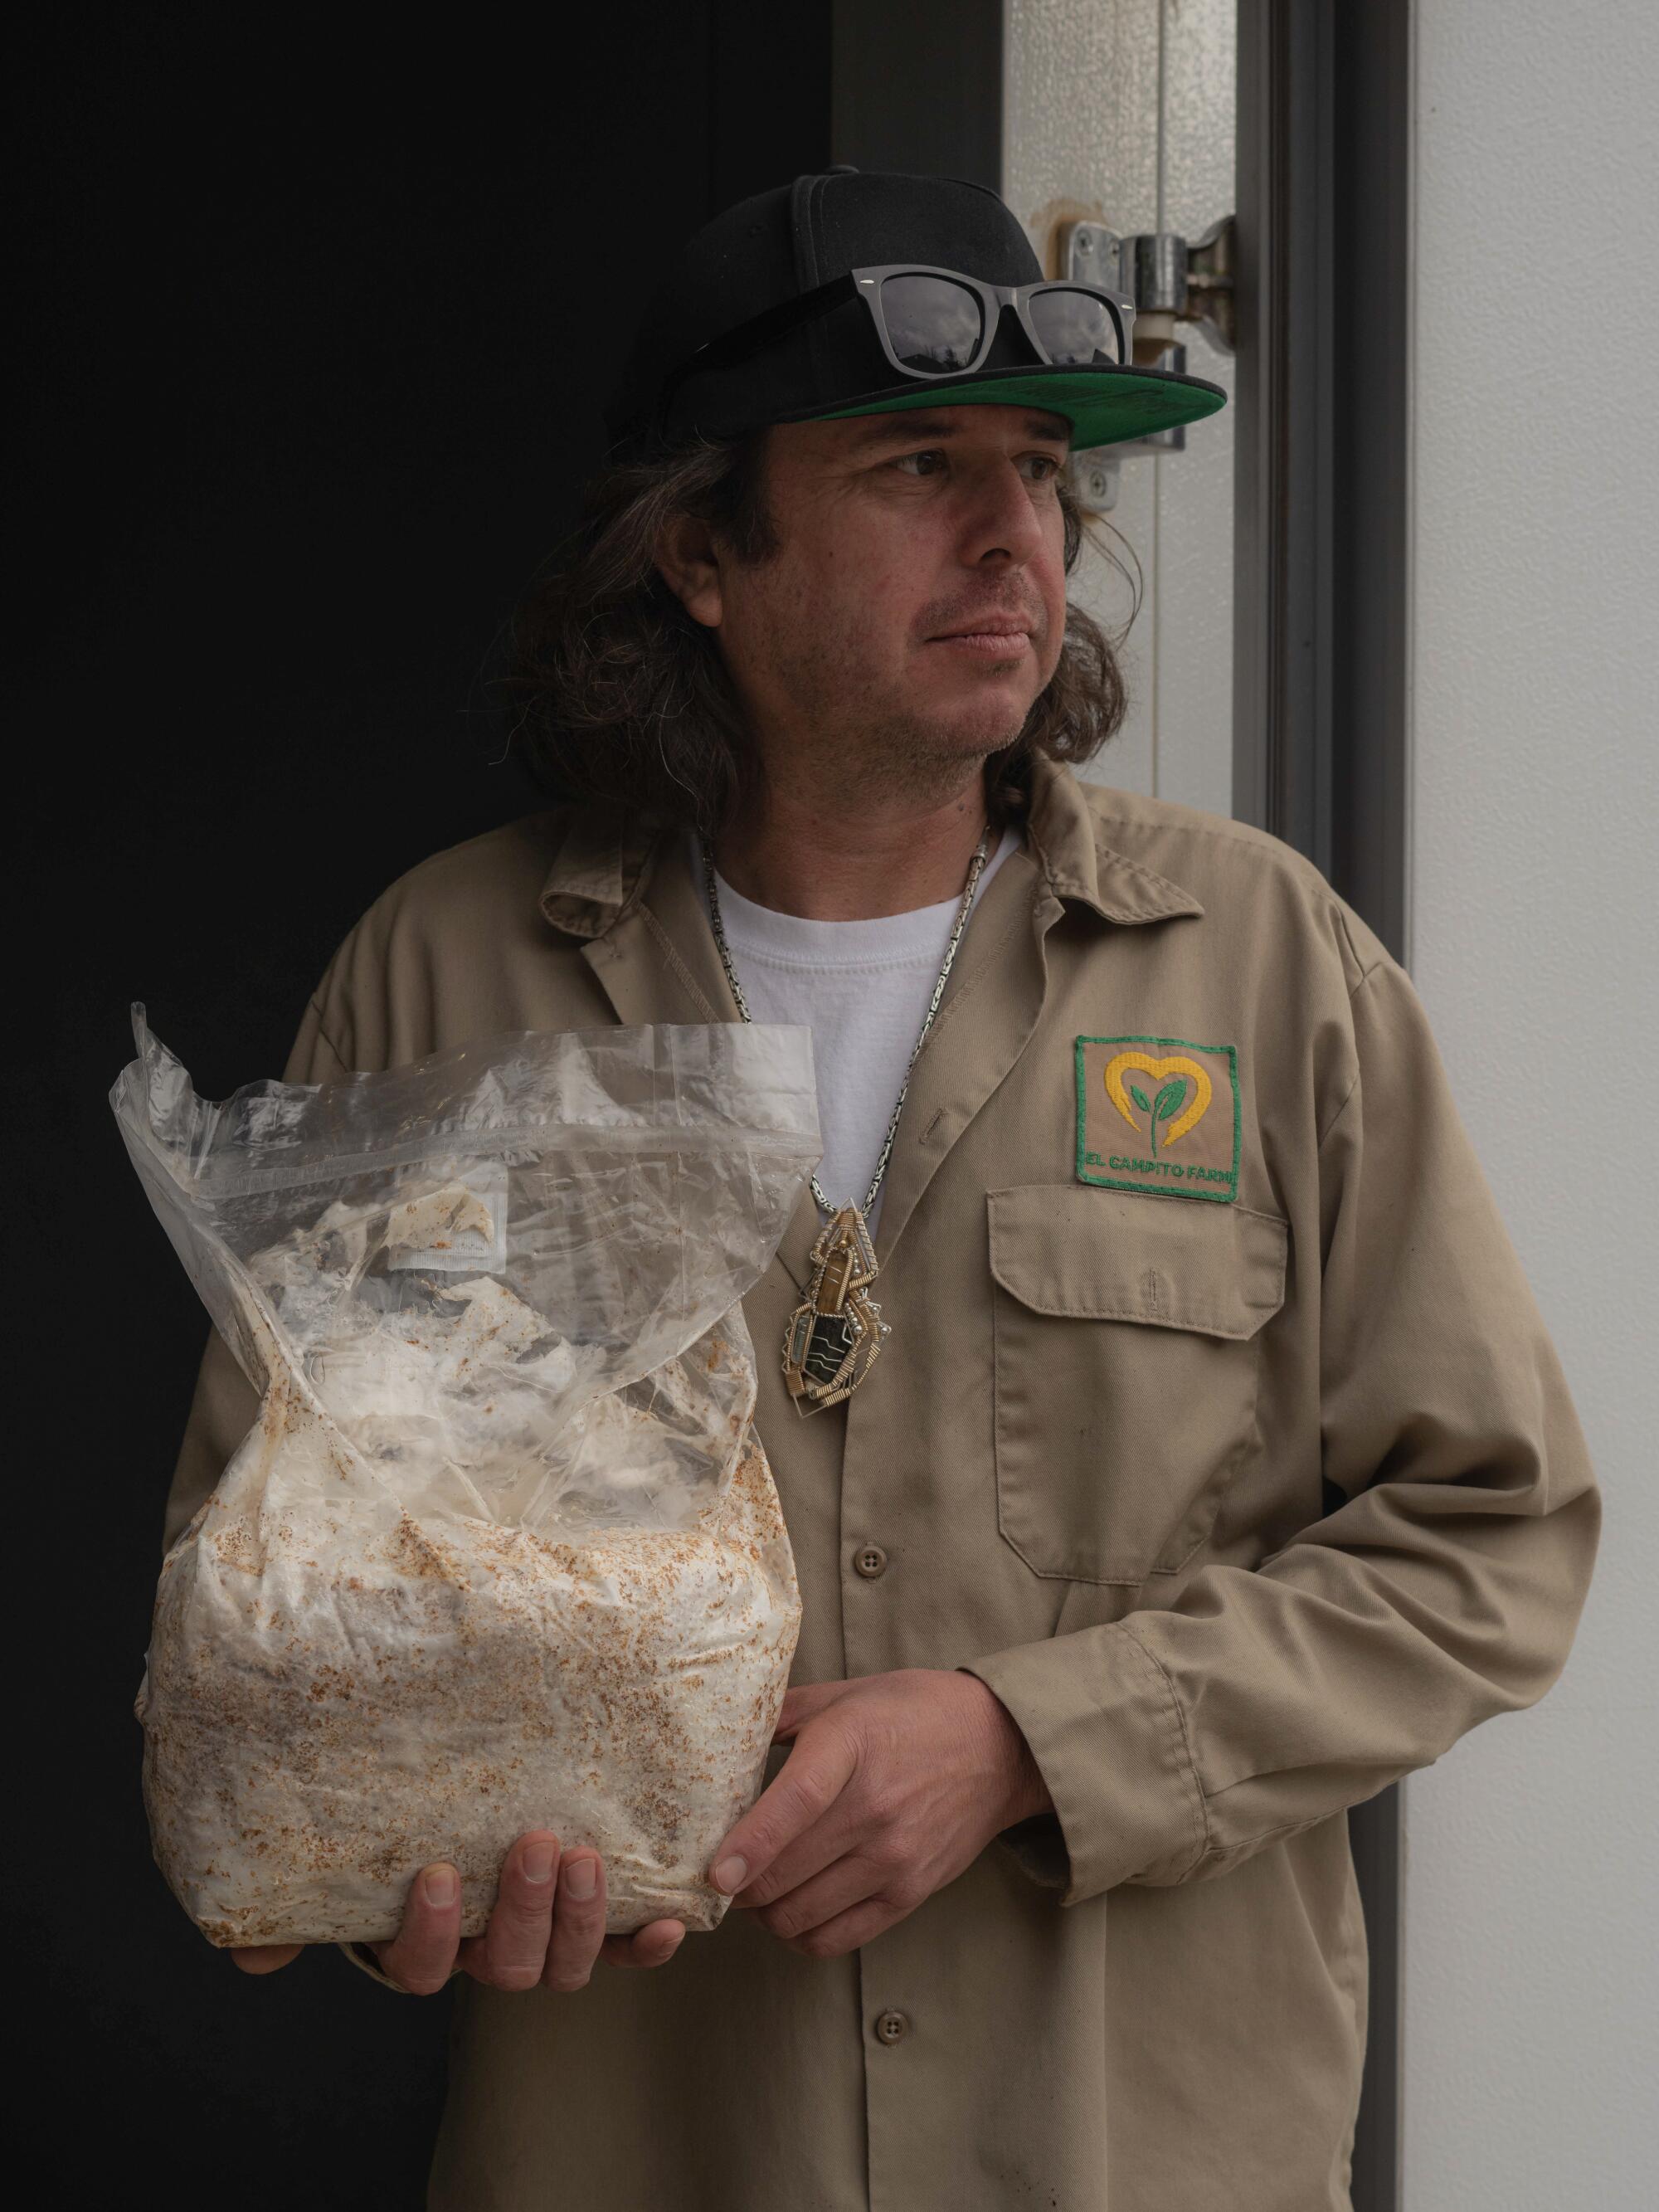
Mueller, 41, was a budding entrepreneur and Alpine high school student when he came up with the idea of selling locally produced mushrooms to local restaurants. He found wild oyster mushrooms growing in a creek near his home, so with his familyâs support and help from Stametsâ book, he built a small lab outside his home and began growing.
Today, Muellerâs Mushrooms operates out of a warehouse in Guatay, in the Cleveland National Forest. He grows many varieties and still sells at local farmers markets, but his mainstays these days are making tasty jerkys, from dried shiitake and oyster mushrooms, and medicinal tinctures, using lionâs mane and reishi. He also expects to offer mushroom growing classes in the spring.

Here are Muellerâs recommendations for expanding your oyster mushroom kit into two or three kits to grow at home:
What youâll need to grow mushrooms
- Oyster mushroom âkitâ (mixture of mycelium and some substrate â i.e., growing medium â like straw) sold from various producers
- Disposable gloves (for handling mushroom spawn and mixing)
- Clear or translucent plastic tub, at least 54 quarts
- Spray bottle with weak bleach mixture (a tablespoon of bleach mixed with a quart of water)
- Paper towels (to dry the tub)
- Presterilized 10-pound ice bags (available online or at Smart & Final stores)
- Twist ties to close your bags (may come with the bags)
- Big sack (about 20 pounds) of freshly used coffee grounds, preferably used and discarded that day
- Pushpin thumbtack for quickly making air holes in the bags
Spray bottle of water for misting your kits
Step 1: Assemble all your materials. Speed matters when it comes to creating mushroom kits. The more time your spawn is exposed to the air, the more likely it will become contaminated with bacteria that will compete with your mushrooms for space and nutrients. Best to move as quickly as you can to get the spawn mixed with your substrate â in this case, coffee grounds â and packaged.
Step 2: Don your gloves. The gloves will protect your hands and the mixture from any possible contaminants. Itâs easy to spray your gloved hands with the bleach solution, Mueller said; not so nice to spray your bare hands with bleach, or get mushroom spawn up into your fingernails.
Step 3: Clean your tub and gloves with bleach solution. Use paper towels to dry the tub and your gloved hands.
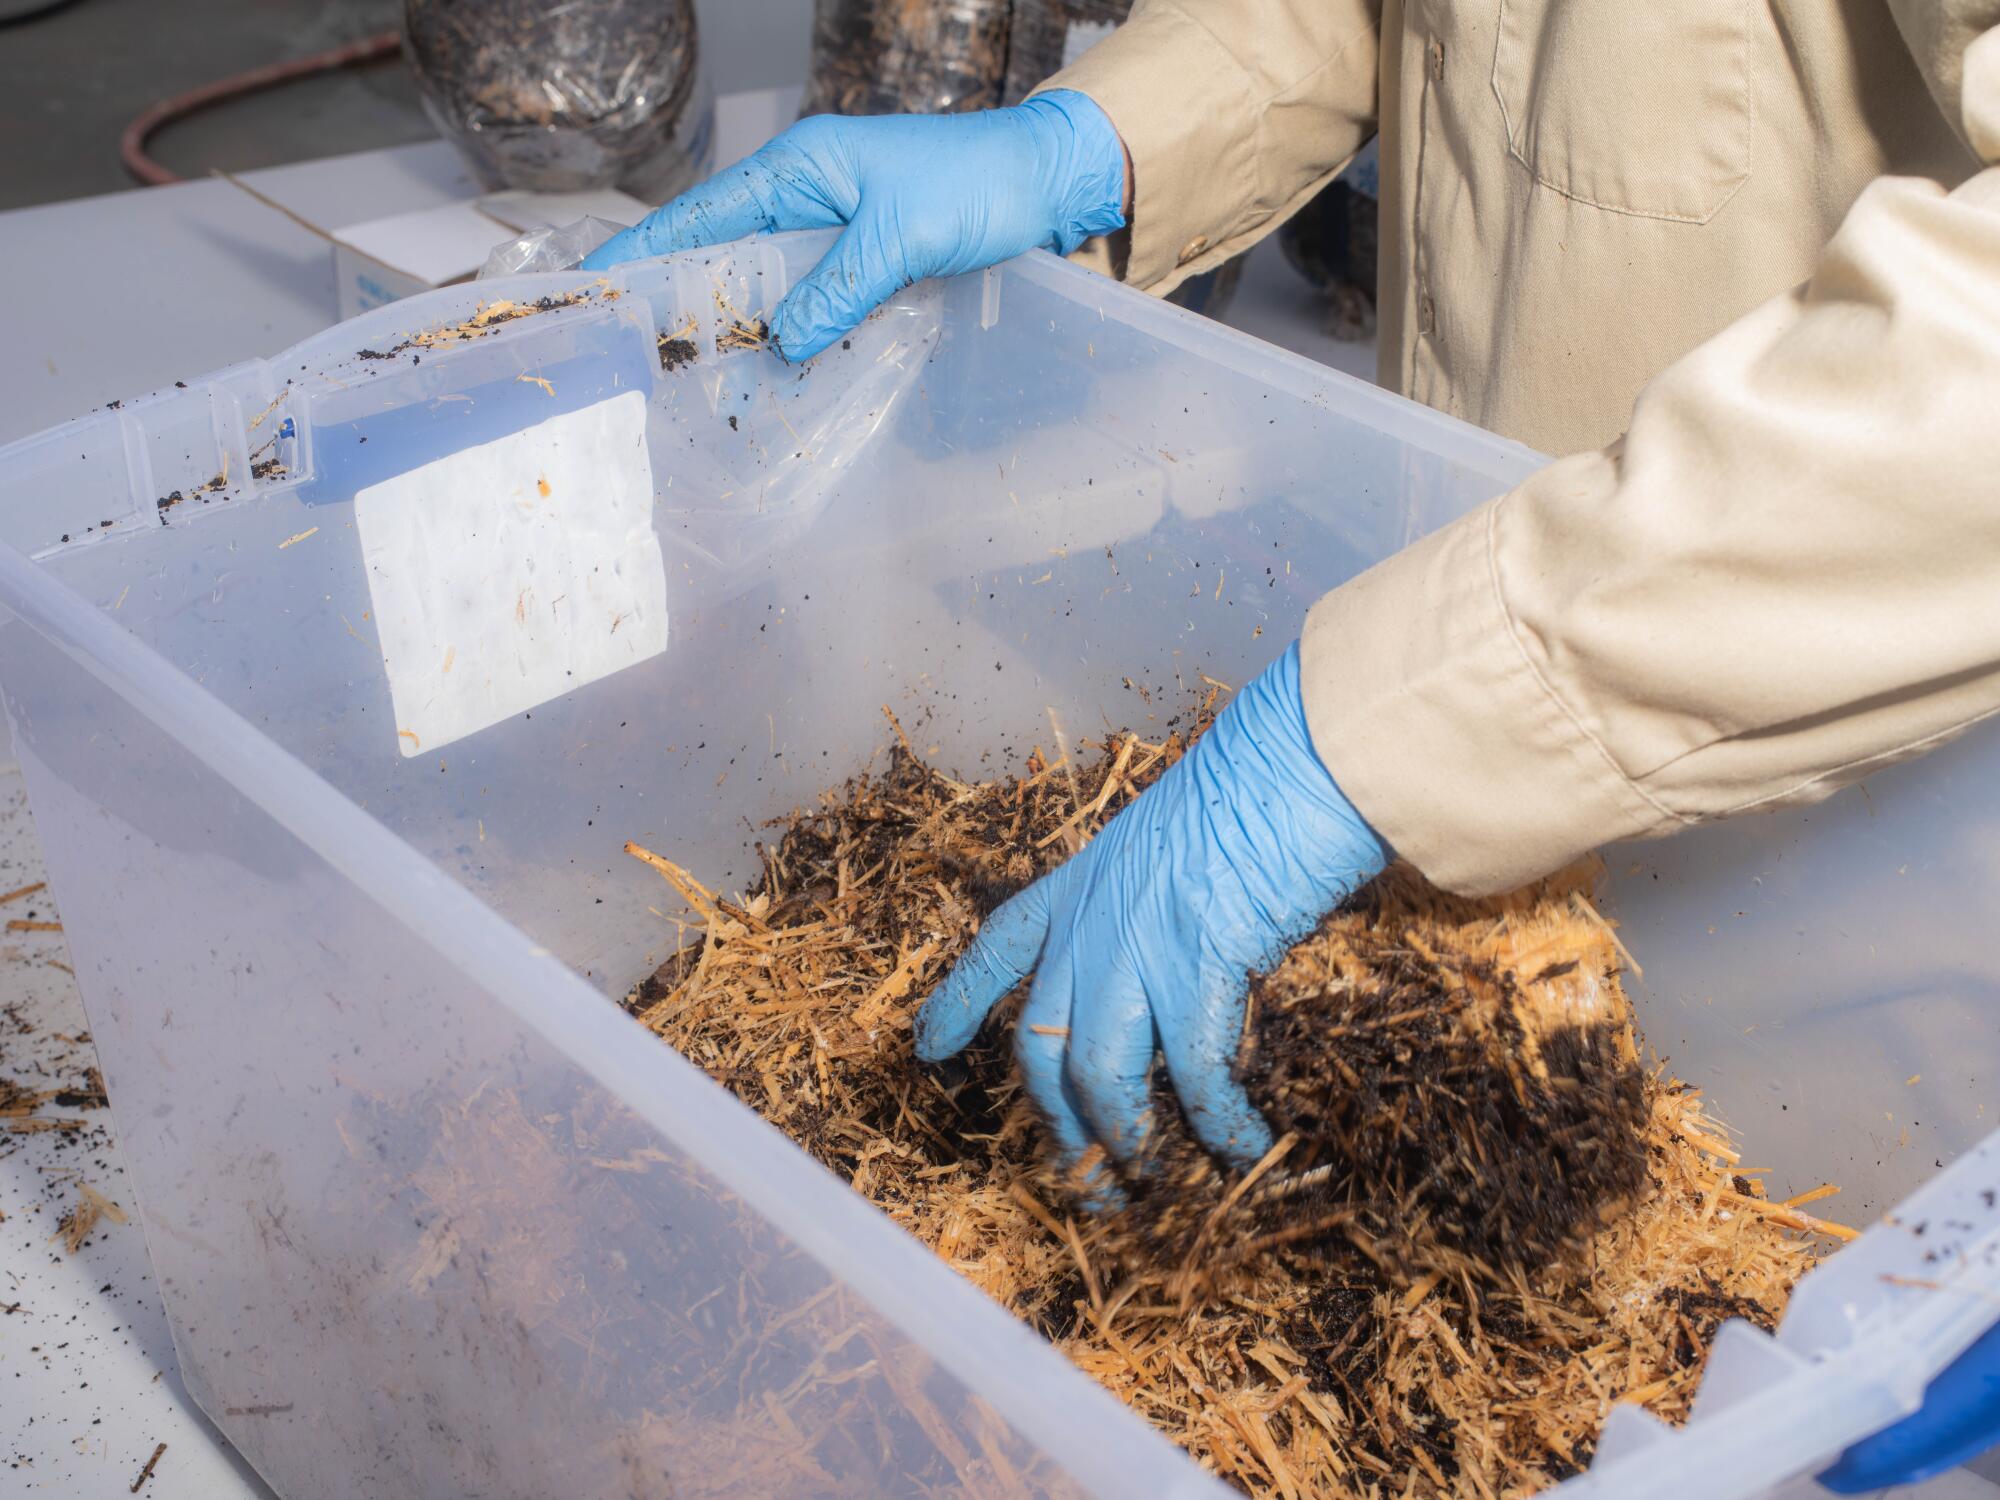
Step 4: Start mixing. Pour the coffee grounds (about 20 poundsâ worth) into the sterilized tub and, working quickly, start mixing the mushroom spawn into the coffee grounds, adding a few handfuls of spawn at a time.
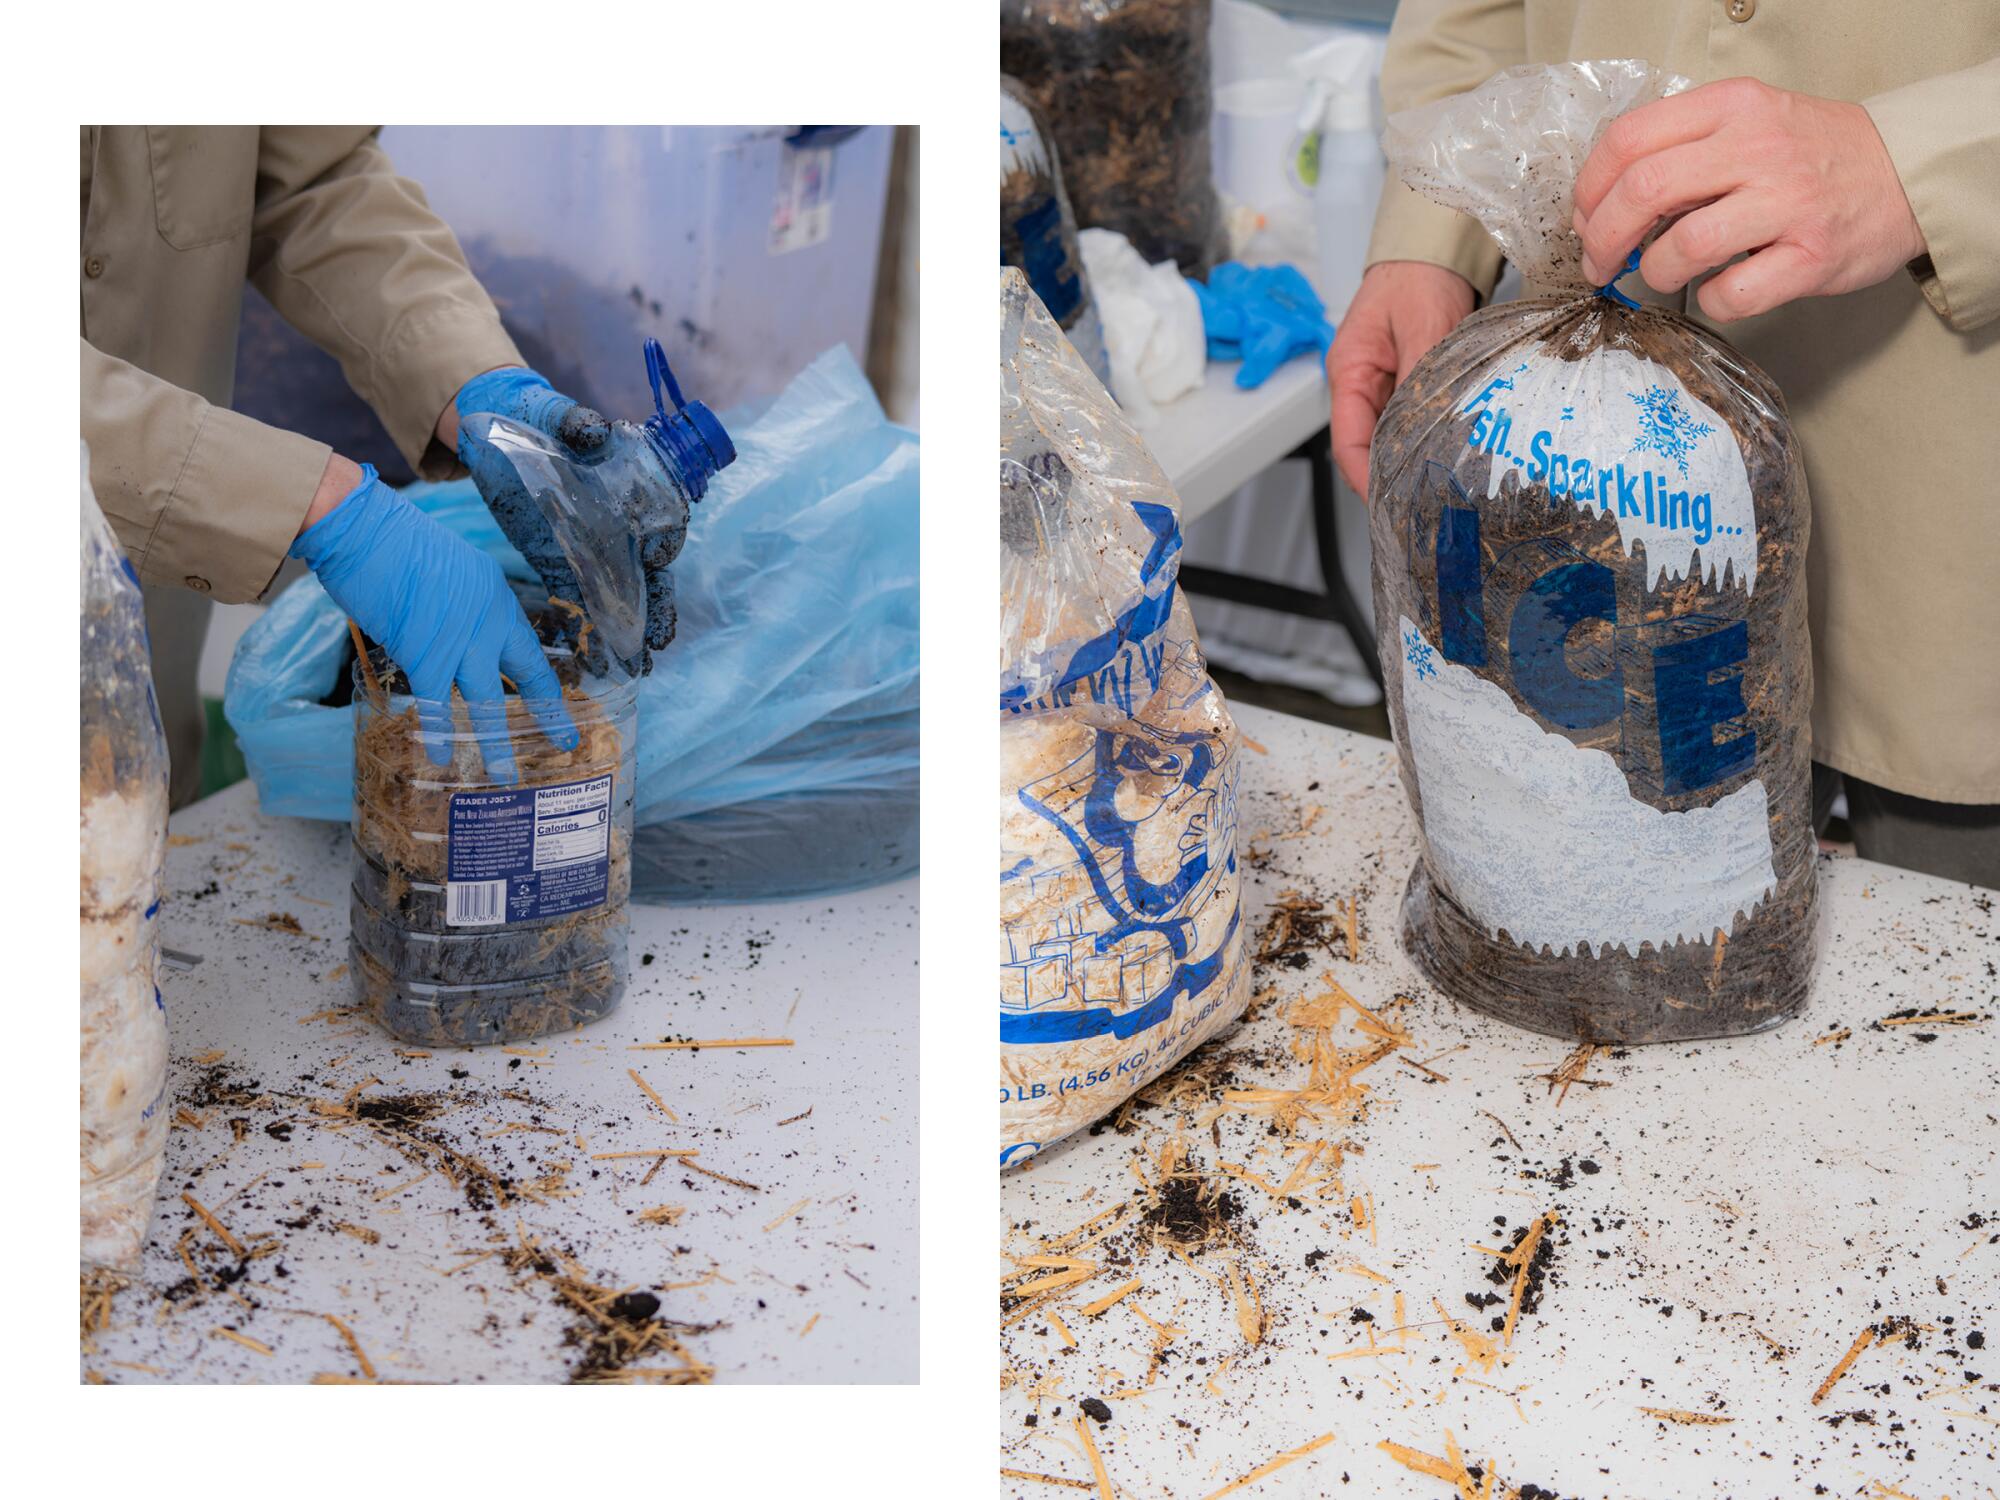
Step 5: Pack the bags with the mixture quickly. Start adding the well-mixed coffee grounds and mushroom spawn into the ice bags, packing the contents firmly into the bag. We filled about 2ž bags with the mixture.
Step 6: Tie the bags closed and poke in air holes. When the bags are full, push out as much air as you can and then twist the tops closed, securing them with twist ties. Then using the pushpin thumbtack, poke holes up and down the bag. Mueller poked about four or five holes in a line on each of the bagâs four sides.
Step 7: Find a place to keep your kits and donât move them. If conditions are right, Mueller said, the mycelium should start fruiting (i.e., making mushrooms) in a couple weeks. The right conditions include filtered light, humidity, a comfortable temperature (in the 60s or 70s) and air flow. Itâs best to store your kits in a translucent tub â either put the tub over the top of the kits without a lid, or cut a hole in the tub and stuff it with âteddy bear gutsâ (polyester fiber) so air can get in without contaminants. And remember, once you create your kits, the less you move them the faster theyâll fruit. Mycelium are very sensitive to changes in environment. âEvery time you move them, they need to recalibrate,â Diaz said.
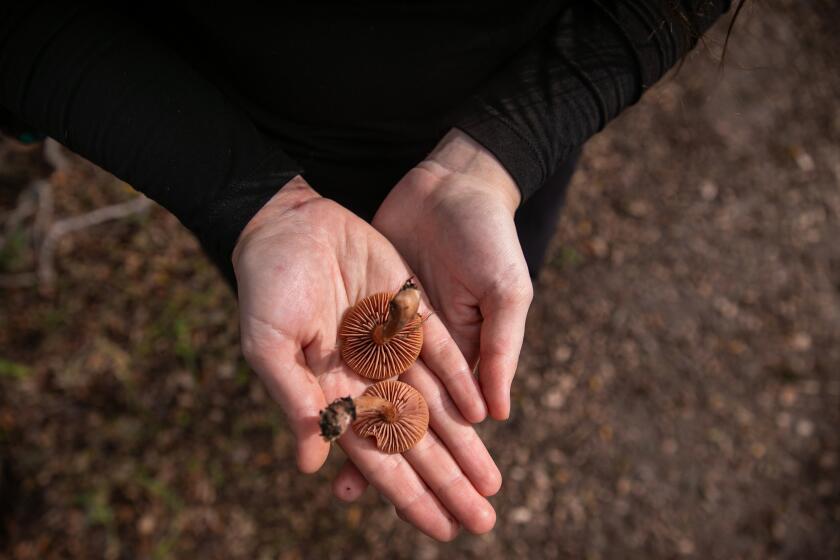
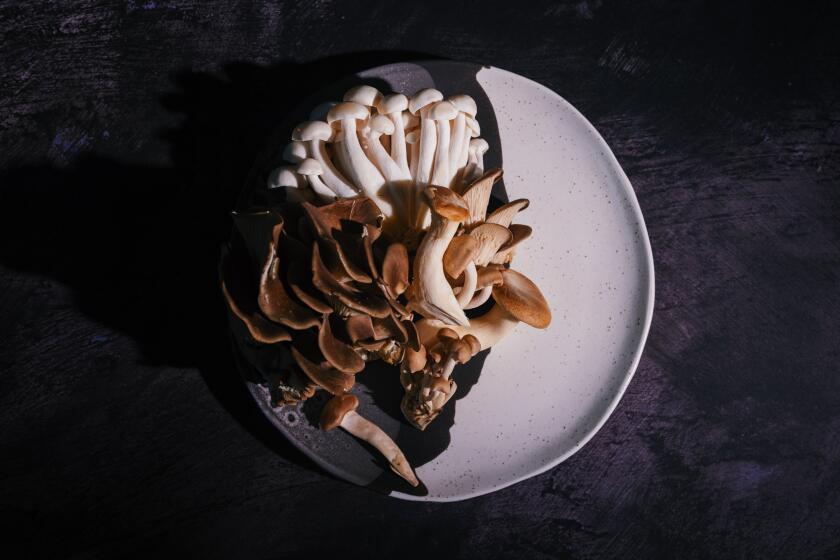
Foraging is not the only way to bring freshly picked mushrooms to your kitchen table. You can easily grow varieties including oyster, shiitake and lionâs mane in your home.
Step 8: Slice a few holes once the kits start turning white. If you see white moldy stuff appearing in the coffee grounds, rejoice! That means the mycelium is growing. Use a razor blade or very sharp knife to carefully cut 2 to 4 slices in the plastic so the mushrooms will be able to emerge. The more cuts you make, the smaller your mushrooms will be, Mueller said, so go easy. Replace the tub, make sure it stays hydrated and wait for the mushrooms to emerge.
Step 9: Harvest when the tops flatten out but the edges are still slightly curled. Wait much later and the mushrooms will form spores. Theyâre still OK to eat, Mueller said, but they get messy.
Alternate method: Use an empty gallon water jug.
- If youâre a regular coffee drinker, you can try a more modest technique, slowly filling an empty gallon water jug with a handful of the mushroom kit and then that dayâs coffee grounds, storing the kit in a clean, cool place every day until the jug is full.
- Mueller suggests cutting three-quarters of the way around the top of the jug, so the top hinges back and you can easily reach inside the jug.
- Add a handful of the mushroom kit to the bottom along with your cooled coffee grounds, then close up the jug with plastic (to keep out contaminants) until you can add more grounds and mycelium mix the next day.
- Keep the unused mushroom kit in a clean, cool location between fillings, and when the jug is full, close the hinged top with waterproof tape and unscrew the lid of the jug, so air can get inside (you can also use your pushpin to poke a few holes in the plastic).
- Cover the jug with your translucent tub (you can put the jug on its side), misting occasionally to keep humidity high. Once the mycelium starts growing, remove the screw top so the mushrooms can grow out the top. This is an easy way to create successive plantings too.
Final tip: Think good thoughts about your mushrooms, but donât fret over them, Mueller said. âSing them songs about squirrels ... or whatever,â he said, laughing. âThink about them a lot, but donât overthink this, because everything has an effect, and belief and intent are powerful things.â
More to Read
Sign up for The Wild
Weâll help you find the best places to hike, bike and run, as well as the perfect silent spots for meditation and yoga.
You may occasionally receive promotional content from the Los Angeles Times.

