Vending Machine Honey Buns
- Share via
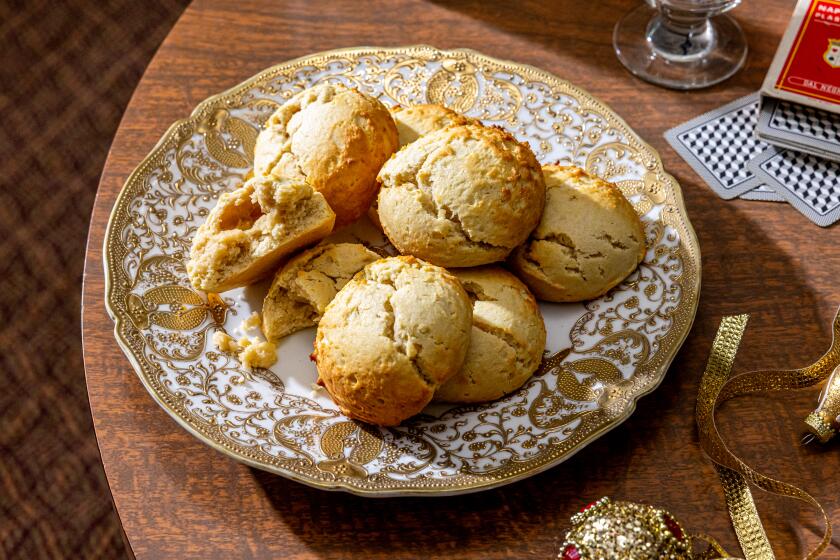
Squishy-soft and tender, these homemade honey buns keep the allure of the cellophane-wrapped ones available at gas stations and vending machines, but without all the chemicals that keep the latter “fresh” for years on end. Honey is a more present flavor in these buns, as is a healthy dose of salt to balance all the sugar. The buns are folded, positioned and molded — with the aid of a second baking sheet — to maintain their distinctive oblong shape, while plenty of cinnamon and a touch of cocoa powder lend pleasant bitterness to the honey-butter filling. This dough uses tangzhong — an Asian bread technique whereby you cook a small amount of flour and liquid together first, then mix it with the rest of the dough — to give it that sliced-white-bread softness while also extending its shelf life for a day or two. It’s essential to nailing the characteristic texture of these beloved snack-time treats.
In a small nonstick skillet, whisk together 36 grams (1/4 cup) flour and the sugar. Stir in 1/2 cup milk until mostly smooth. Place the skillet over medium heat and cook, stirring steadily, until the flour thickens the milk into a paste. The flour will start thickening around the edges after about 1 minute; continue stirring until the mixture fully thickens, about 1 minute more. Scrape the paste into the bowl of a stand mixer fitted with the dough hook.
Add the remaining 1/2 cup milk to the paste in the bowl, along with the vegetable oil, salt and egg yolk. Whisk together slowly at first and then vigorously to break up the paste into small bits; it should look like loose oatmeal. Scatter the remaining 284 grams (2 cups) flour over the liquid mixture followed by the cornstarch, baking soda and then the yeast.
Turn on the mixer to low speed and mix until the dough comes together, about 1 minute. Increase the speed to medium, and continue kneading the dough until it forms a tight ball that slaps the walls of the bowl, about 8 minutes more. Turn the mixer off and remove the dough hook, scraping any dough off of it and back into the ball in the bowl. Scrape any dough off the side of the bowl and turn the ball of dough over in the bowl a few times to ensure every bit of dough is combined. Cover the bowl with plastic wrap or a kitchen towel and set aside in a draft-free area of the kitchen until the dough has puffed and doubled in size, 1 1/2 to 2 hours.
While the dough rises, make the filling: In a small bowl, combine the butter, honey, sugar, cinnamon, cocoa powder and salt. Mash together with a spoon until smooth, then set aside until ready to use.
Lightly flour a clean work surface, then gently coax the dough out of the bowl and onto the floured surface; do not punch or press the dough at all. Using your fingers, gently lift the dough and flip it over so it’s lightly coated all over in flour, then begin gently tugging at the corners and lightly flattening the dough until you form an 8-inch-wide, 16-inch-long rectangle. Try to even the corners and sides as best you can, but don’t break a sweat over it.
Scrape the filling onto the dough and use a small offset spatula or spoon to spread the filling evenly over the entire dough rectangle. This is a thin coating of filling, and that’s by design. Do not neglect the edges and corners; cover every speck of dough with some of the filling. Pick up one short end of the rectangle and fold over 2 1/2 inches of the rectangle. Continue rolling the rectangle in this manner, maintaining its flatness, until you reach the end. Trim and discard the uneven edges from the log, then cut the log into 8 equal pieces.
Turn the pieces cut side up, then arrange them in two rows of four along the length of a parchment-paper-lined rimmed baking sheet. Lay another sheet of parchment paper over the buns, then gently place another baking sheet on top of the parchment paper; do not press on the sheet. Let this setup stand until the buns have expanded in size, about 1 hour.
Heat the oven to 325 degrees when the buns have 10 minutes left to rise. While the oven heats, make the glazes: In a large bowl, add the powdered sugar, honey, vanilla and salt. Pour in 1/4 cup hot water and stir until the mixture forms a loose, opaque glaze. Pour 1/2 cup of the glaze into a small bowl and add the remaining 1/4 cup hot water, then stir until smooth; this is the pouring syrup. Set both the pouring syrup and opaque glaze aside until ready to use.
Without touching the top baking sheet, transfer the setup to the oven and bake for 10 minutes. Remove the top baking sheet but leave the top parchment paper in place. Rotate the baking sheet with buns from front to back and continue baking until the buns are light golden brown and cooked through in the center, about 10 minutes more. The buns will touch at their edges and be oblong in shape.
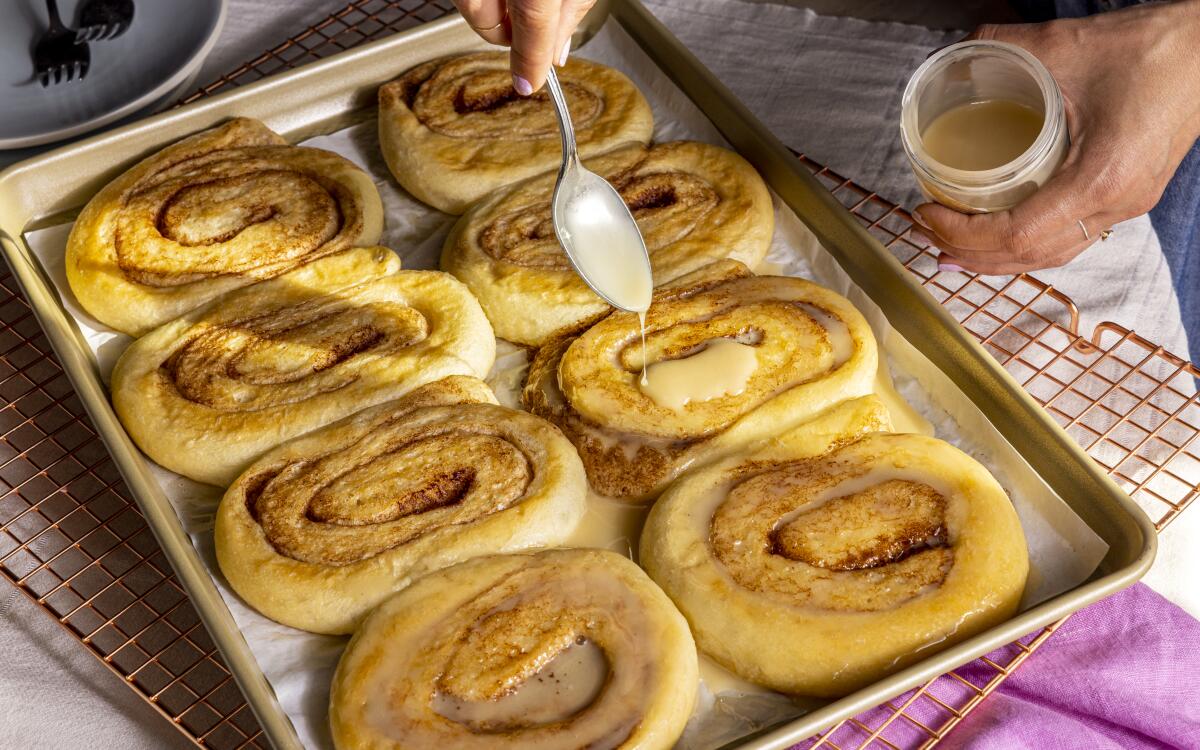
Remove the buns from the oven and immediately remove the parchment paper cover. Using a steady hand, or using a pastry brush to help, very slowly drizzle the pouring syrup over the buns. Start at the outer end of each bun’s spiral and trace it around until you get to the center. Some glaze will fall off onto the baking sheet and that’s OK, but aim to pour all of it onto the buns as best you can. Let the buns cool to room temperature; the excess syrup on the baking sheet will absorb into the buns as they cool.
Once cool, drizzle the opaque glaze over the buns, then let stand until the glaze sets before serving. Store leftover buns in an airtight container for up to 3 days.
Get our Cooking newsletter.
Your roundup of inspiring recipes and kitchen tricks.
You may occasionally receive promotional content from the Los Angeles Times.


