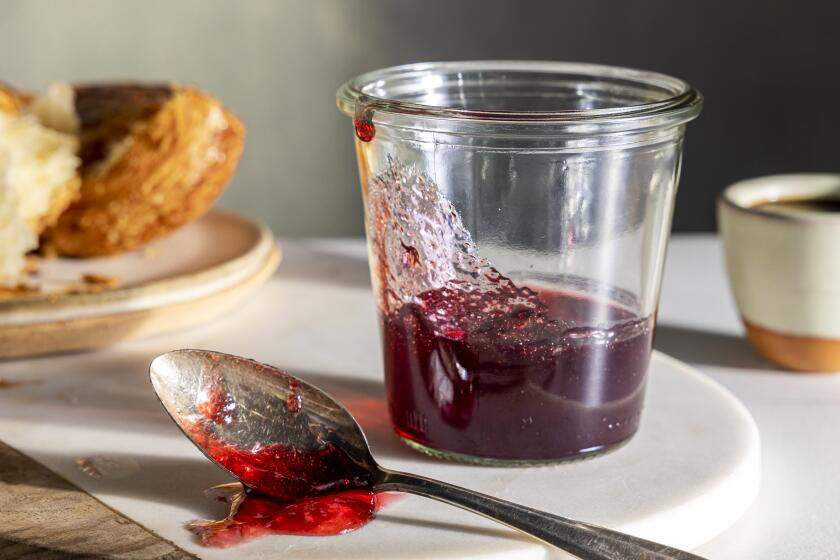
Our step-by-step guide for cooking jelly
- Share via
This story is a component of the feature “Seasons of Preserves: Berry Jelly,” which is part of a four-part series on preserving fruit at home called “L.A. in a Jar.”
Here are the four main steps in the jelly-making process that will ensure you end up with a successful result:
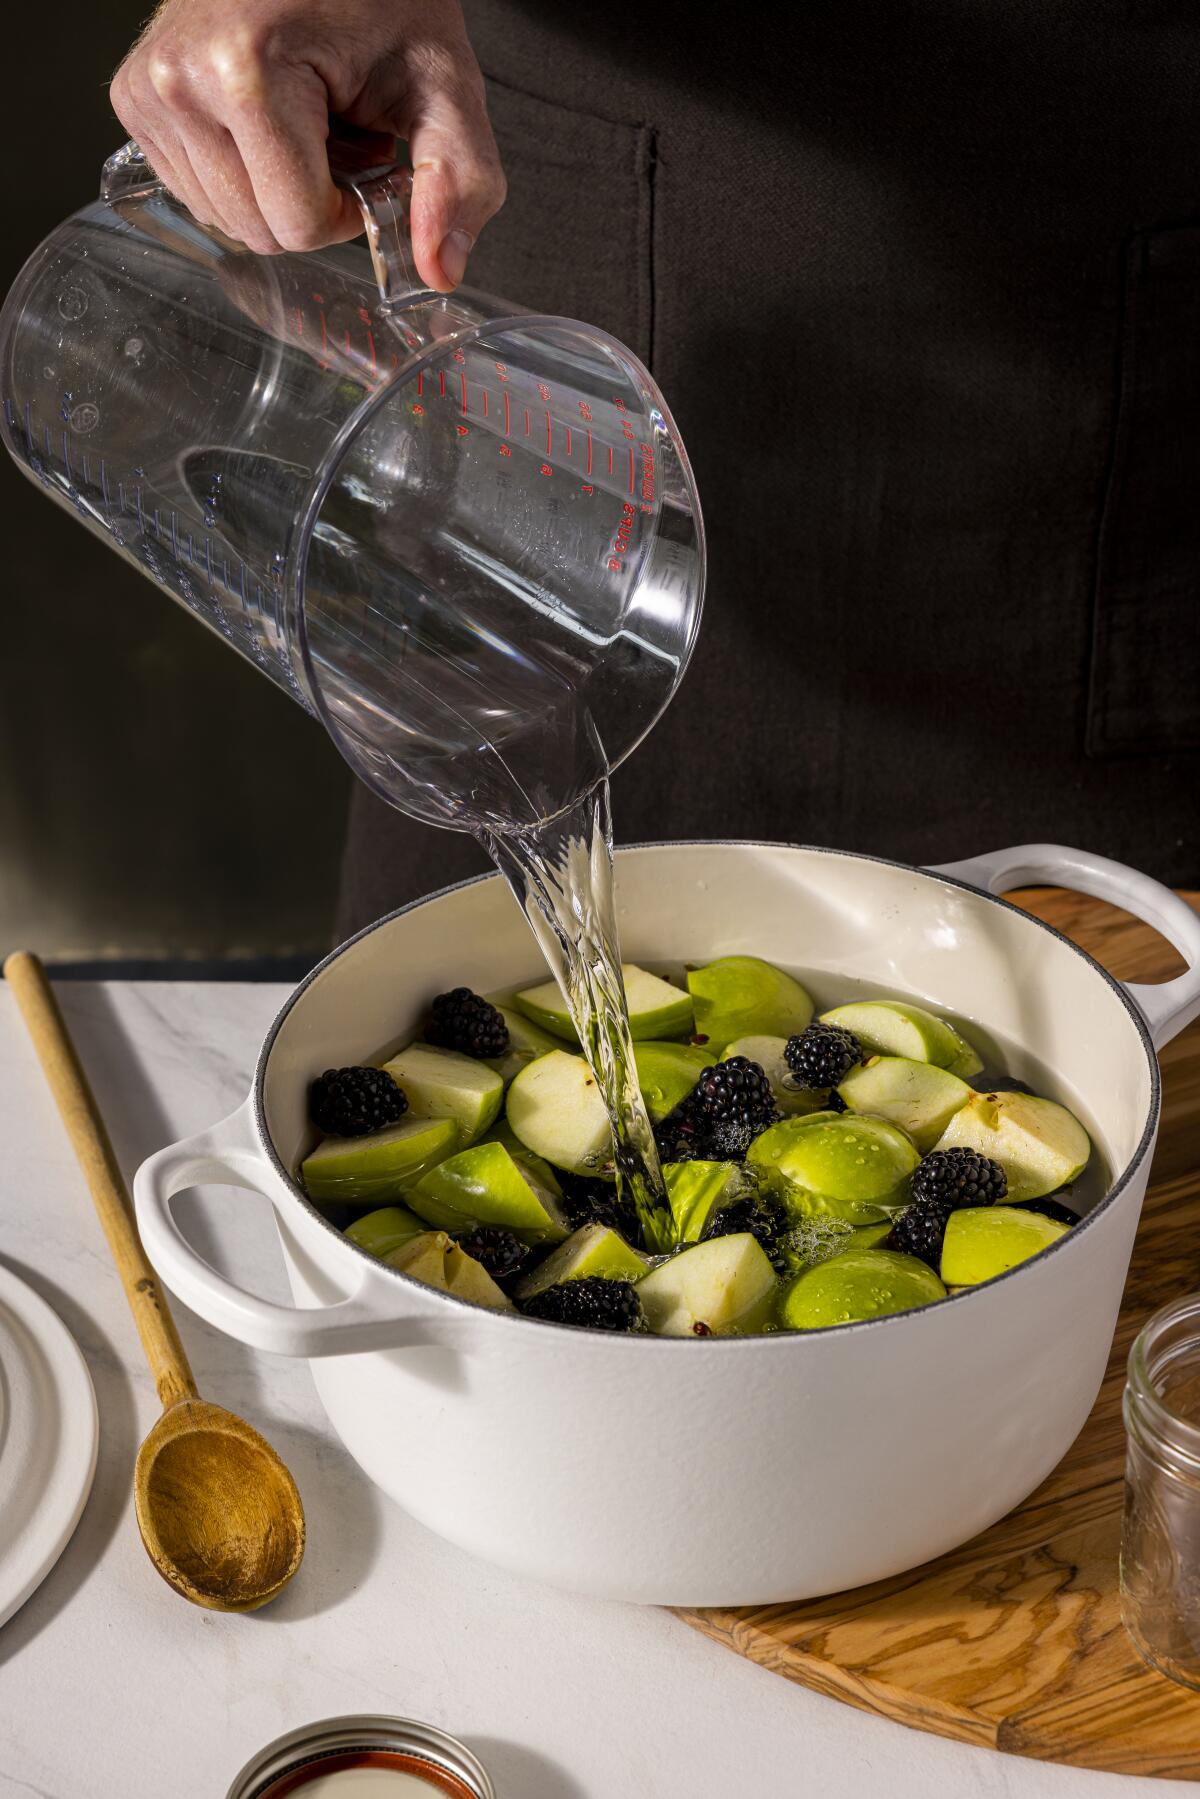
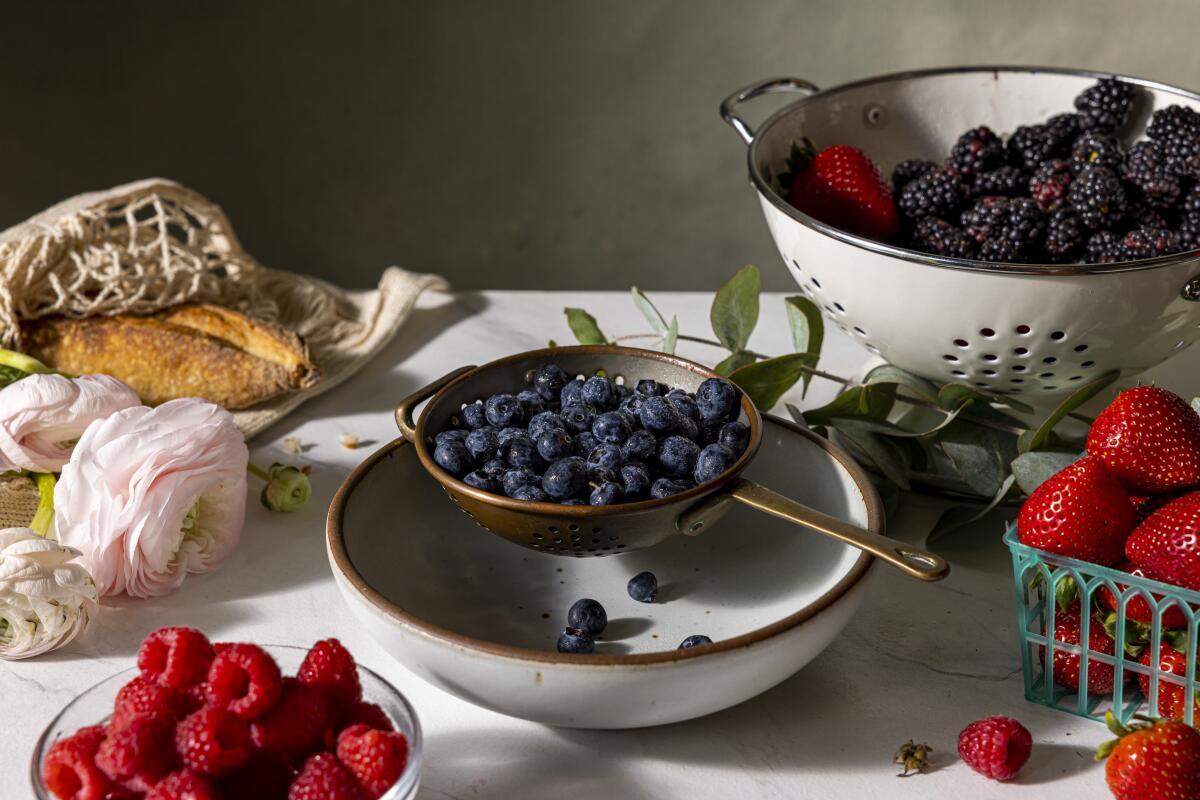
1. Cook the fruit: When making jelly, you want to extract as much juice from the fruit as possible. Juicing the fruit with a juicer would be messy and yield less juice than if you cook it first. Start by cooking the berries with some water to allow every last bit of their flavor to seep into it. It may seem as though you’re watering down the taste of the juice, but you need the water to help dissolve the amount of sugar needed to mix into the jelly. Plus, when the jelly is cooked to the proper stage, all extra water will have evaporated, leaving behind only the essence of the berries you started with.

2. Strain the fruit: To get all that juice out, you want to strain the fruit. Though it may seem a straightforward process, there’s a particular way to do it that gives you the best result. First, strain all the large fruit pieces out in a colander or coarse sieve; this allows all the juice and pectin to drain from the fruit matter, which you’ll then discard. Then you want to strain the juice again through cheesecloth or a fine sieve; this helps rid the juice of any sediment or pieces of fruit that would make the final jelly cloudy. Also, never stir the fruit or juice while it’s going through either stage or you might push through unwanted fruit matter. Let it drain naturally overnight so there’s no rushing it.
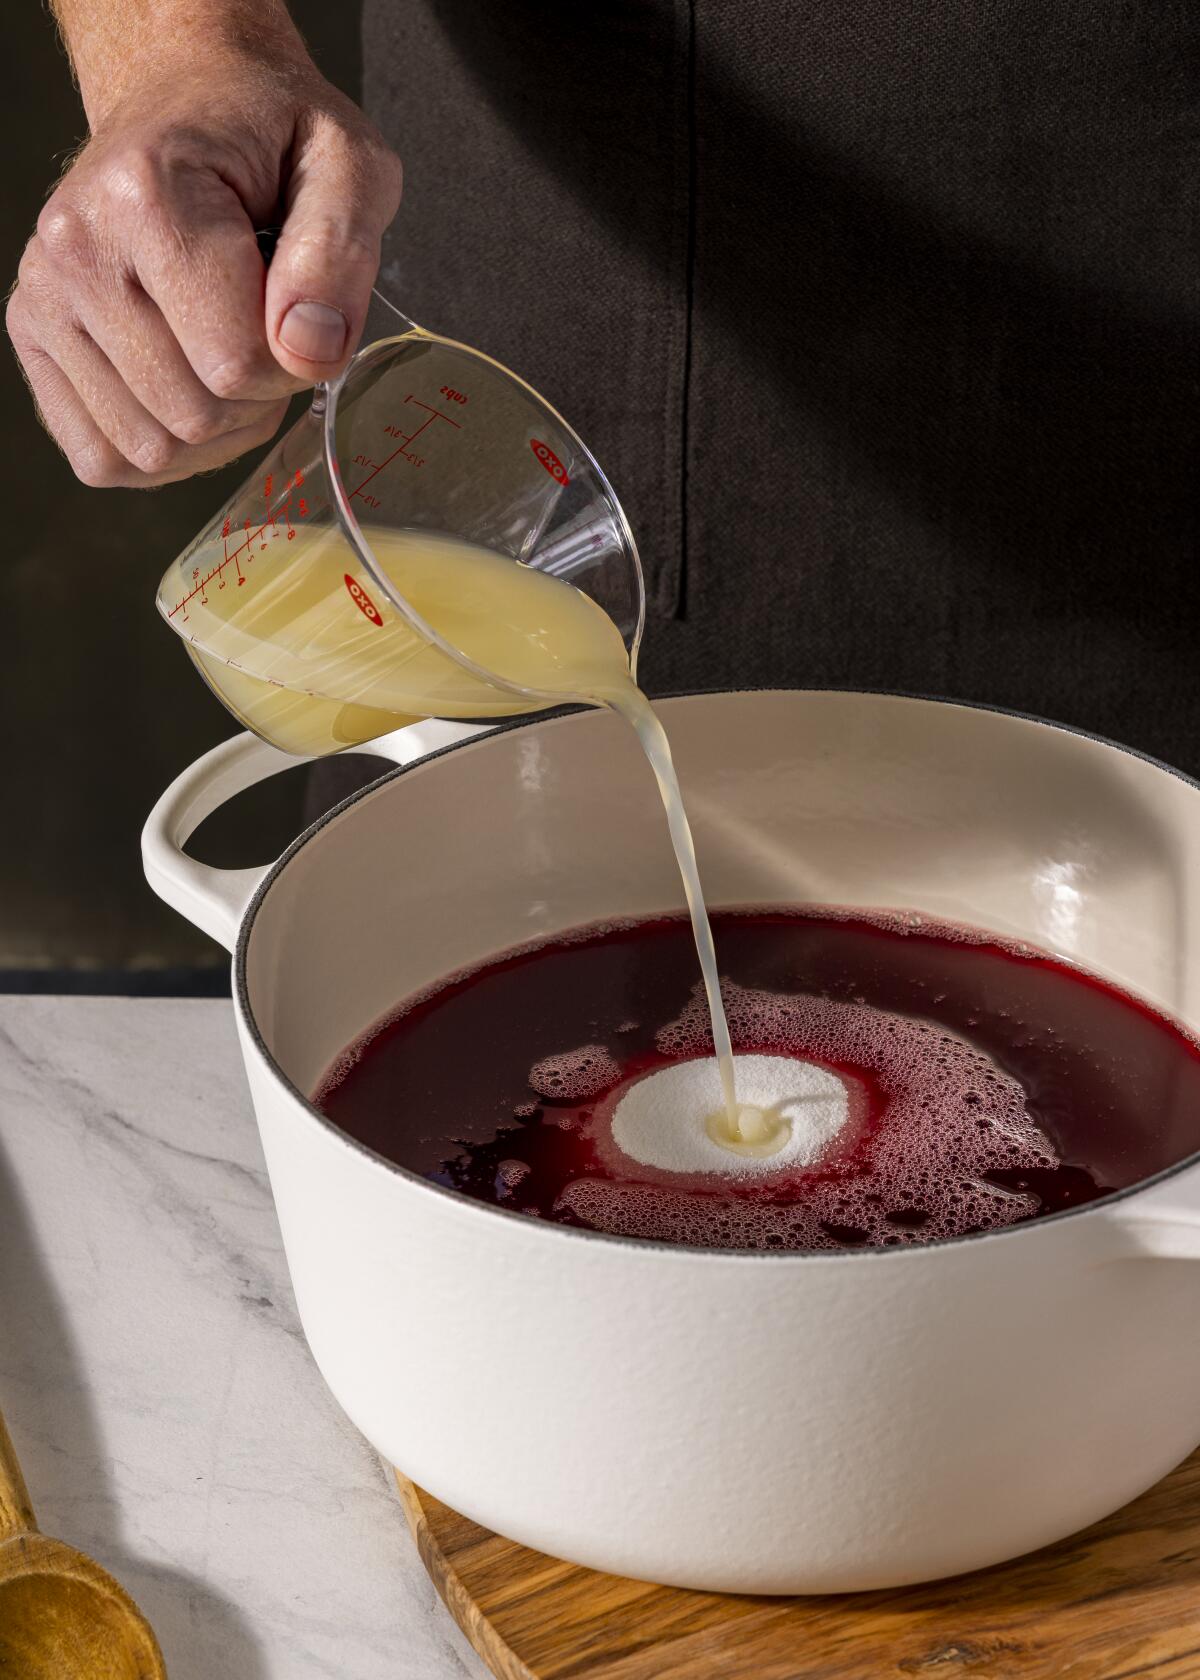
3. Combine with sugar and lemon juice: These two ingredients are essential to making all fruit preserves, but they’re even more important when making jelly. The lemon juice reacts with the pectin in the liquid to help it set better, and the sugar contributes body beyond sweetness that, in combination with the pectin, gives your jelly its ideal set. Use regular granulated white sugar, either organic or not, to achieve crystal clear jellies, and make sure to strain the lemon juice through a sieve too, so it doesn’t cloud the final jelly either.
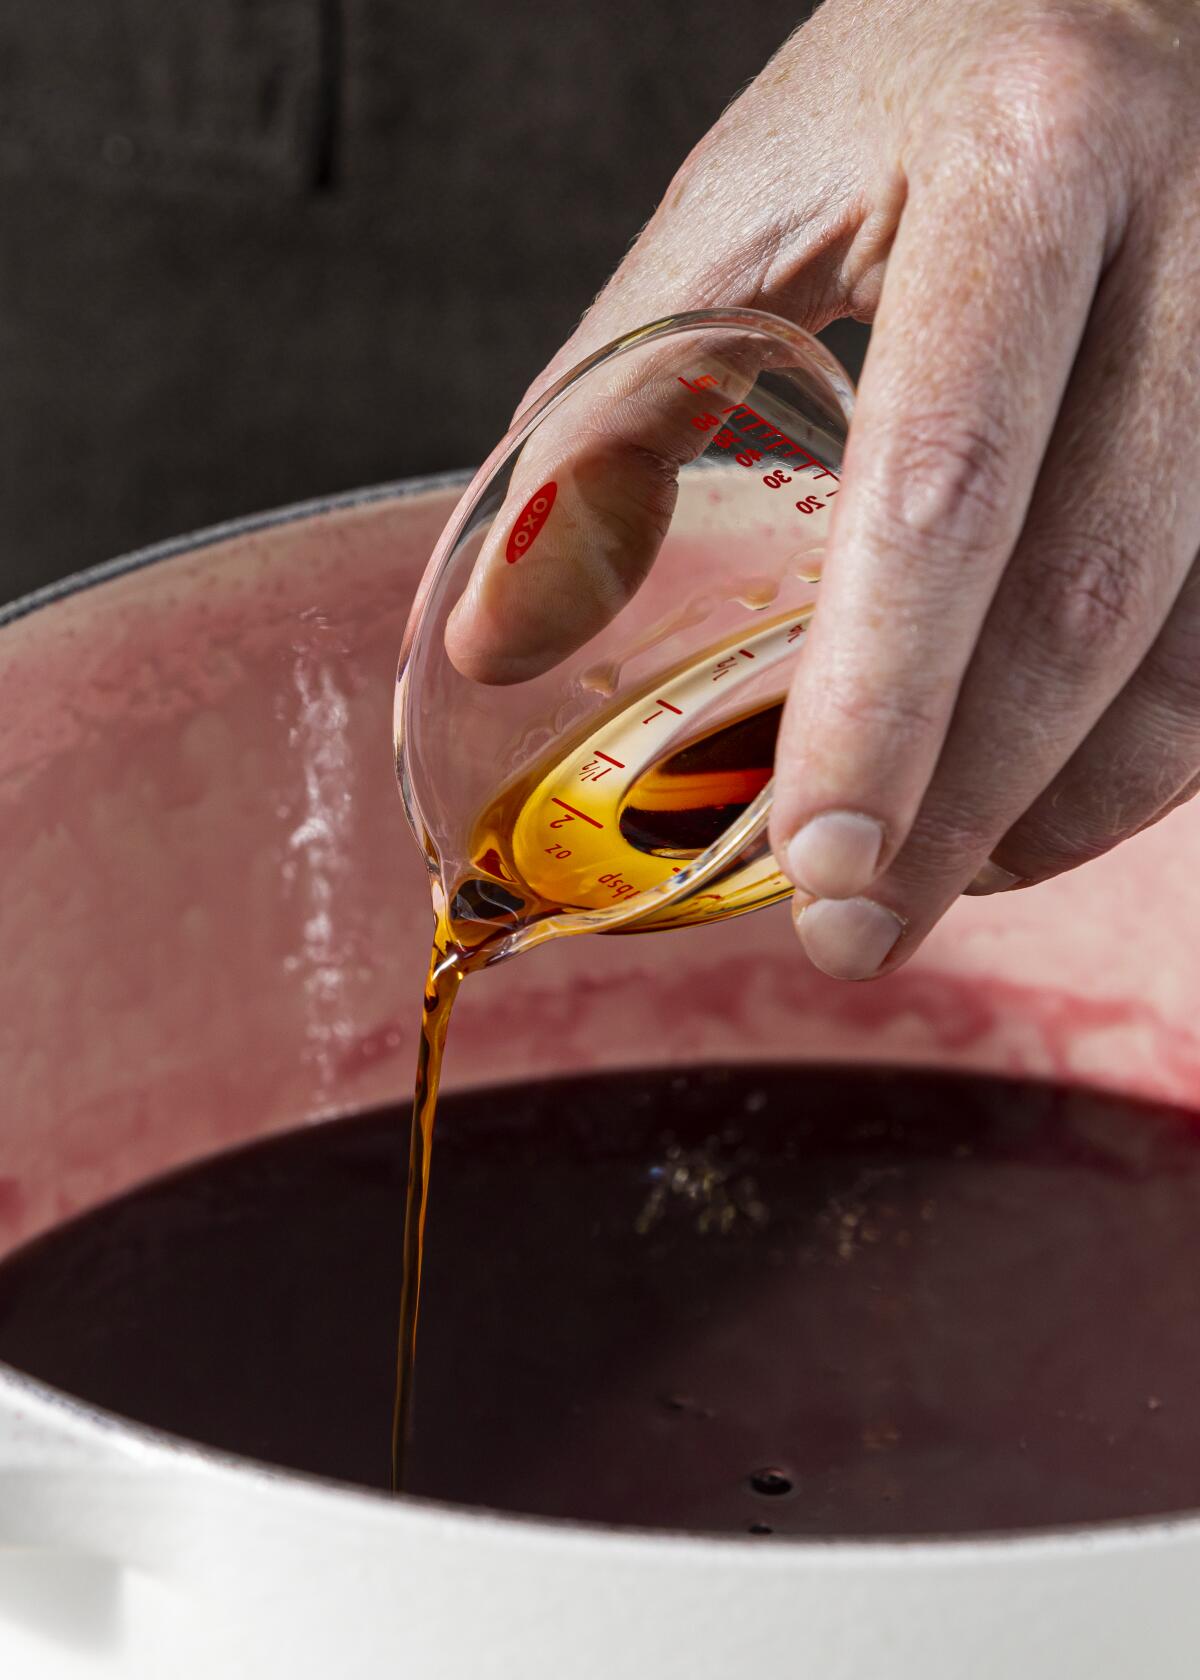
4. Add alcohol after the jelly is set: Once you check the set of your jelly with the frozen plate test to ensure it’s ready to pour into jars and store, remove the pot from the heat and, while it’s still bubbling, pour in the alcohol to flavor it. If you stir alcohol in with the lemon juice and sugar at the beginning of cooking, its taste will cook out by the time the jelly is ready. Adding it at the end preserves its bite — and because it’s such a small amount, it will not throw off the final set of your jelly.
Get the recipe:
Blackberry Jelly With Amaro
More to Read
Eat your way across L.A.
Get our weekly Tasting Notes newsletter for reviews, news and more.
You may occasionally receive promotional content from the Los Angeles Times.
