Dry-brined turkey with sage and bay salt
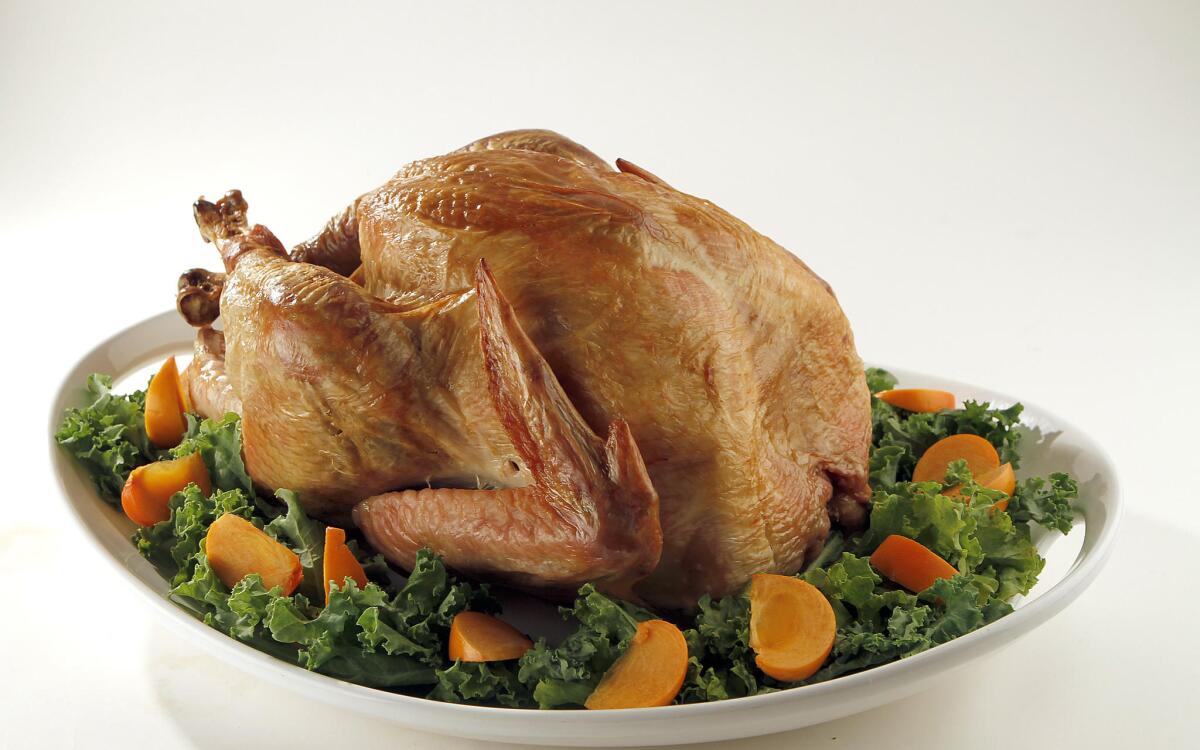
Thanksgiving is a holiday when we all eat together in a spirit of warmth, kindness and loving togetherness. Unless, of course, someone mentions brining a turkey. Or brings up the matter of mashed versus “smashed” potatoes. Then things can get really ugly really quick.
Cooks and eaters have strong opinions and are not afraid to express them. The fact that one person has a big knife in his hand (and controls the flow of the food) is sometimes all that keeps dinner from dissolving into a riot.
What are these two particular controversies about?
The question of potatoes is purely one of taste. Or, perhaps more accurately, texture.
Classic mashed potatoes are silky, smooth and wonderfully rich. You can only get this combination with baking potatoes and copious amounts of butter and cream. The type of potato is important because these drier potatoes have a high percentage of starch, specifically of a type called amylose that dissolves during cooking. These potatoes crumble almost to flour after cooking, making them perfect for whipping into a light, smooth purée.
There are those who say that the recent popularity of so-called smashed potatoes is nothing more than nostalgia for what we used to call lumpy potatoes. Whatever. There are times when a velvet-smooth purée is not what you want, when you hunger for something a little more substantial. For these, you use what are usually called boiling potatoes. These contain more moisture than bakers and are higher in a starch called amylopectin, which holds them together after cooking.
Incidentally, it’s this amylopectin, which is also present albeit in smaller amounts in bakers, that turns potatoes puréed in a food processor into a gluey mess.
When it comes to turkeys, the argument is about the best way to brine: salting the meat so that the chemistry of the muscle changes, enabling it to retain moisture longer during the cooking process, preventing the meat from drying out.
The big question is whether it is better to brine a bird by sticking it in a bucket of salt water or by simply sprinkling it with salt. (Indeed, there are many out there who are already howling at calling the latter “brining” at all, since it doesn’t involve salted water. They were probably hall monitors in junior high. Pay them no mind.)
Having been a devoted member of both camps at different times in my cooking career, for the last several years I have come down firmly in the dry-brining camp. This is for reasons of both practicality and taste.
Practically speaking, dry-brining wins because you don’t need to keep a big icy bucket of bird in your refrigerator.
For many, that is reason enough by itself. But more important, I think, dry-brining makes a better turkey. With wet-brining, the bird absorbs so much moisture the meat feels spongy when you slice through it. With dry-brining, the meat stays moist but keeps a firm and muscular texture.
That is my preference. Other cooks I respect, notably chef Thomas Keller, disagree and still favor wet-brining. I prefer to think this is because they have not yet tried to do it my way, but I’m not going to fight about it. It’s Thanksgiving, after all.
Pulse together the salt, bay leaves, ground sage and black pepper in a spice grinder or mash them with a mortar and pestle to make a fine powder. Makes 1/3 cup. The mixture can be stored in a tightly sealed jar for up to 2 weeks.
Wash the turkey inside and out, pat it dry and weigh it. Measure 1 tablespoon of salt mixture into a bowl for every 5 pounds the turkey weighs (for a 15-pound turkey, you’d have 3 tablespoons of salt mixture).
Sprinkle the inside of the turkey lightly with the salt mixture. Place the turkey on its back and salt the breasts, concentrating the salt in the center, where the meat is thickest. You’ll probably use a little more than a tablespoon. It should look liberally seasoned but not oversalted. Turn the turkey on one side and sprinkle the entire side with salt, concentrating on the thigh. Use a little less than a tablespoon. Flip the turkey over and do the same with the other side.
Place the turkey in a 2½-gallon sealable plastic bag, press out the air and seal tightly. Place the turkey breast-side up in the refrigerator. Chill for 3 days, leaving it in the bag but turning it and massaging the salt into the skin every day.
Remove the turkey from the bag. There should be no salt visible on the surface, and the skin should be moist but not wet. Wipe the turkey dry with a paper towel, place it breast-side up on a plate and refrigerate it uncovered for at least 8 hours.
On the day it is to be cooked, remove the turkey from the refrigerator and leave it at room temperature at least 1 hour. Heat the oven to 425 degrees.
Place the turkey on a roasting rack in a roasting pan; put it in the oven. After 30 minutes, reduce the oven temperature to 325 degrees, and roast until a thermometer inserted in the deepest part of the thigh, but not touching the bone, reads 165 degrees, about 2¾ hours total roasting.
Remove the turkey from the oven, transfer it to a warm platter or carving board; tent loosely with foil. Let stand at least 30 minutes to let the juices redistribute through the meat. Carve and serve.
Get our Cooking newsletter.
Your roundup of inspiring recipes and kitchen tricks.
You may occasionally receive promotional content from the Los Angeles Times.


