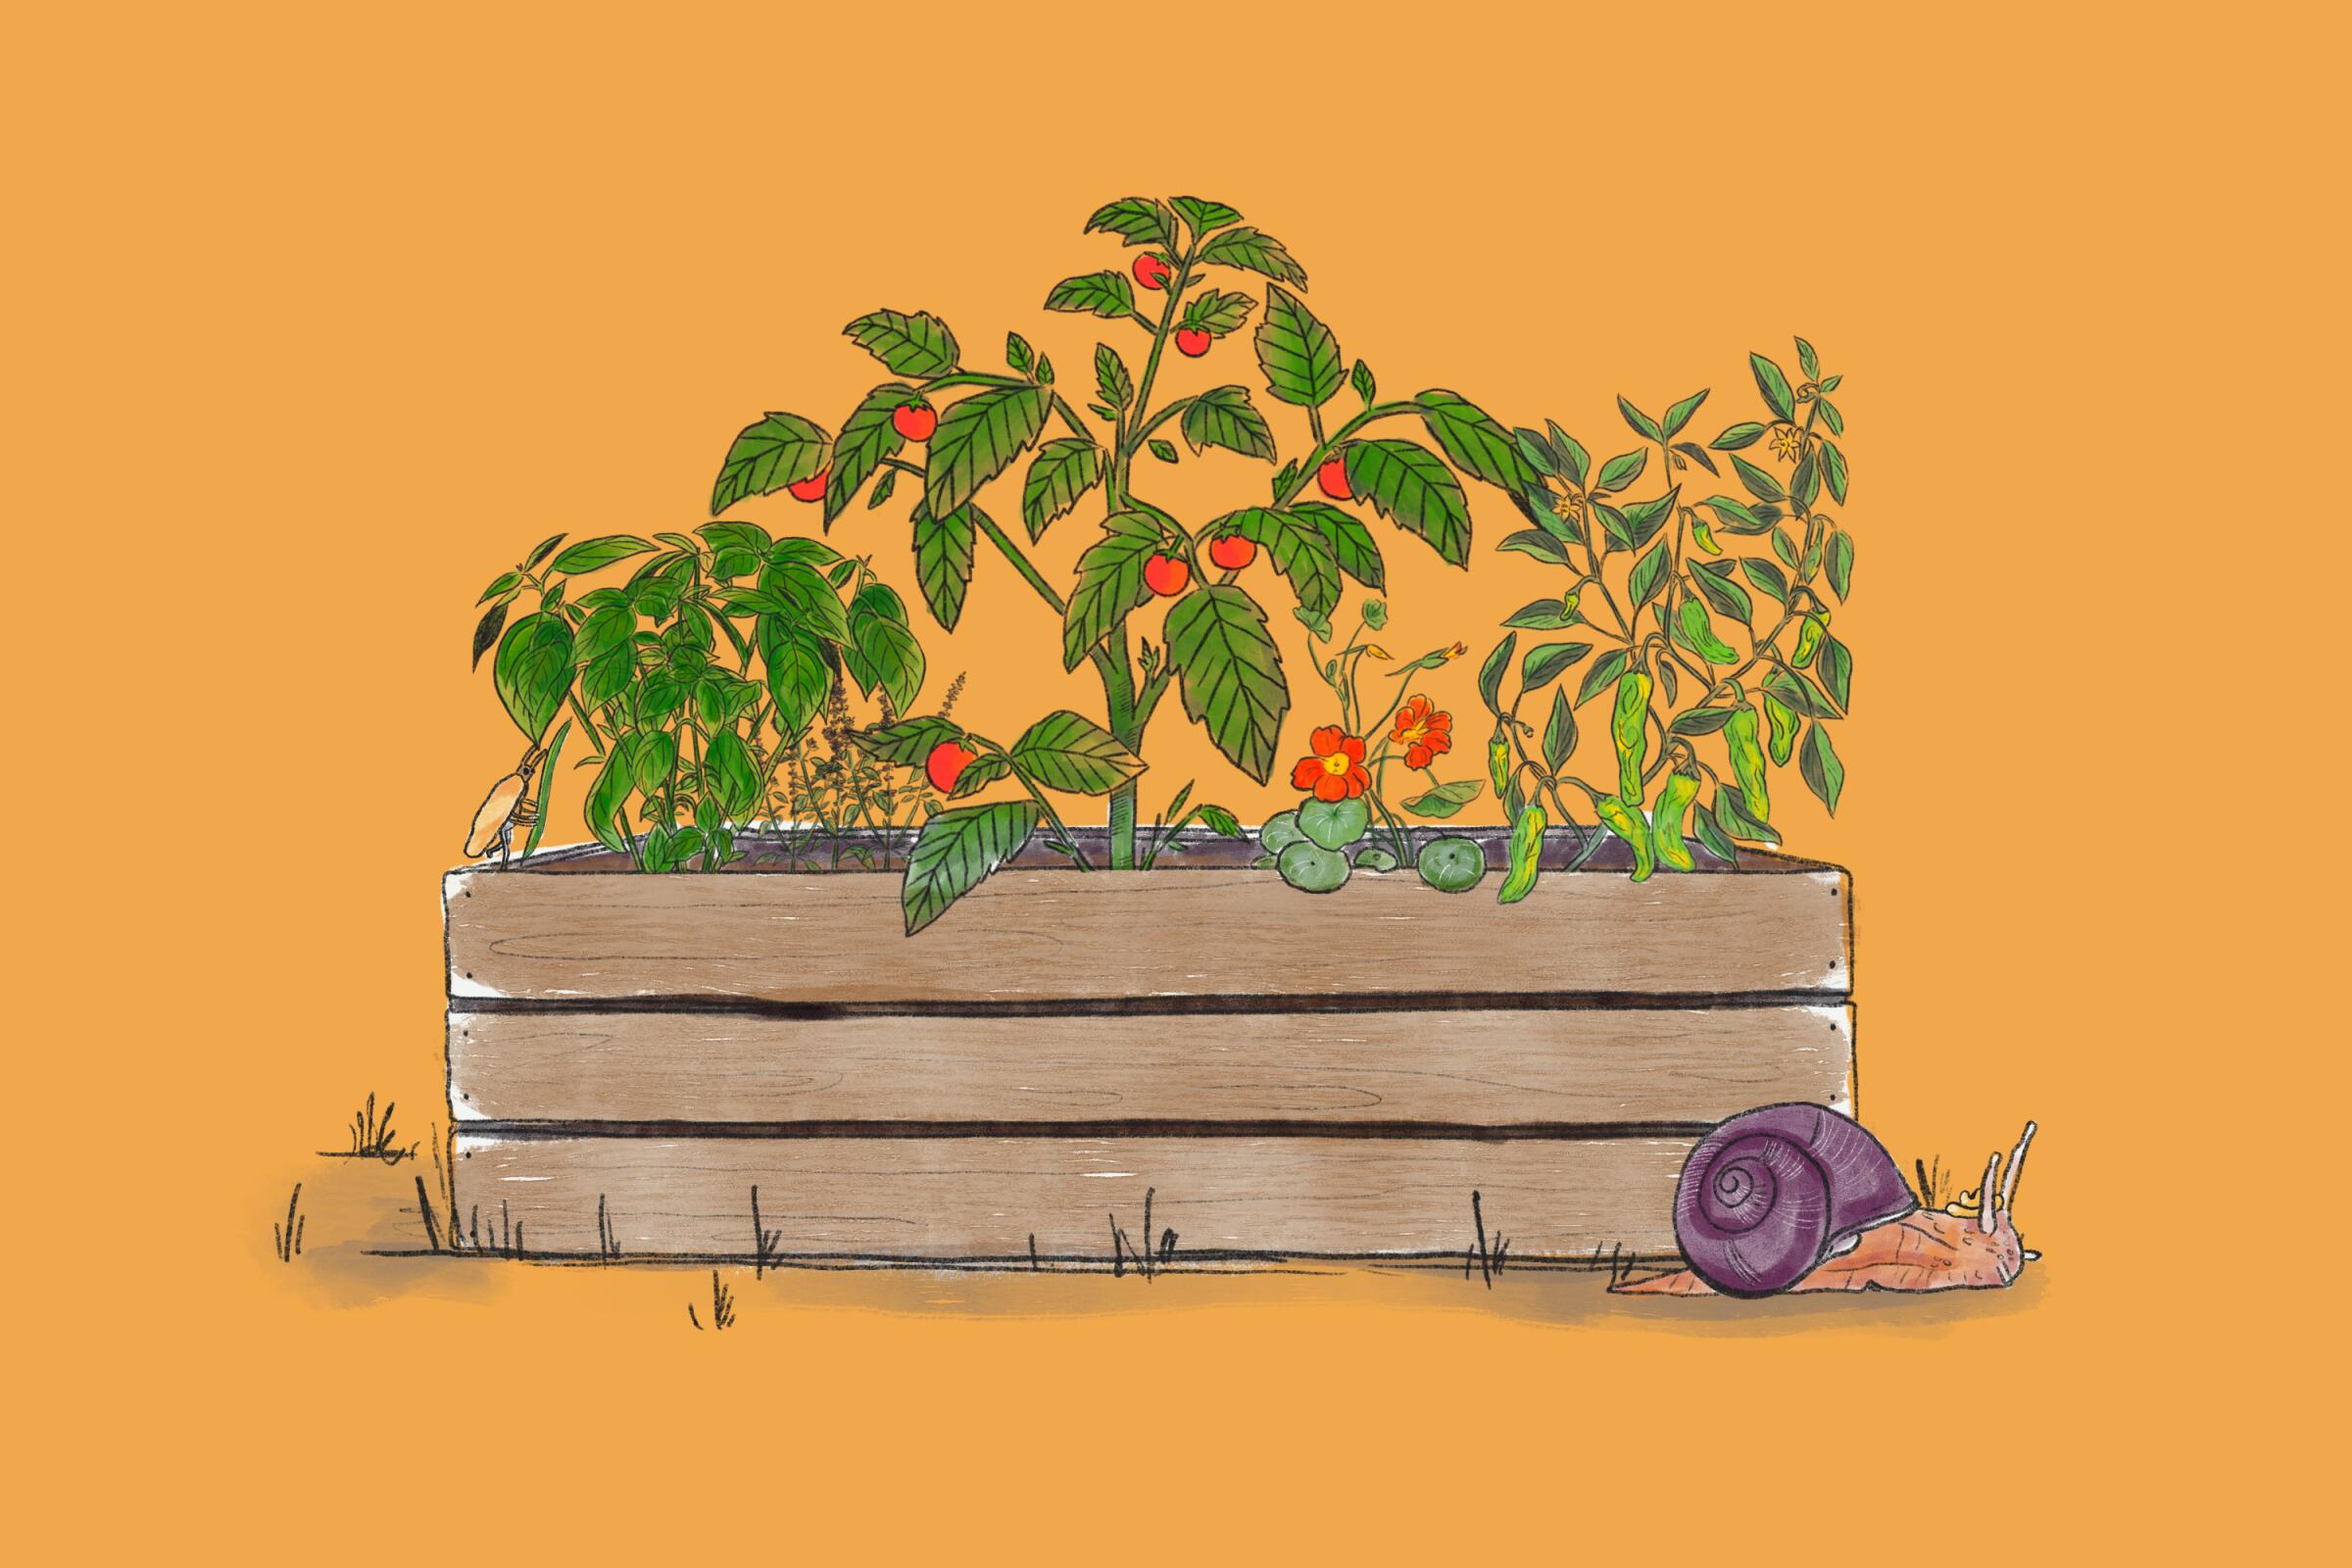
We’re blessed with temperate weather in Southern California, perfect for growing all kinds of vegetables and flowers year-round ... if only we could get a spade into our soil.
That’s the rub with SoCal gardening. So many of us have yards with terrible soil, often compacted, poor-draining clay, depleted of nutrients. Little wonder that so many people eager to grow food are turning to raised garden beds, which permit you to add your own loamy, nutrient-rich soil without the backbreaking business of trying to dig up rocky or hardpan ground.
If you’re thinking about going the raised-bed route this summer, you need to act quickly, so your tender seedlings have a chance to get established before the high heat of summer is upon us. But gardening in raised beds is one of the easiest and quickest ways to get a good garden going, and one recommended by gardening pros, if you follow these tips:
1. Choose a raised bed that’s at least 18 inches deep to ensure that deeper-rooted vegetables have ample room to grow.
- Cover the bottom with quarter-inch screen to deter gophers but don’t use any other barriers that could impede water flow and stop roots from digging as deep into the ground as they want.
- Some pro gardeners prefer 24-inch beds, but remember, the deeper the bed, the more soil you must add. Some gardeners get around this by filling the bottom of their beds with dry leaves or half-finished compost so they don’t need as much soil, and the organic materials will gradually break down, providing more nutrients and beneficial microbes to your plants.
2. Keep the width narrow so you can easily reach to the middle of the bed.
- If the bed is against a wall or fence, then keep it 3 feet wide, for instance.
- If you can reach from all sides, then 4 to 6 feet will work.
3. Locate the bed in a sunny location.
- Vegetables need at least 6 hours of full sun a day, so be sure you know how much sun your location gets before you fill your box.
- One technique recommended by Lauri Kranz of Edible Gardens L.A. is to choose a sunny day and use your phone to take photos of the location every hour from around 7 a.m. until the evening. The timestamp on the photos will document how much sun your location gets before it moves into shade.
4. If the bottom of your raised bed touches native soil, keep the bed away from trees. “Tree roots will gravitate to the easiest source of water and nutrients,” said Sophie Pennes of Urban Farms L.A. “I haven’t seen this problem with citrus, but your bed shouldn’t be anywhere near an ornamental tree, especially a ficus.”
5. Use the best organic soil you can afford, preferably bagged soil so you can be confident about the ingredients. “You’re wasting your money if you don’t use good soil,” said Conor Fitzpatrick, who builds cedar raised beds and edible gardens through his nursery business, Fig Earth Supply.
- “Look for a soil such as E.B. Stone’s Recipe 420 that has 18 weeks of growing nutrients, or their Raised Bed Mix, which has 12 weeks of nutrients. Some of the cheaper soils only have four to six weeks of nutrients and then your plants stop growing,” Fitzpatrick said.
- Amend the soil with compost later in the growing season to replenish depleted nutrients and encourage beneficial microbes.
6. It’s important to fill your raised bed to the top because the soil will compress over time and keep getting lower. “The box itself can create a shadow on your plants if it’s not filled to the top,” Pennes said. “And then you get a moist environment in that area that’s partially shaded. Spiders and slugs love to live in corners of shady, moist places, so it’s important to fill your box all the way.”
7. Set up a drip irrigation system on its own timer, so you can adjust the watering based on what your vegetables need.
- The most successful gardens use deep, infrequent watering to encourage roots to dive deep into the soil to find moisture and protection from the heat.
- Most professional gardeners suggest laying out a half-inch header hose across one end of the bed, and then attach quarter-inch lines of soaker hoses with holes every six inches or so.
- It’s most efficient to water your plants early in the morning, Jamiah Hargins of Crop Swap said. “When the plants are just touching sunlight is when they want to drink most of their water,” he said. “Then they’ve got that water to get through the day.”
- Water for one or two minutes for a few weeks until the young plants get over their transplant shock and start growing, then train the roots to dive deeper for water by watering just two times a week for about 20 minutes (with drip irrigation). If water starts coming out of the bottom of the bed, reduce the amount of time by a couple of minutes, Kranz said.
- Alternatively you can bury 5-gallon nursery pots in your raised bed and plant around them, then fill the pots with water once or twice a week, so as the plants grow, the roots will follow the moisture deep into the ground. (Hand water around the base of the plants for the first couple of weeks until they are settled in).
8. Mulching can help retain moisture, but there’s an alternative.
- Use small wood chips — something easy to move with your hand so you can add amendments like compost to feed the soil and, in turn, the plants.
- Most gardeners recommend intensive gardening that puts plants close together (instead of wide separate rows), so the interlacing leaves shade the ground and hold in moisture, making mulch unnecessary.
