A step-by-step guide to cooking stone fruit jam
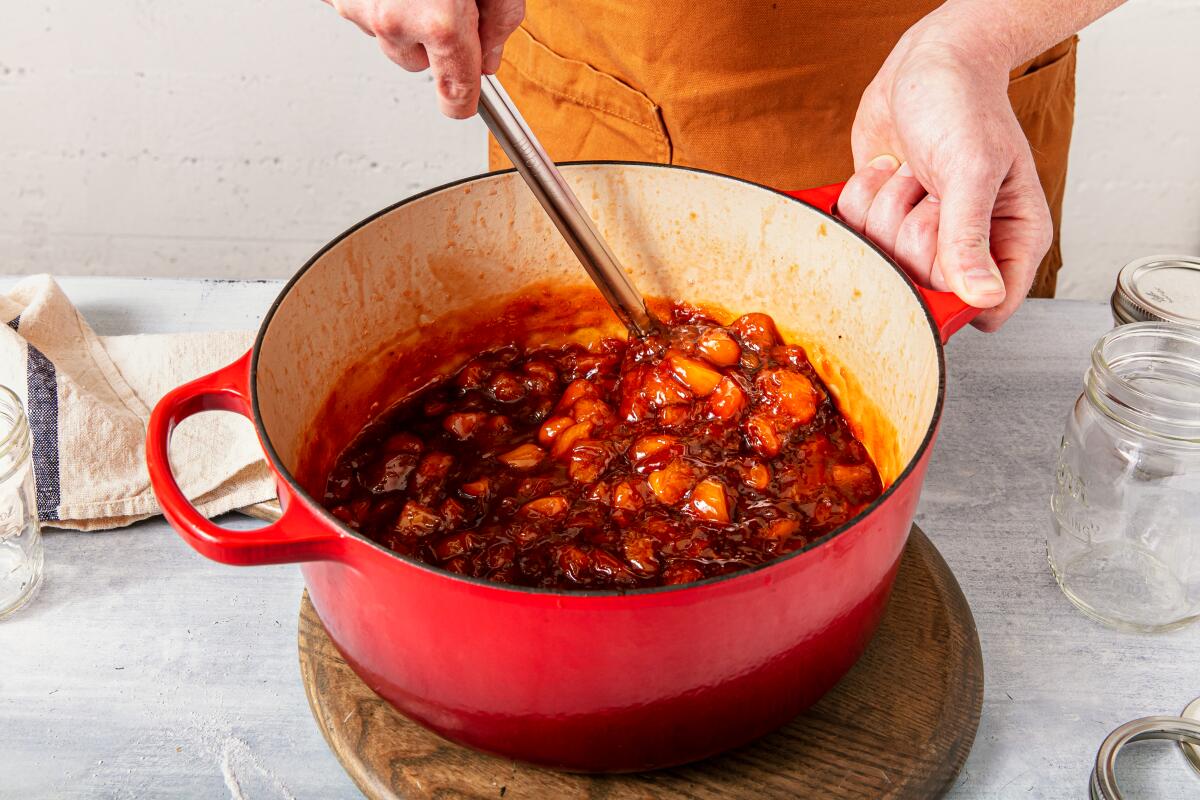
The four main steps in cooking jam, from chopped raw fruit to glistening, sweet preserves. Prop styling by Silvia Razgova and Sean Bradley.
(Silvia Razgova / For The Times)
- Share via
This story is a component of the feature “Seasons of Preserves: Stone Fruit,” which is part of a four-part series on preserving fruit at home called “L.A. in a Jar.” For a more-detailed version of the method, below, see the recipe for Master Stone Fruit Jam.
There are really only four steps in the jam-making process:
(Silvia Razgova / For The Times)
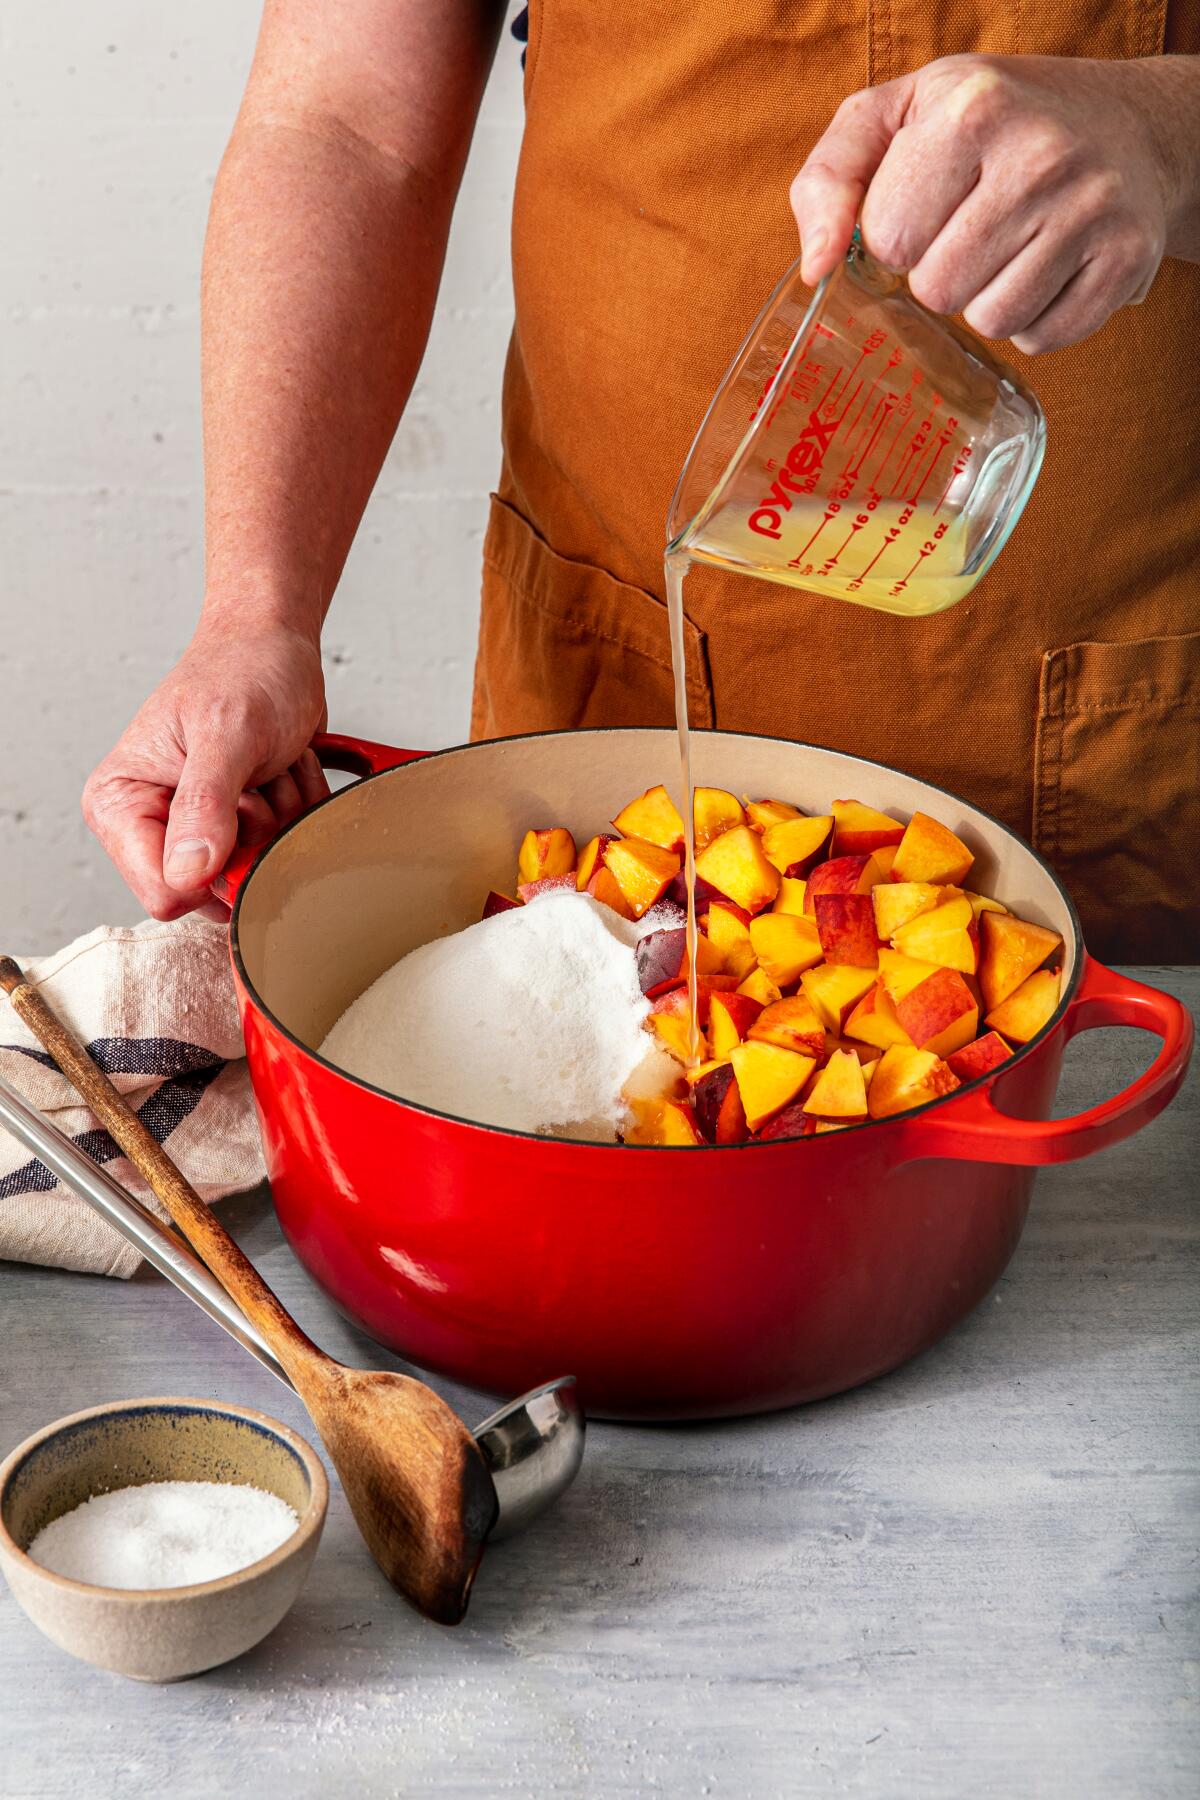
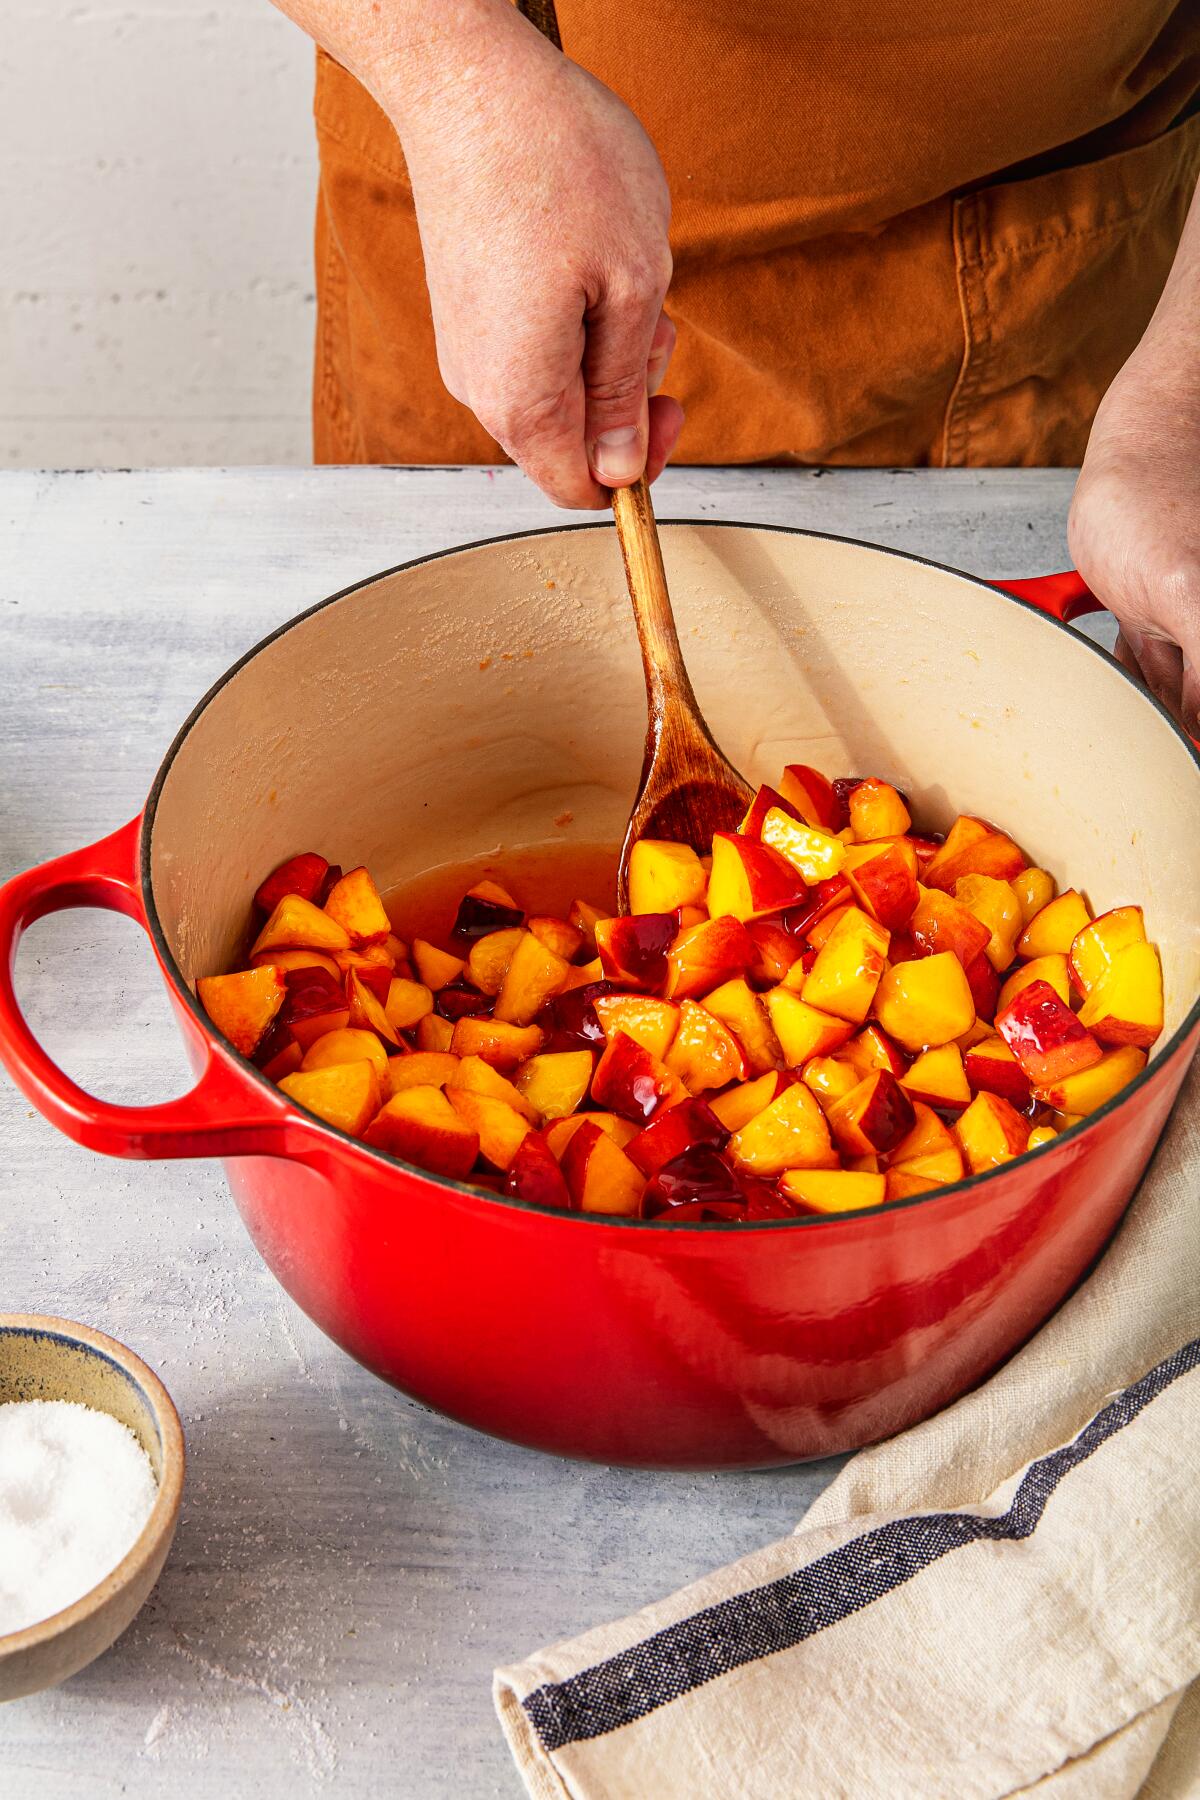
- Weigh all your ingredients, using a “one-third ratio”: I weigh all the chopped fruit and then divide that number by three. The resulting number is the amount of sugar I use. Many commercial companies use more sugar — half the weight of fruit in sugar — so this recipe will yield a slightly less-sweet jam. Once I weigh the sugar, I divide that number by three. The resulting number is the weight of the lemon juice I use. (This amount is slightly more than commercial companies use, so this recipe will yield a sharper jam.) Once you’ve made a few batches of jam using these proportions, adjust the ratio to your own preferences, but try to not use any less sugar or you’ll end up with stewed fruit, which is an entirely different thing that won’t last as long. Combine everything in a large bowl or, better yet, in the pot you’ll cook in. Oh, and don’t forget that pinch of salt.
 (Silvia Razgova / For The Times)
 - The second step is to macerate the fruit, stirring everything together and letting the sugar pull all the juices out of the fruit. The resulting juice is what you’ll cook the fruit in to make your jam; there’s no need for water or other extra liquid. Let the fruit sit at room temperature for at least 1 hour to allow the sugar enough time to extract the fruit’s juices. However, I often place the bowl or pot in the refrigerator and let it sit overnight or for a few days if I’m feeling lazy.
 (Silvia Razgova / For The Times)
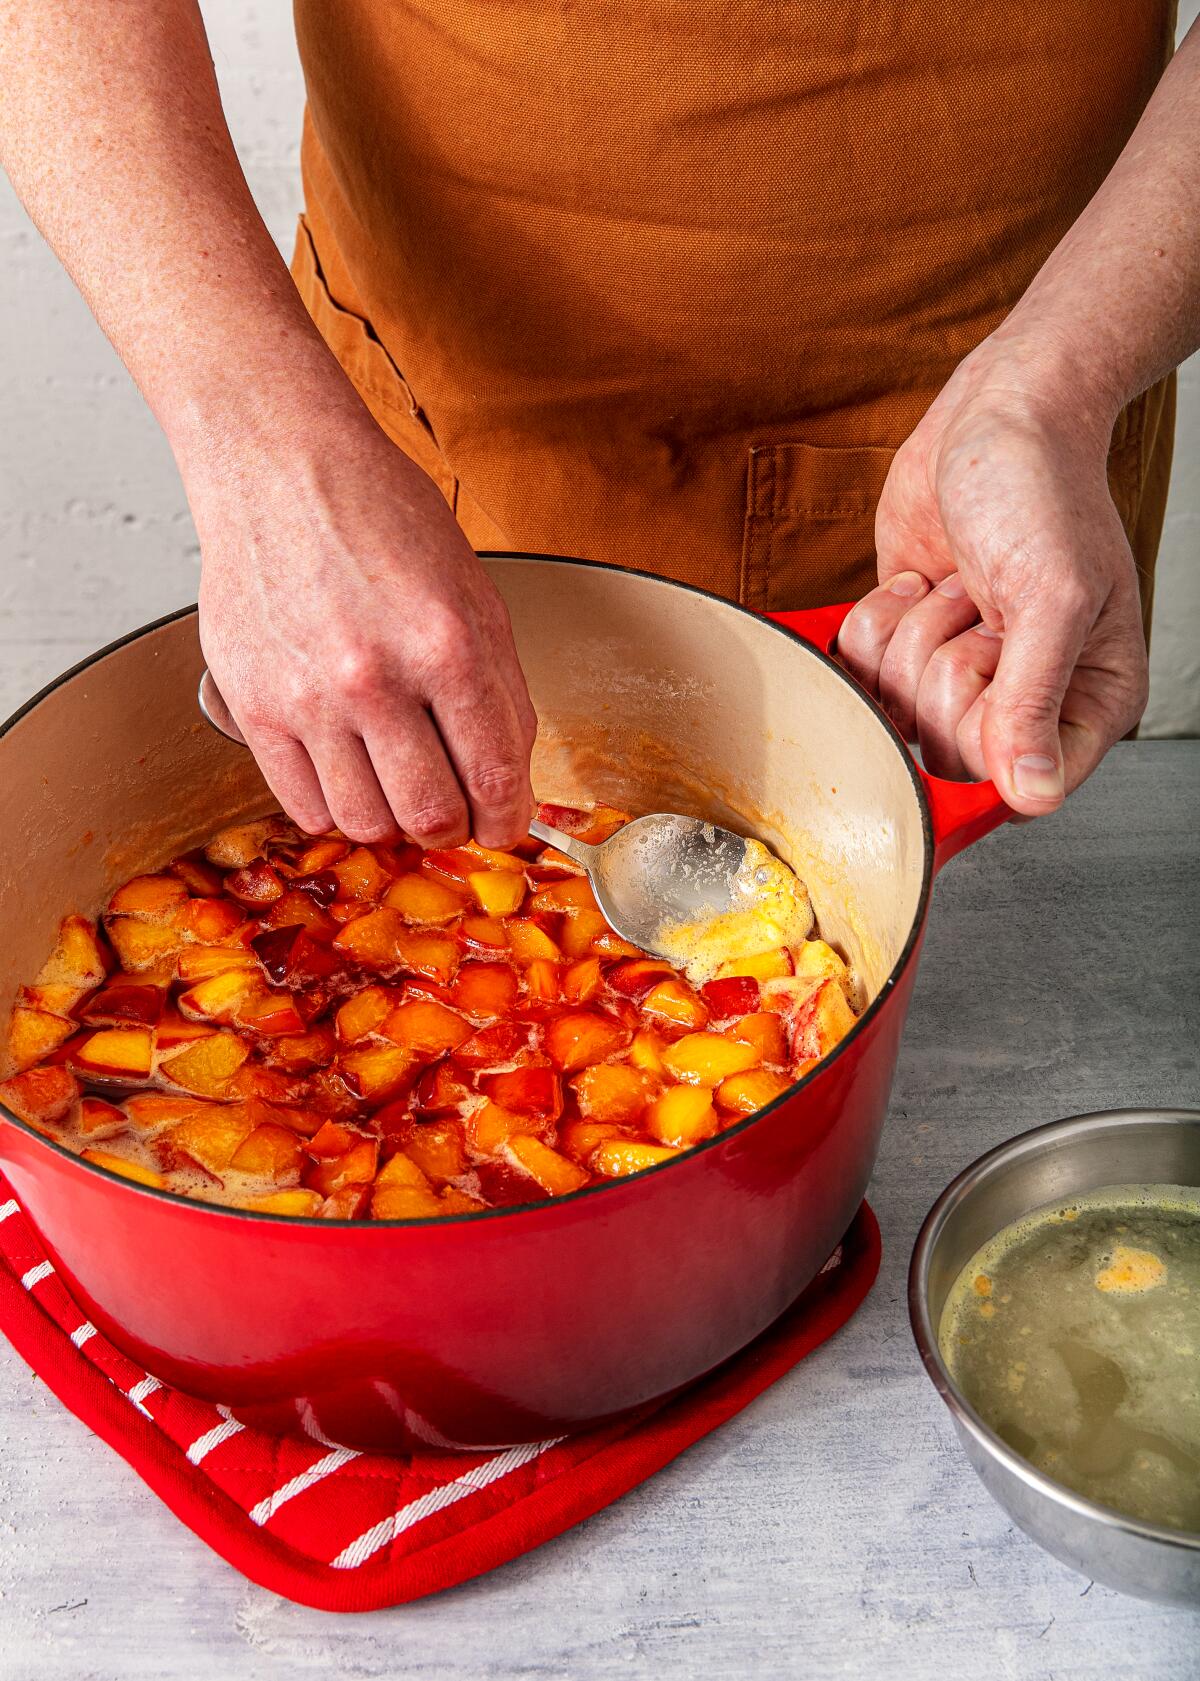
 - The third step is to skim the macerated fruit mix of impurities. This step isn’t strictly necessary — it won’t affect the taste enough to notice — but it does help to keep the finished jam clear and beautiful. Place the pot over high heat to bring the fruit mix to a rapid boil. (When making fruit jams, you always want to cook over medium-high to high heat to get the process over with quickly. Any slower and the fruit will start to caramelize and taste darker and more, well, cooked. We want to preserve the brightness of the fruit as much as possible here.) Once the mixture is boiling, you’ll see a white or lighter-colored mass of foam rise to the surface of the jam. Grab a spoon and small bowl of cold tap water and skim off the foam with the spoon, rinsing it in the bowl of water after each scoop to clean it. Repeat this process as long as it takes until the foam is all gone.
 (Silvia Razgova / For The Times)
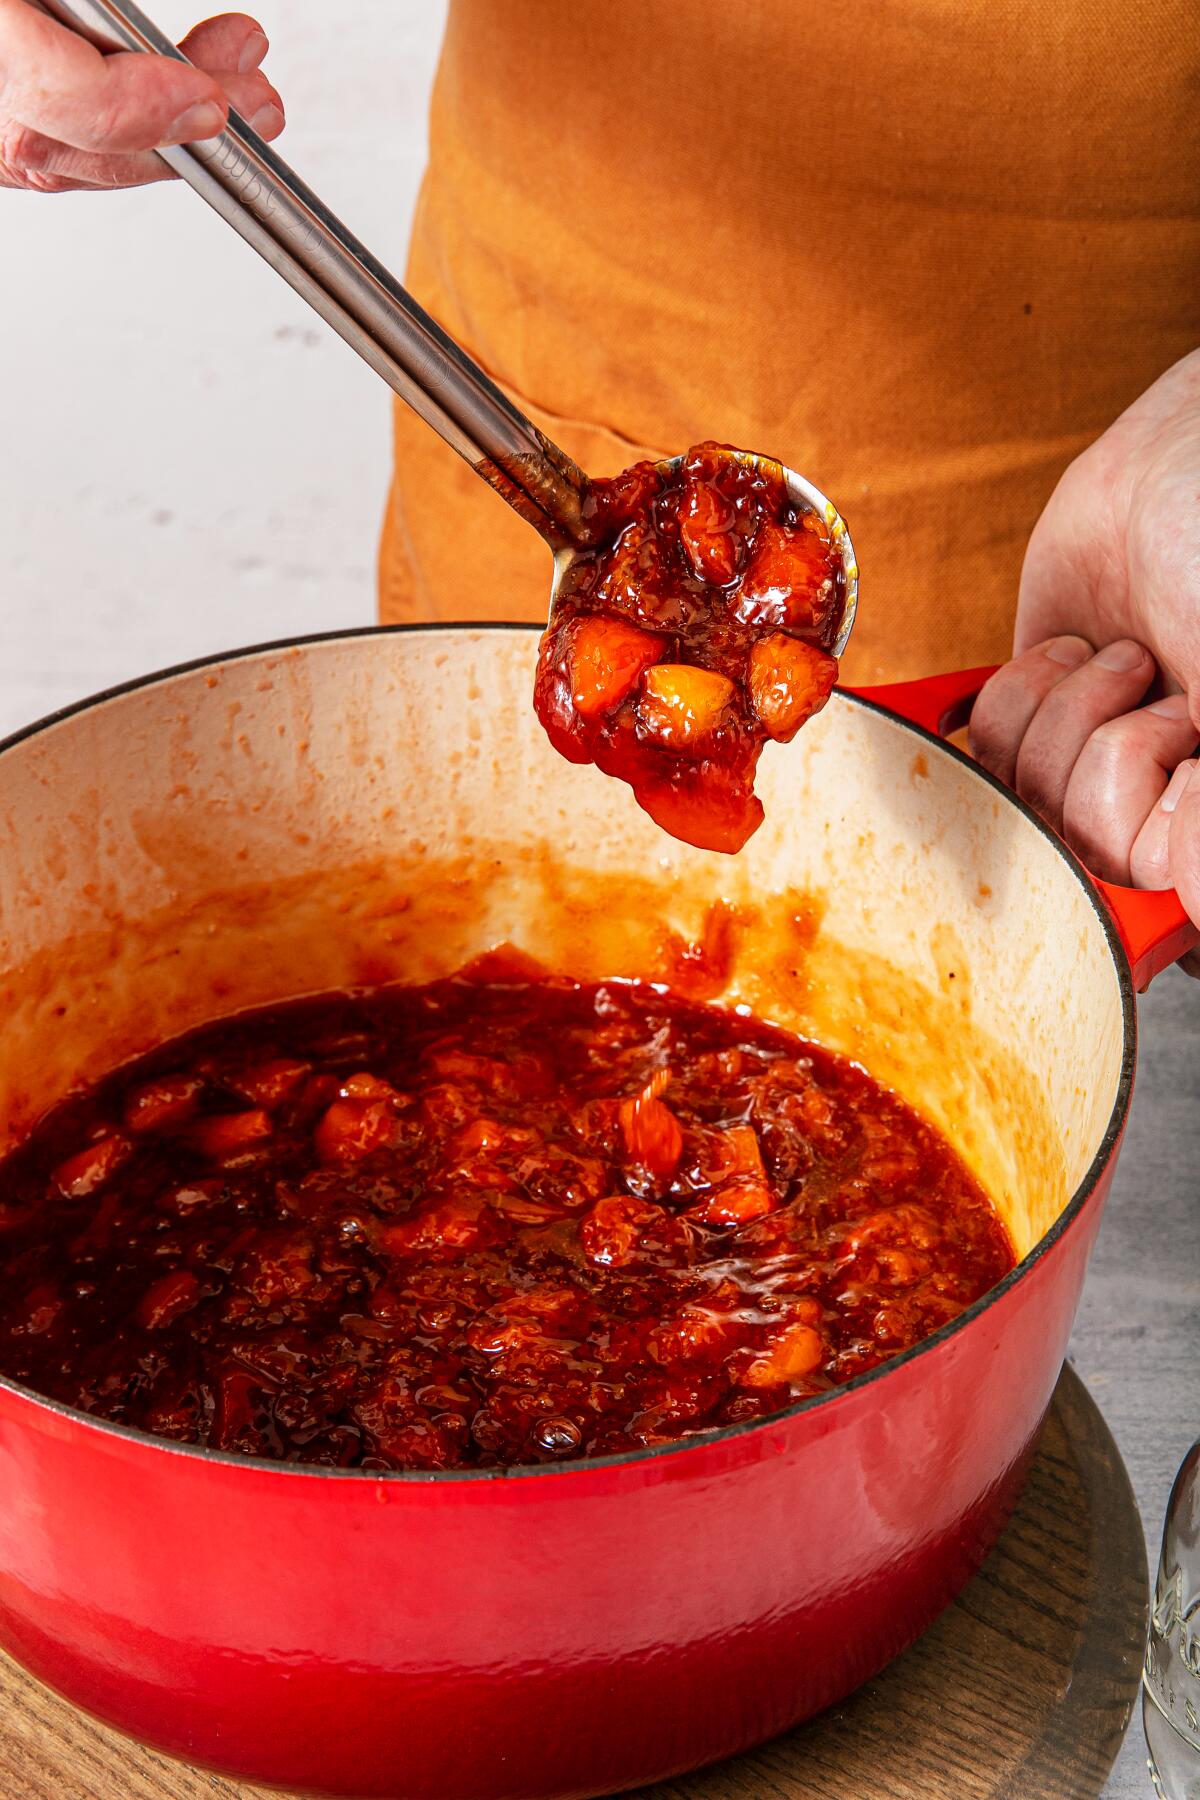
 - The final step is making sure you stir, stir, stir. While you’re removing the foam, stir the jam every once in a while by first scraping your spatula or spoon around the bottom circumference of the pot, then going back and forth across the entire surface. As the jam gets closer to being finished, you’ll want to stir more often — at least every minute — to ensure that no fruit is sticking to the bottom of the pot and burning. You’ll notice that as the jam cooks, it turns from watery and loose to thickened and gelatinous. You’ll know the jam is finished when, each time you stir, there’s no more watery separation in the jam and the fruit mixture starts sticking to the bottom of the pot after letting it simmer for a minute. At this point, remove the pot from the heat and let the jam settle down a bit before pouring into jars.
More to Read
Eat your way across L.A.
Get our weekly Tasting Notes newsletter for reviews, news and more.
You may occasionally receive promotional content from the Los Angeles Times.
